Hand Cut Dovetails
Half-Blind Dovetails
P. Michael Henderson
November 13, 2010
This page builds on the techniques demonstrated on the "Through Dovetails" page. Some techniques demonstrated on the Through Dovetails page are not repeated here so the reader is advised to review the Through Dovetails techniques before starting on Half-Blind Dovetails.
It's not that half-blind dovetails are harder to make than through dovetails - I actually find them easier. It's just that I did the through dovetails page first and I didn't want to repeat some of that information here.
The tools and equipment for making half-blind dovetails are essentially the same as for the through dovetails. Refer to my page on through dovetails for the list of tools, and a discussion of each.
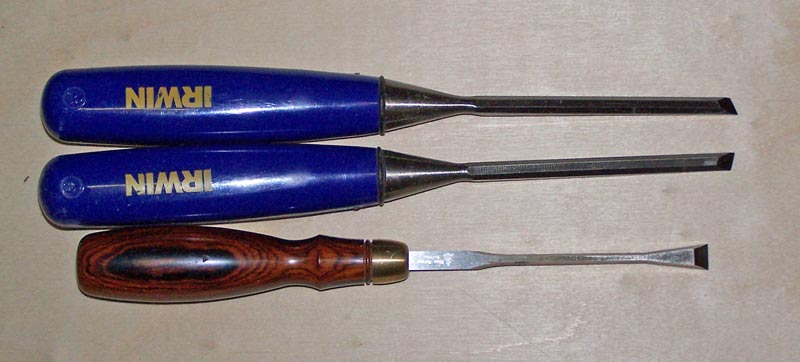
The only tool(s) I might add are one or more "special" chisels to clean the corners of the tail sockets on the pin board. Because of the angle of the sockets, it's difficult to get a regular chisel into that corner to clean out the waste. A small skew chisel works well, but you need two of them, a left and a right. The other option is a fishtail chisel. See pixs below.
You can make your own skew chisels very easily from some inexpensive 1/4" chisels. Just grind the cutting edge into a skew. I show two Irwin chisels in the picture, which cost me less than $10 each. You don't need expensive chisels because you won't use the skews very much.
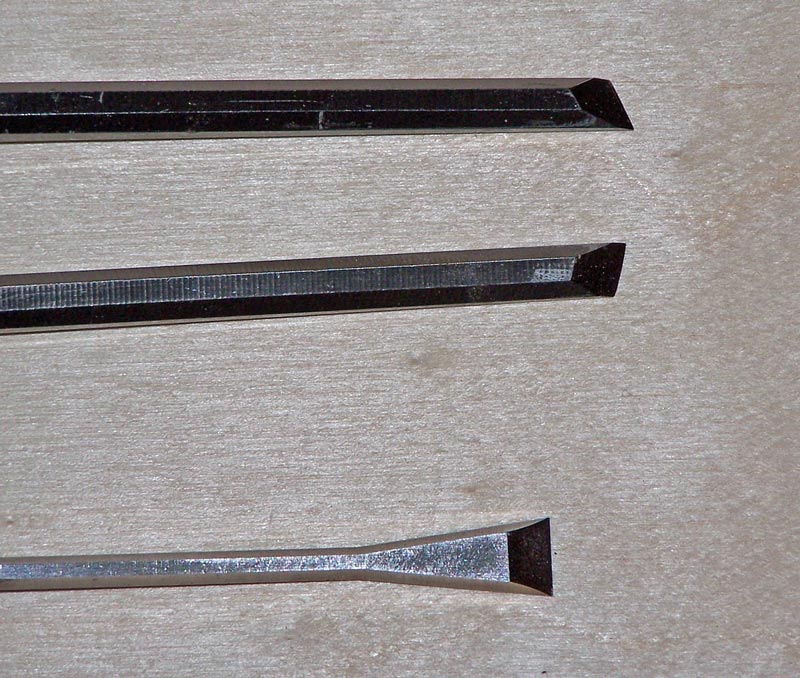
The fishtail has the advantage of only requiring one chisel. The one shown here is a Blue Spruce, which is way overkill for this application. It's a good chisel, very well made, but very expensive - this one is about $85. An alternative is a flat fishtail carving tool. Pfeil makes a #1 fishtail - choose either the 6mm and 8mm (I'd get the 8mm) - for about $30.
The limit on the fishtail is the amount the head sticks out from the shaft (on the side). If there's not enough protrusion, you won't be able to get the fishtail flat against the back of the tail socket, and that means you won't be able to clean the corner out well. The skew essentially always works. And that's what I'd recommend you get - two skew chisels (left and right), not wider than 1/4"
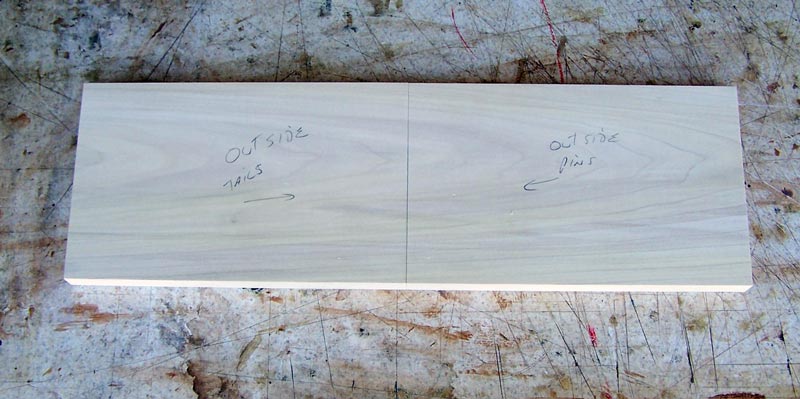
You begin half-blind dovetails in exactly the same fashion as through dovetails - by preparing the stock. It must be flat, of consistent thickness, and cut square on the ends. Mark the outside of the boards and indicate which is "pins" and which is "tails". Like with through dovetails, this will help keep you out of trouble.
Our first step is to mark both the pin and tail boards with the marking gauges. But this time, the tails will not go completely through the pin board. But how far should they go, if not all the way? We're dealing with 3/4" stock here so we know the tails have to be less than 3/4". One common depth is 1/2" because you're usually trying to achieve some inside dimension, such as the the inside dimensions of a bureau. Your tail board has to be the inside dimension PLUS twice the length of the tails (one tail on each side), so people use 1/2" because it's easy to calculate and provides a strong enough joint.
But if you wanted to make the tails longer, how long could you make them. Okay, we know they can't be 3/4" because they'd show on the outside of the pin board. 3/4" is 12/16". Could we make the tails 11/16" in length? That would be extremely difficult because in cutting the pin board, we'd very likely break the 1/16" piece of material that would cover the tail. I like to leave at least 3/16" to minimize blow out of that wood covering the tails.
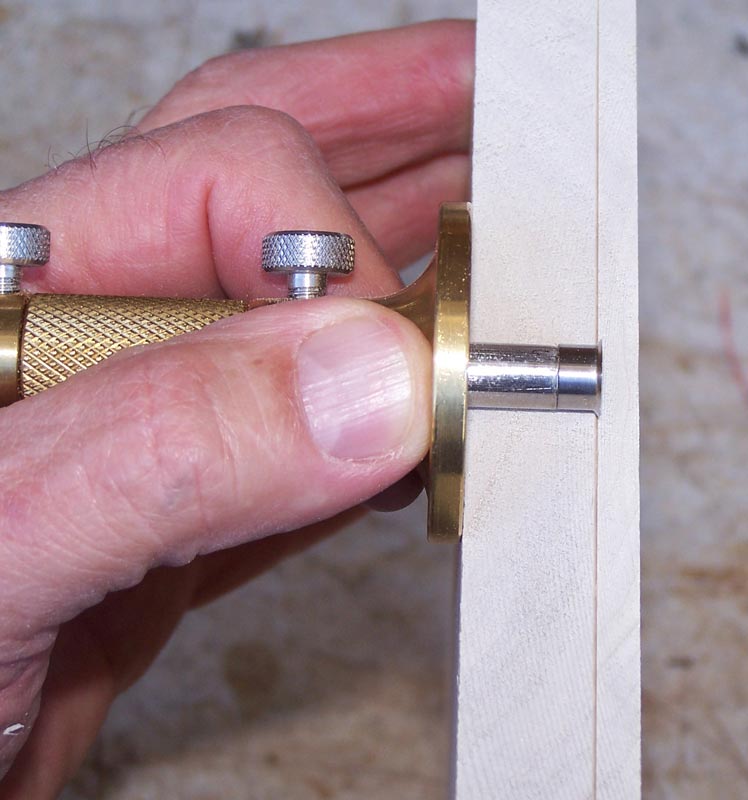
Most 3/4" stock is not really 3/4" - it's often just a bit more than 3/4", maybe 13/16". In that case, we can use 5/8" (10/16") as the length of the tails, which leaves 3/16" thickness covering the tails. And that's what I'm going to do here. The next picture shows me setting one of the marking gauges to 5/8".
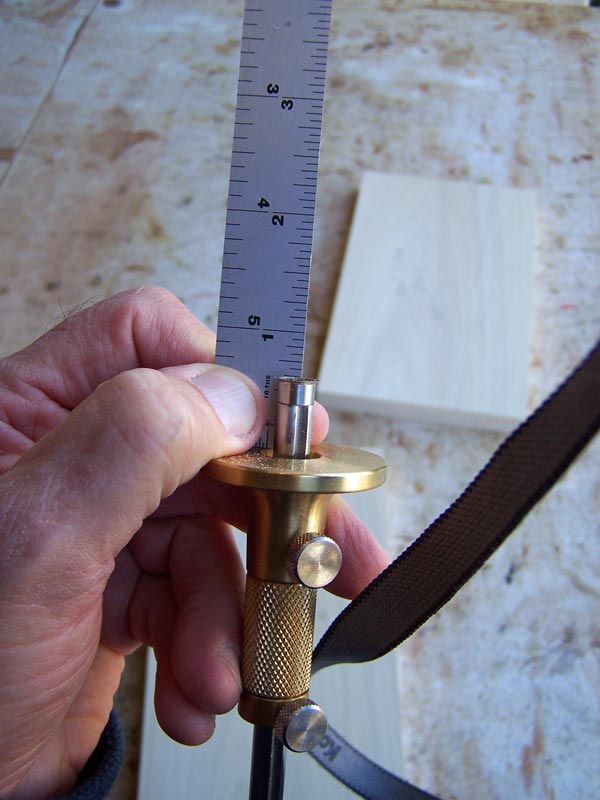
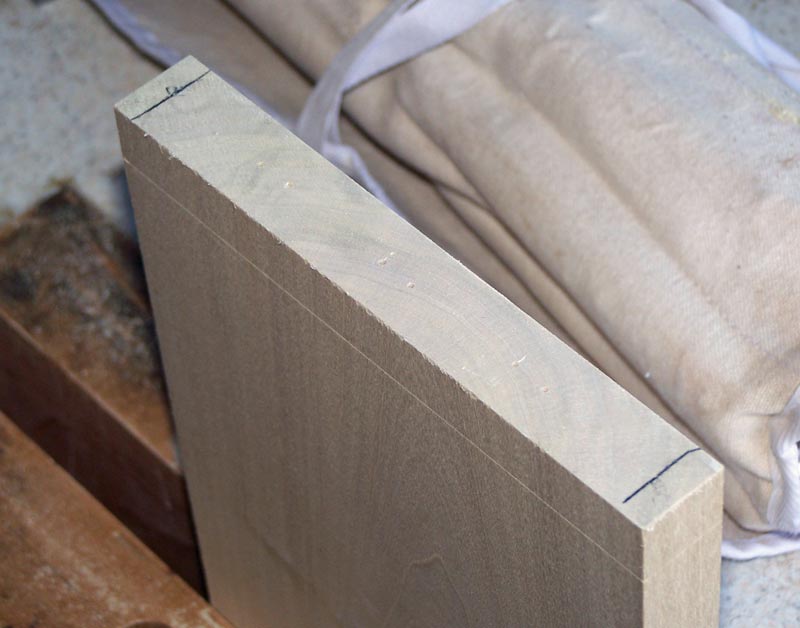
I'll use that setting to scribe the inside and outside of the tail board. Also scribe both sides.
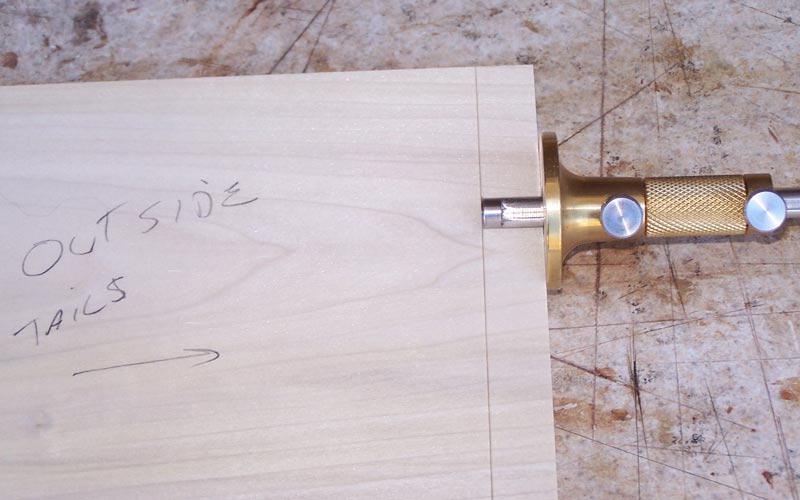
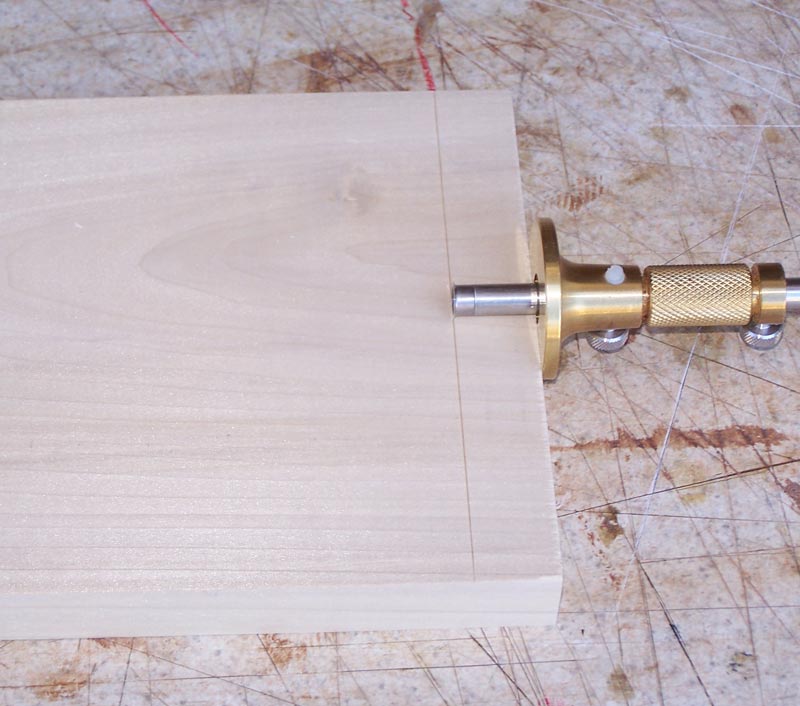
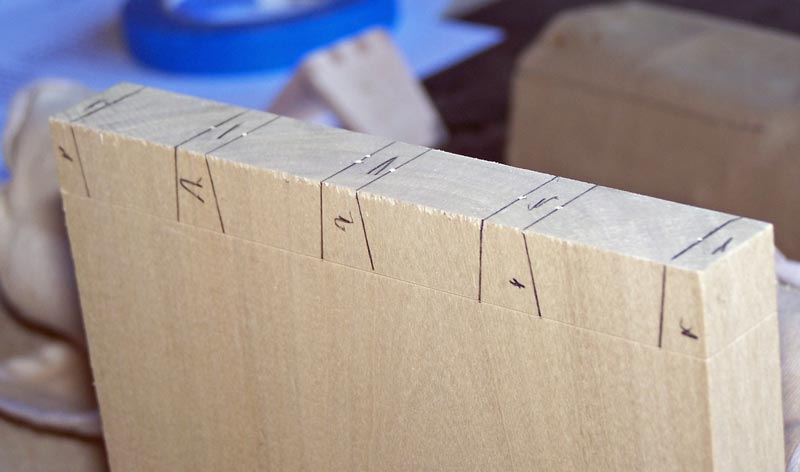
I'll also use that setting to scribe a mark on the end of the pin board, with the marking gauge on the inside of the pin board. In the next picture, the marking gauge is against the inside of the pin board and the thin portion of the marked area is to the outside of the pin board.
Using my other marking gauge, which is set to the thickness of the tail board, I'll scribe a line on the inside of the pin board.
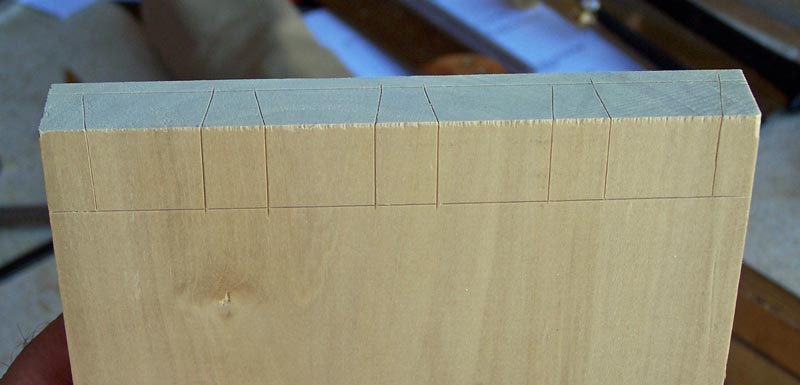
Now I take the tail board and lay out the tails as we did for the through dovetails. You can see the holes where the dividers landed.
Then mark out the tails using the saddle gauge, exactly as we did for the through dovetails.
For these dovetails, I went to my band saw and cut the tails there. If you cut the tails with a hand saw, I recommend you do it with the "outside" of the board facing you. The reason is that you're more likely to follow the line on the side facing you. Since the tail will be buried in the pin socket, no one will be able to see if you were off on the back side of the tail.
I cut the waste on the ends with a saw, just like the through dovetails.
Then chop out the waste between the tails with a chisel, as we did before.
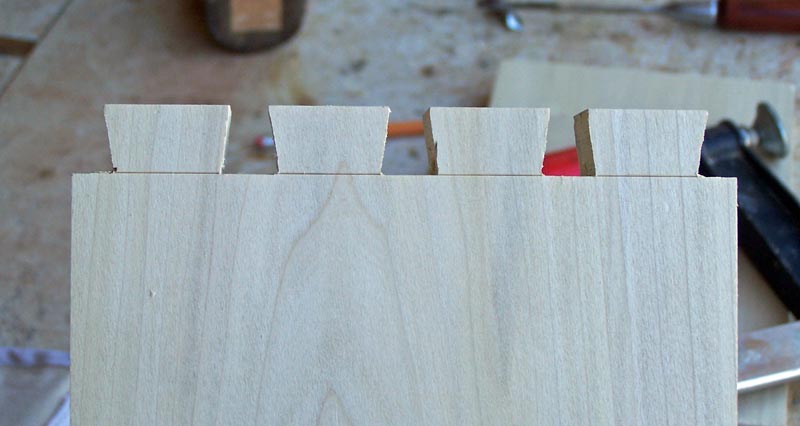
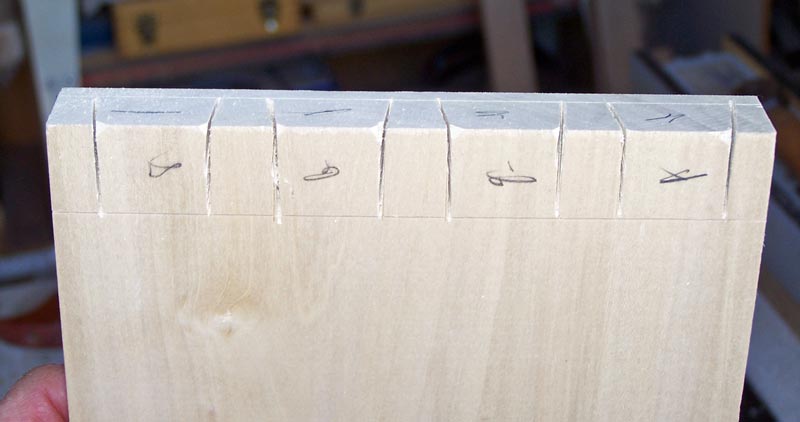
Lay the tails board on the pin board and align the ends of the tails to the scribe line. Clamp the tail board so it doesn't move and mark the location of the tails on the end of the pin board.
Here's what it looks like after marking.
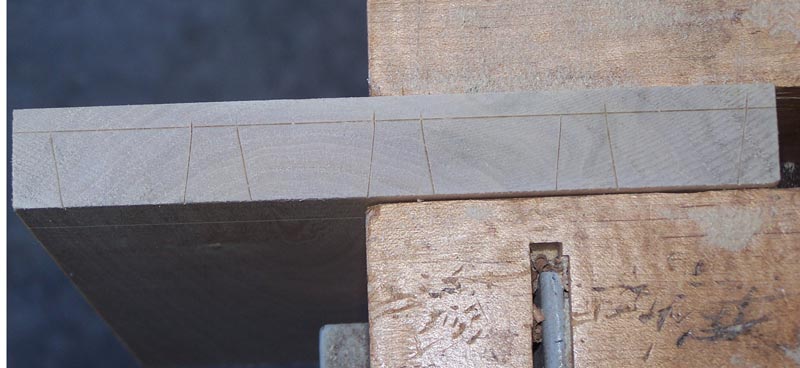
Then carry the lines down to the scribe line on the inside face of the pin board.
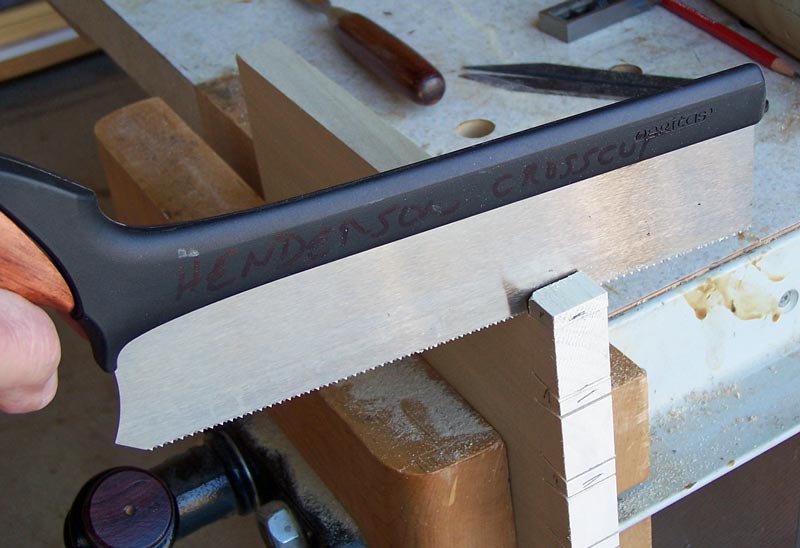
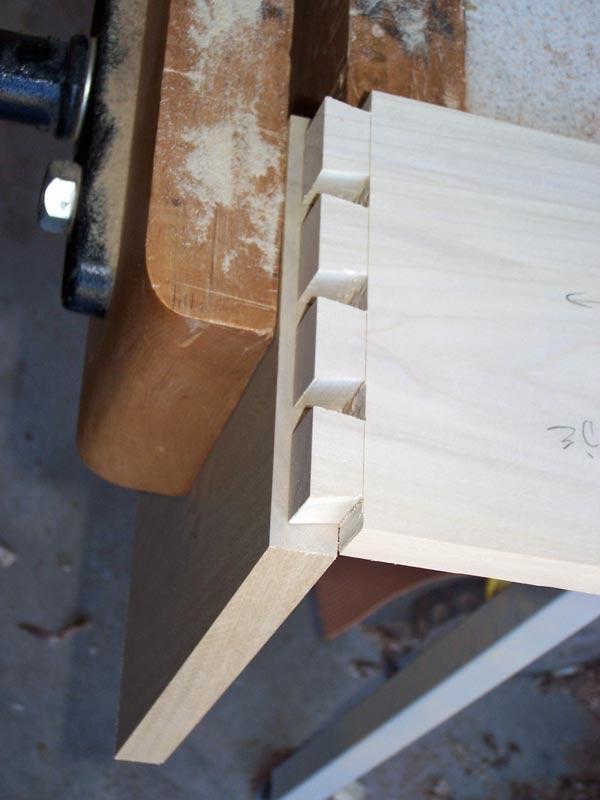
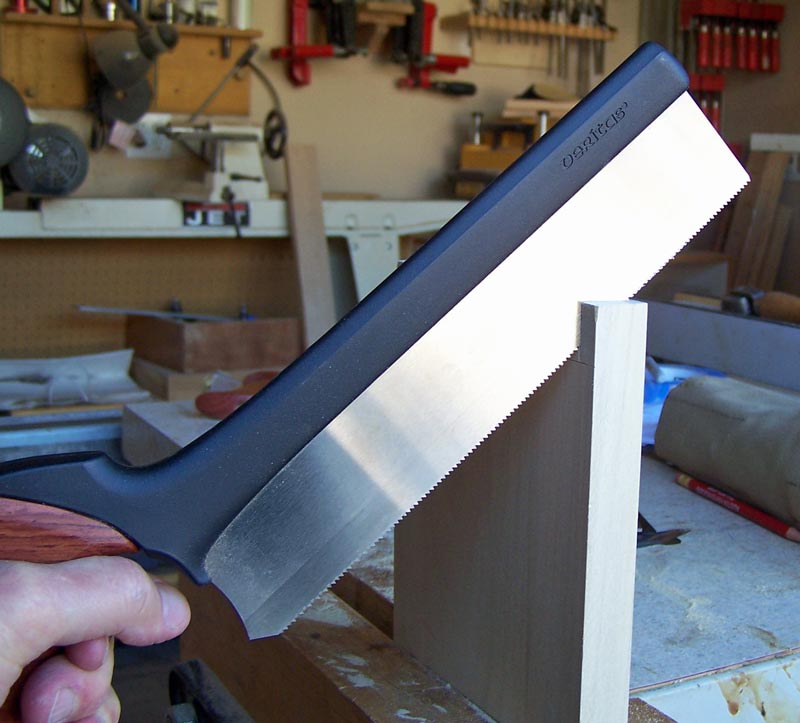
We'll now cut on the waste side of the scribe lines. We can't cut the line completely - we can only cut part of the way because of the way the half-blind dovetails are made. The next picture shows about the maximum cut that can be made.
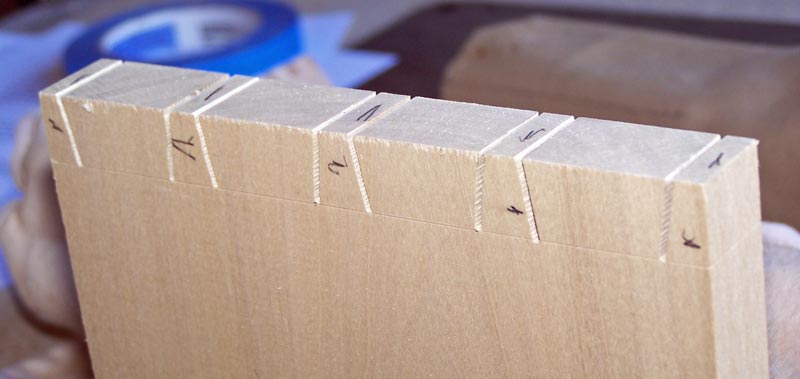
And here's the pin board with the cuts made along each line.
Chopping out the waste is similar to the through dovetails but we'll only cut from one side. Sneak up on the scribe line with your cuts, just as we did with the through dovetails.
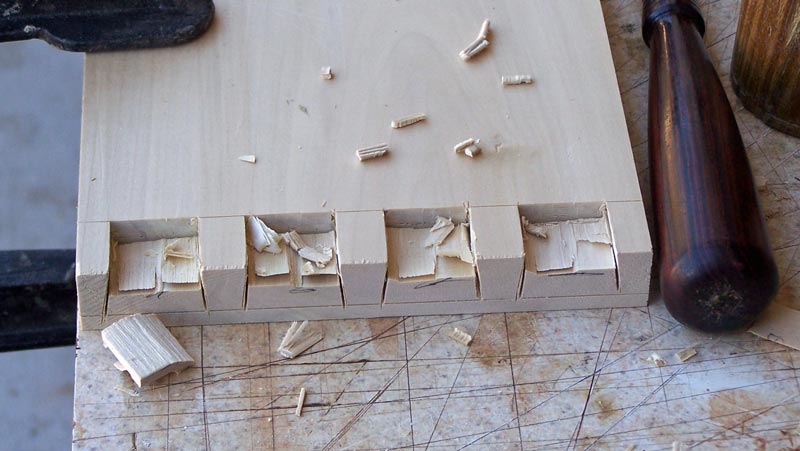
Another view a bit further along.
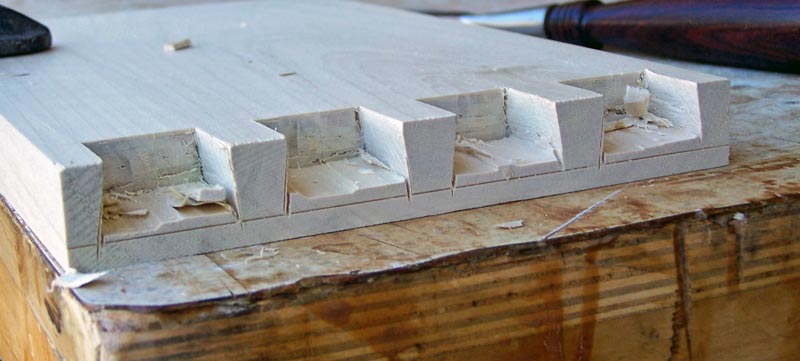
And here's what it looks like when all the waste is removed.

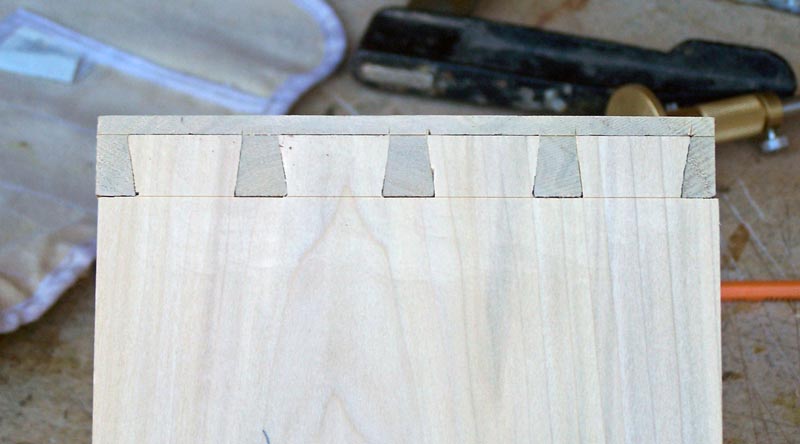
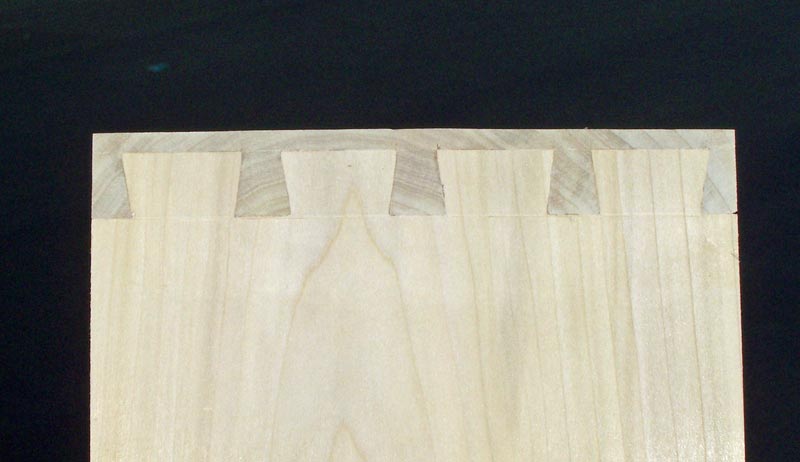
Here's what the joint looks like when first put together. It looks like there's some small gaps but they will be eliminated when we glue up.
We now apply some glue (as shown on the through dovetails page), tap the tails into the pin sockets, and clamp it up. This is what it looks like finished - a nice, tight joint, good-looking and very strong.
You can see some of my woodwork here.