Display Cabinets
P. Michael Henderson
July 2009
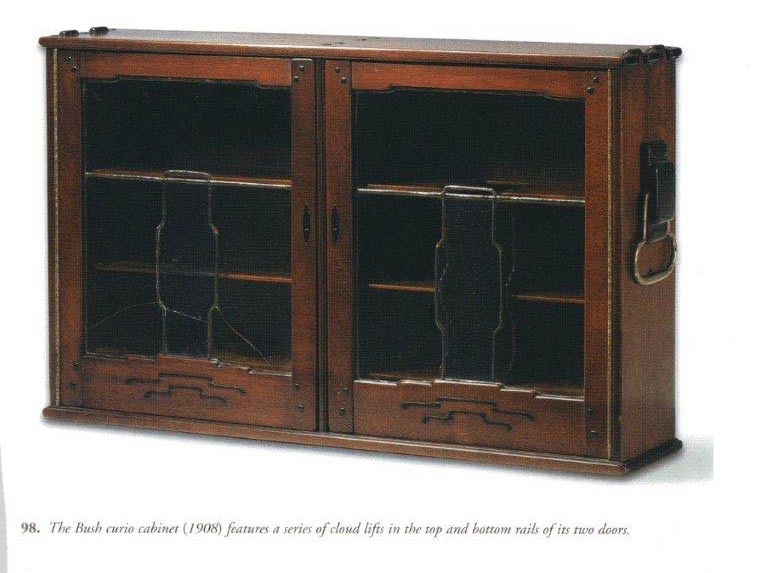
08/16/2009 I spent some time working on the bottom of the upper cabinet. I got the idea for making the base this way from the Greene & Greene design for the Bush curio cabinet (see pix below).
The width of the base is the same as the top of the lower case, and the width of the cabinet is the same as the lower cabinet.
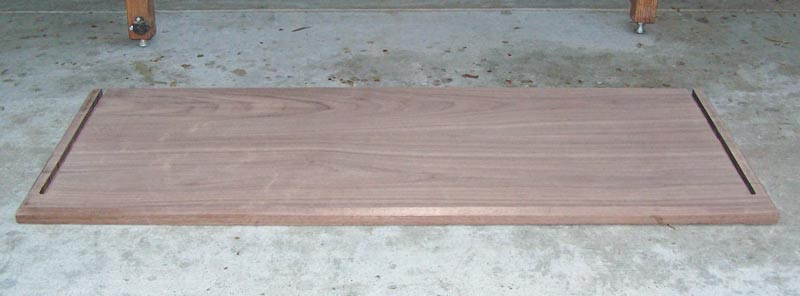
From the construction point of view, I routed a stopped dado on both sides, 3/8" wide, then cut a 3/8" one sided tenon on the ends of the sides.
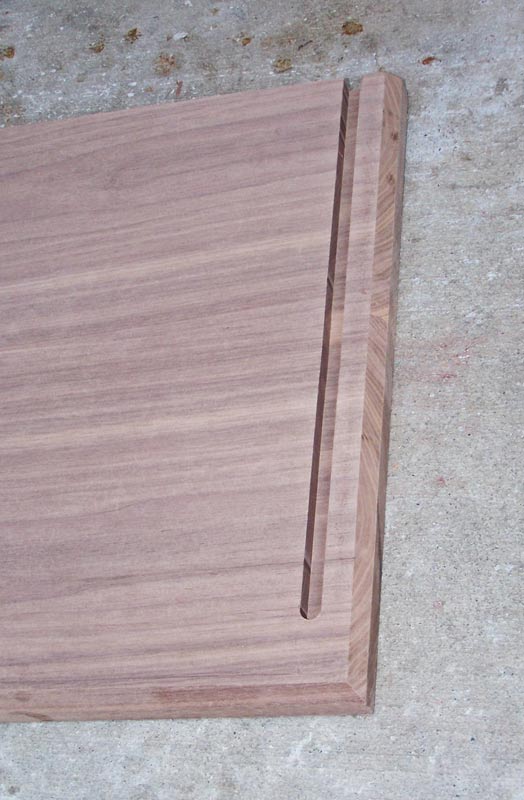
Now, you might ask why I used a 3/8" dado and tenon - why not make the dado the
full width of the side and just drop the side into the dado? The reason is
that it's easier to trim a tenon than a dado. I've veneered the sides so
they're not an "even" thickness so making a dado of the proper width would be
difficult. And if the dado was too narrow, I'd have to try to trim it
wider which is not easy to do. If the dado was too wide, I'd have a gap
along the side. By making the dado 3/8", I can trim the tenon to fit
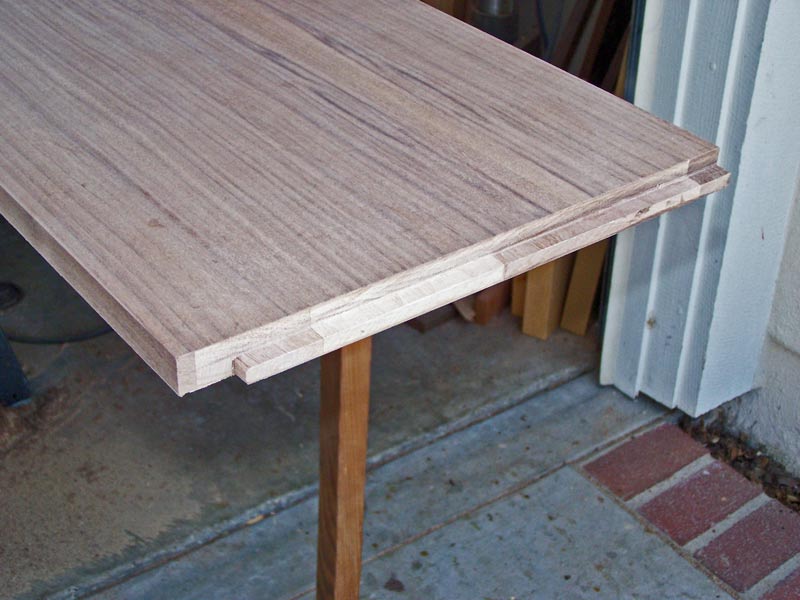
fairly easily with a shoulder plane and all of the visible edges are nice and
tight. When assembling the cabinet, in addition to gluing the joint, I'll
use screws from the bottom to attach the sides.
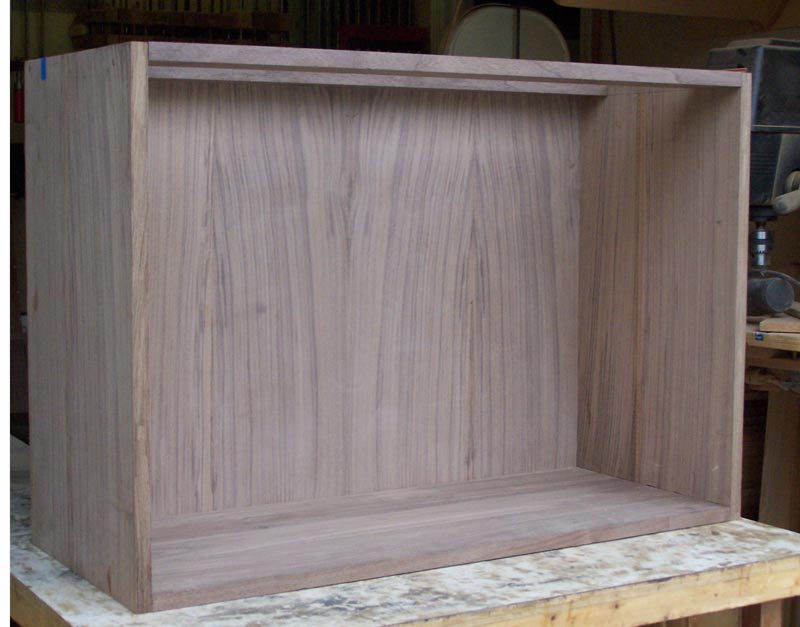
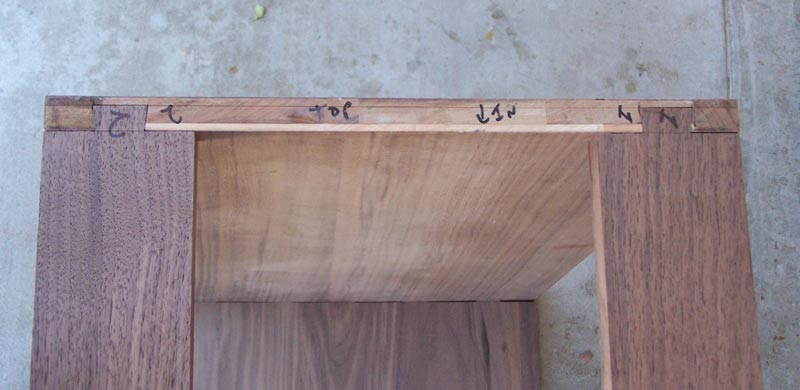
The last picture shows what the bottom and sides look like, without a top or
back. Next, I'll dovetail the top on and cut a groove for the back.
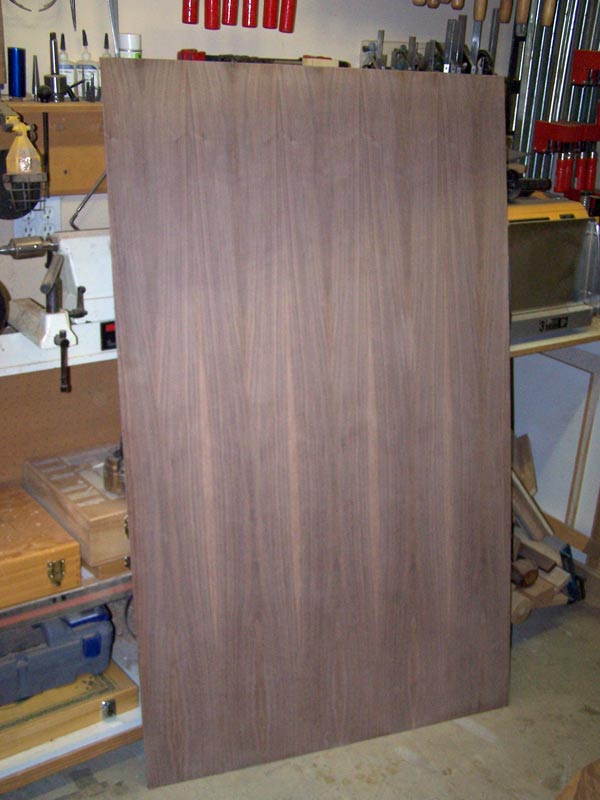
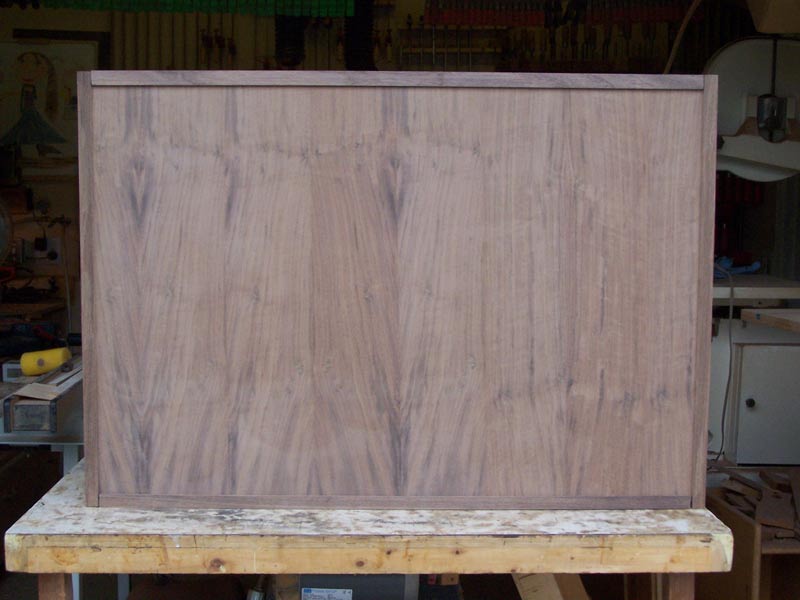
08/15/2009 I finished the laying the veneer on the back panel of the upper cabinet (front and back). Next, I'll finish the lower base and the bottom of the upper cabinet. The first picture below shows the inside of the back panel (but the panel is upside down) and the second picture shows the back side (also upside down).

08/14/2009 I started on the base for the lower cabinet, but spent most of my time laying up veneer for the back panel of the upper cabinet. I also worked on the bottom of the upper cabinet - not finished but made some progress. I still have to veneer the back of the rear panel which I'll probably do tomorrow.
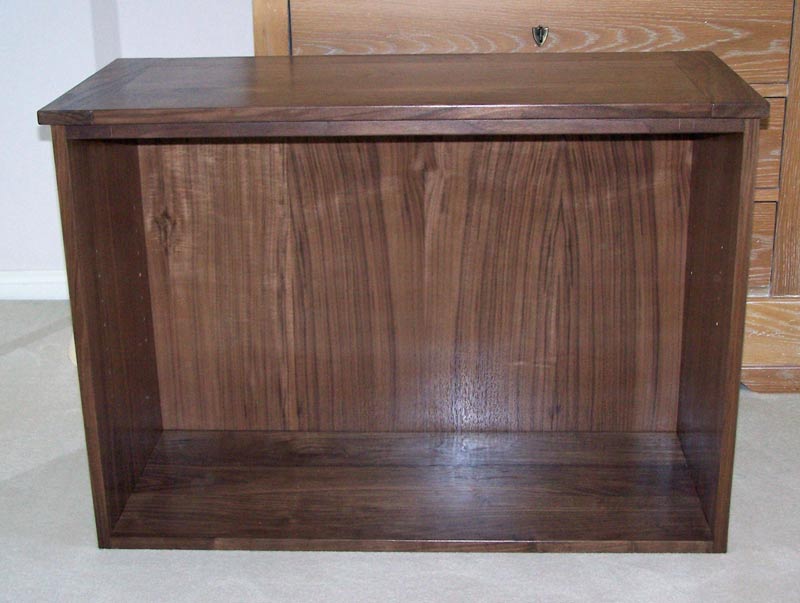
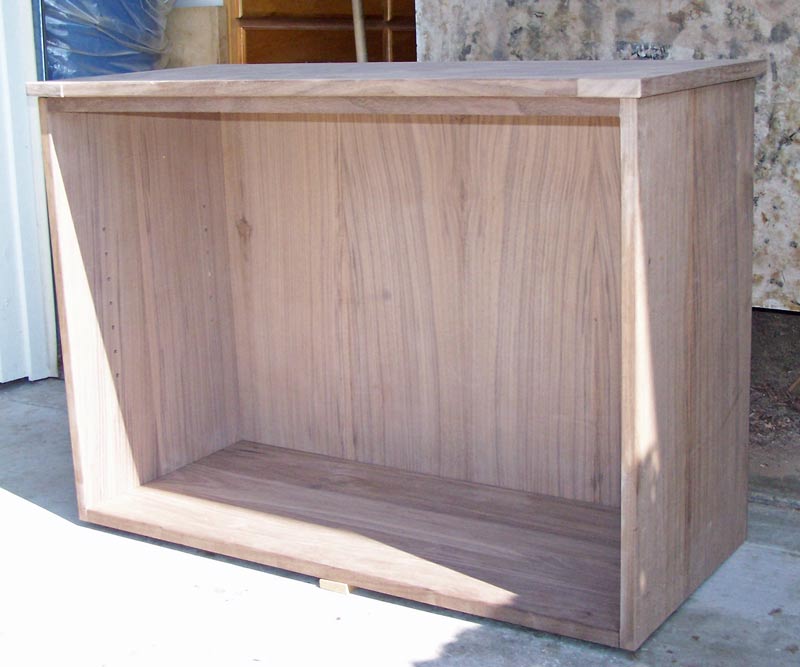
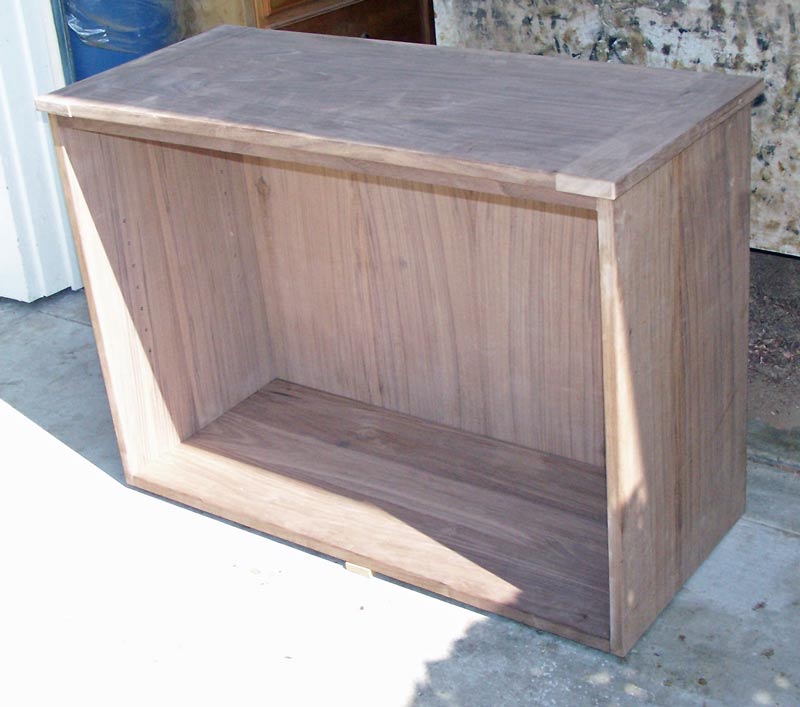
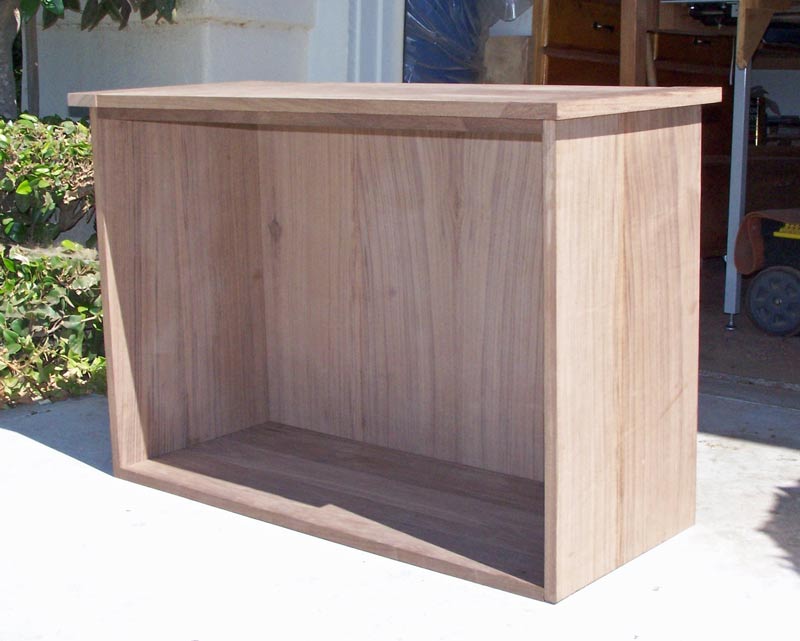
08/13/2009 And here's what the cabinet looks like with the top on (not permanently attached yet). Next I'll build the base, the doors, and the shelf. Then to start on the upper cabinet.
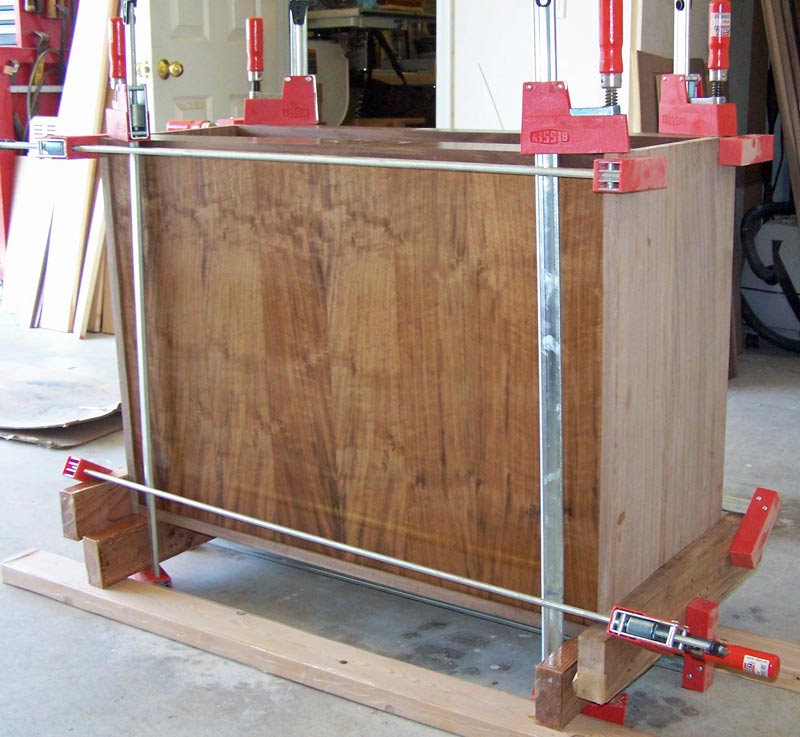
08/12/2009 I sprayed lacquer on all the inside surfaces and now have the cabinet in clamps, gluing up. I think the color of this walnut is really nice. The second picture is from the back. I sprayed the back of the back panel as well. I also sprayed the top but it isn't shown in the pictures. I put it away in a safe place where it won't get dinged (also known as "shop rash").

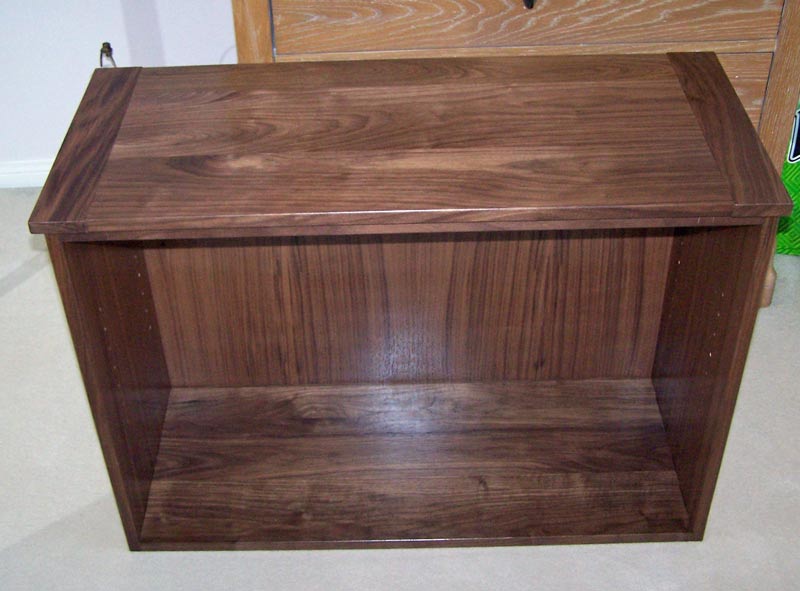
08/09/2009 I finished the breadboard top, except for the plugs. It's now a 1/2" overhang. I also drilled the holes in the sides for the adjustable shelf and rounded all the corners. Here's where I am now. I'll probably shoot all the inside pieces with lacquer and then assemble the case next. I have to design a base for this cabinet. I have some ideas and will work on that also.
08/08/2009 In looking at a number of pieces of Greene and Greene furniture, I found that the overhang for tops were all over the place, from over 2" to almost flush. But looking at this cabinet, the 1" overhang seemed too much to me so I reduced it to 1/2". Picture tomorrow.
08/06/2009 I finished fitting the breadboard ends, although I still have some more work to drill the holes for the screws that attach the breadboard ends - but you can begin to see what the lower cabinet will look like. I used a one inch overhang on the sides and in front. The top overlaps the case in the back by one half inch. Still a lot more work to be done, however.
08/05/2009 I veneered the insides of the sides of the upper cabinet and started making the breadboard ends on the top of the lower cabinet. I made one breadboard end and should be able to make the other end tomorrow. I made the top with a one inch overhang on the sides and the front. Pictures soon.
08/01/2009 I started veneering the sides of the upper cabinet. I only veneered the outside and will do the inside next. I laid the veneer so it matched on both sides.

07/30/2009 I completed the back. It's set into a groove cut around the back of the unit, 3/16" in from the back. I used veneer on both sides, the matching veneer on the inside and some other walnut veneer on the back. The veneer on the back is not quite the same color as the rest of the veneer - it's a bit more brown - and that's why I didn't use it on any of the show faces. Now, on to the breadboard top.
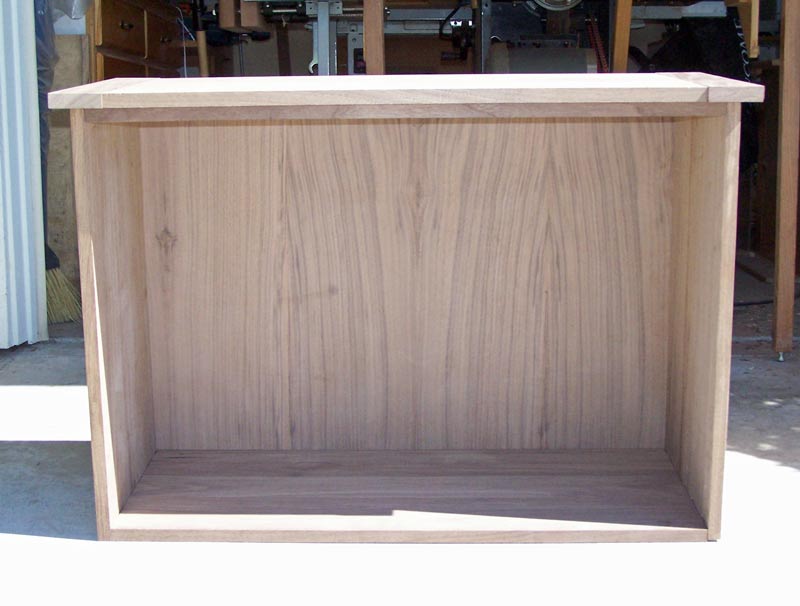
I took the front view from a quarter angle instead of head on so you can see the match between the sides and the back.
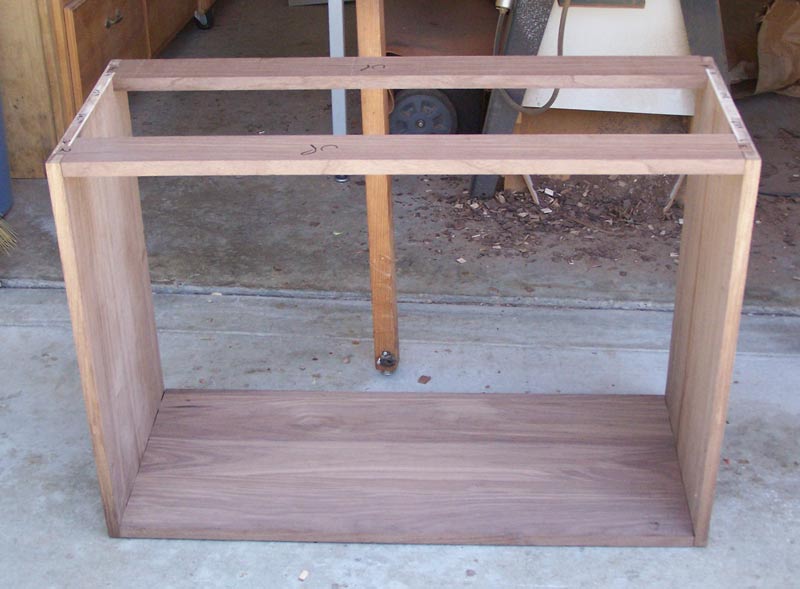
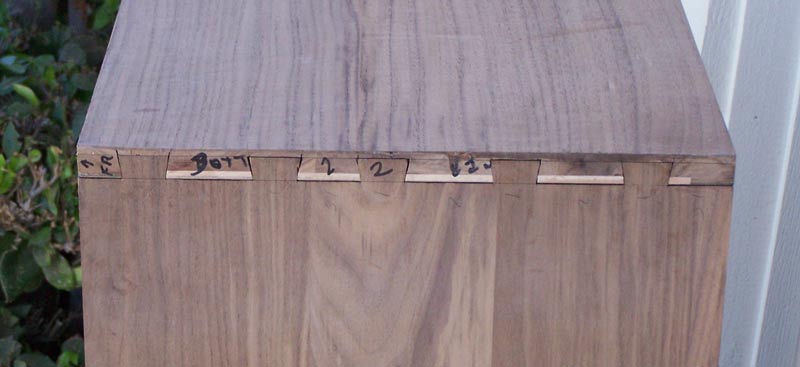
07/28/2009 I have all the dovetails completed on the bottom cabinet. The two pieces at the top are used to hold the top together. The actual top will be attached to these two pieces, using screws from underneath. In fact, that's what I'll be working on next - the top with breadboard ends. I'll also be making the back.
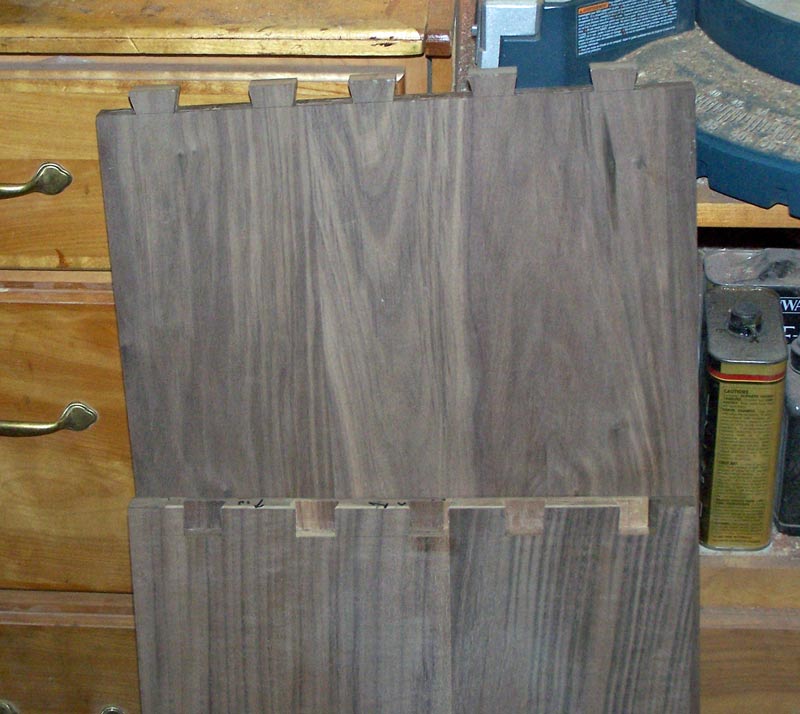
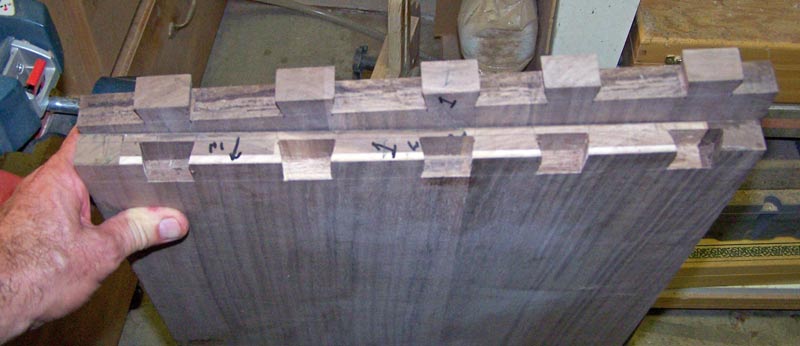
07/25/2009 I've started making the half blind dovetails to attach the bottom to the sides. When the unit is finished, these dovetails will be hidden. But dovetails are the best way to attach the sides and bottom (and top, also, which I'll do next).
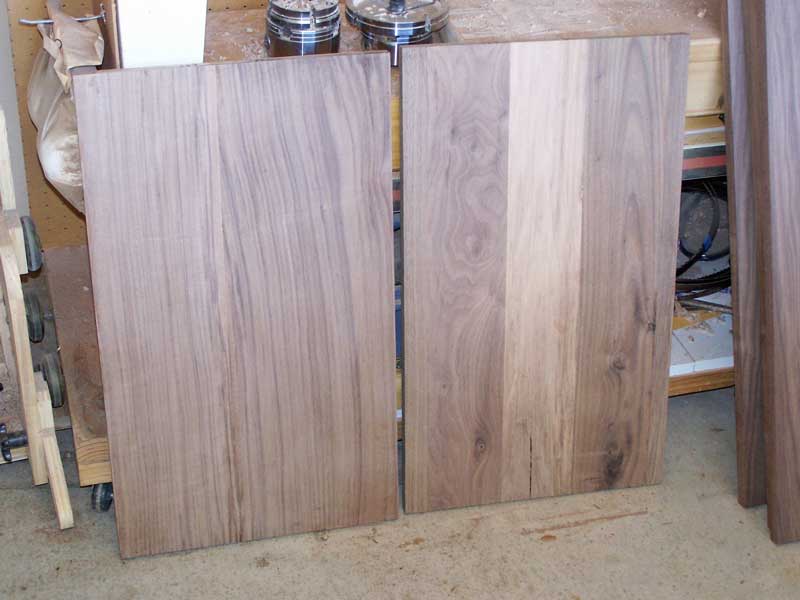
07/22/2009 I received the veneer and have started veneering the side panels. In the pictures below, the panel on the left has been veneered, while the panel on the right is the original panel. The veneer matches the pieces of wood that I put on the sides of the panels very well. It has been exceptionally hot here recently, which is limiting my shop time.
07/17/2009 I have all the panels done - glued up, flattened, and sanded. For the bottom cabinet, the bottom, shelf and top. And for the top cabinet, the bottom. I'm in wait mode now until I receive the veneer on Monday.

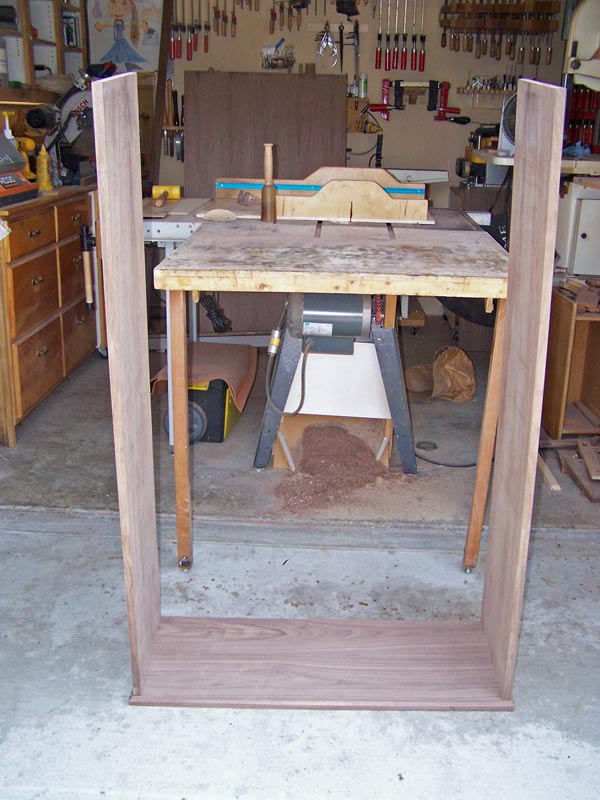
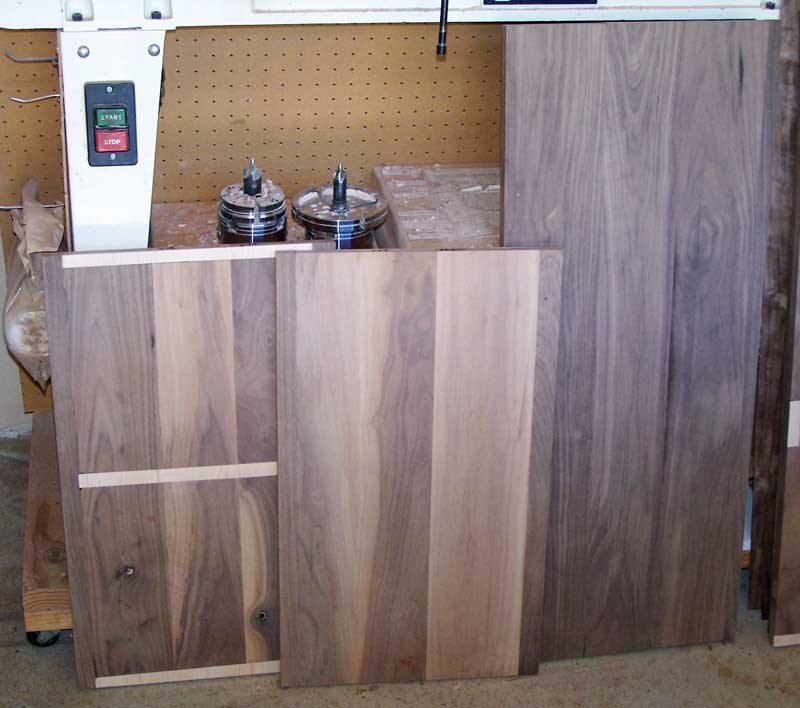
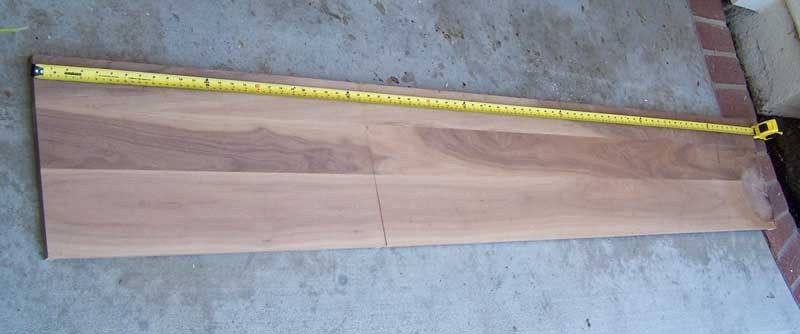
07/14/2009 "Happy Bastille Day!" I flattened the side panels and trimmed them to length and width. It was nice doing the hand work in flattening the panels - makes me feel like a neander. The bottom has been trimmed to width but not to length (see the first pix). I can't do much more on the sides until I get the veneer which is scheduled for delivery on July 20th.
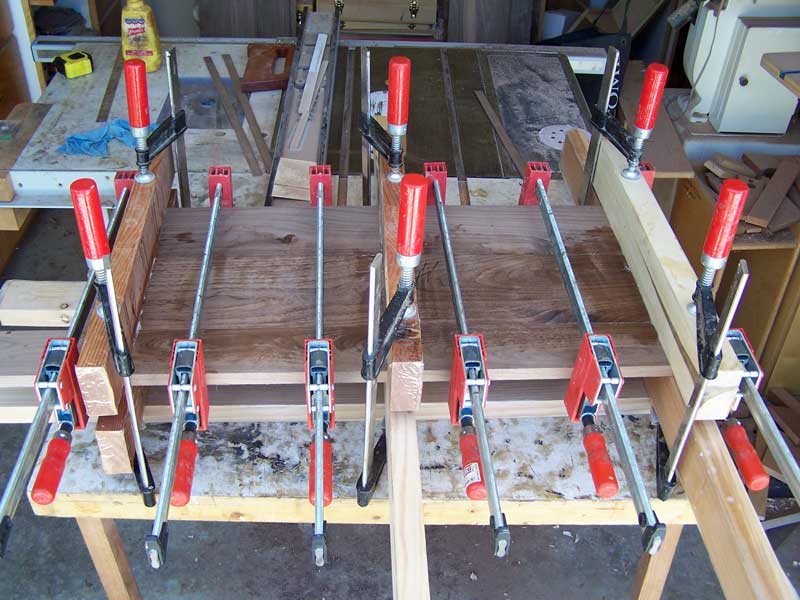
I'm continuing to work on gluing up panels. I have the top in clamps and cauls as shown in the second picture. Next, I have to glue up the shelf in the bottom cabinet and the bottom of the top cabinet. I'll also put on the trim strip on the front side of the top panel sides.
07/12/2009 The bottom cabinet is to be 15" deep but the original panel was only 13" and I trimmed the sides which made it a bit smaller. I glued some walnut to both sides so that the ends are the same color as the veneer which will be placed on the panels. Jerry had worked the original panels and they're exactly 3/4" thick so I'll have to plane the wood I added by hand so that I can keep the thickness.
Also shown in the picture is the glueup for the bottom. It needs to be worked and trimmed. Once I get the sides veneered, I'll dovetail the bottom into the sides with half blind dovetails.
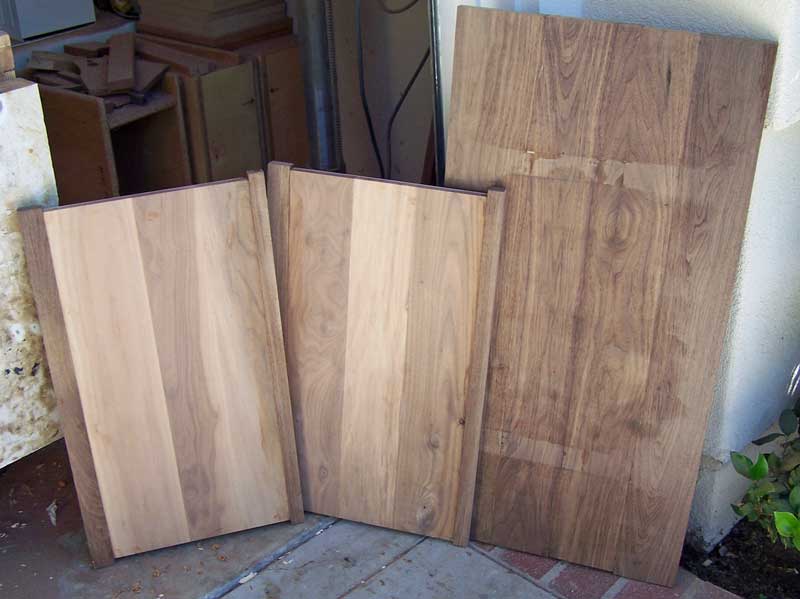
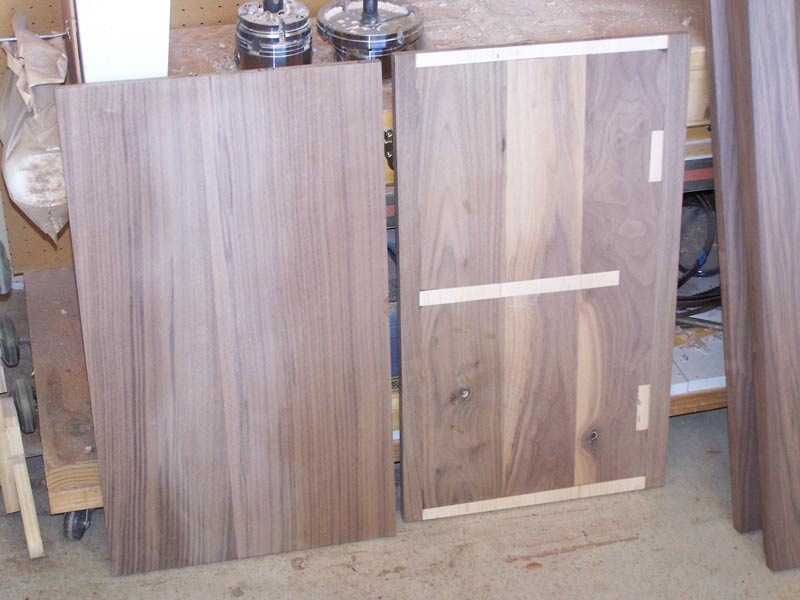
07/10/2009 The units are made of walnut. On Jerry's third cabinet, the walnut he had on hand had a lot of sapwood in it. See the picture below which shows the panel for one side of the cabinet.
I've already cut the panel to make it into a top and bottom cabinet. Next, I will apply veneer to the panel to cover the sapwood. I'll put a strip of solid walnut on the front edge of the panel to hide the sapwood from the front.
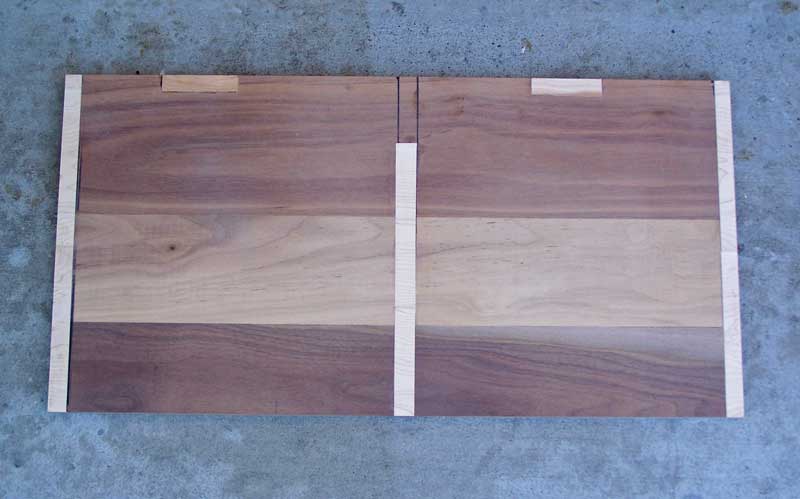
To be able to apply veneer to the inside of the panel, I had to fill the dados and holes that Jerry had put on the panel. See the next picture which shows the other face of the panel.
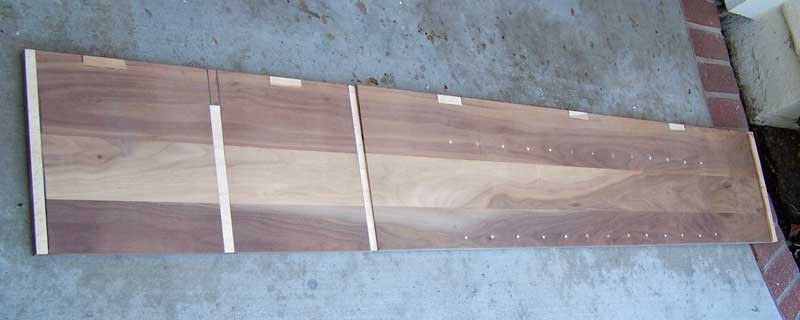
Since the veneer will cover the patches, I used maple for the filler wood because I had lots of maple in the shop.
The bottom cabinet will be 15" deep, while the upper cabinet will be 13" deep. So when I glue the walnut strip on the lower panel, I'll make it wide enough to give a 15" deep panel.
Here's a closer look at the inside of the upper panel. Note the plugs. The holes are for hardware that supports the glass shelves.
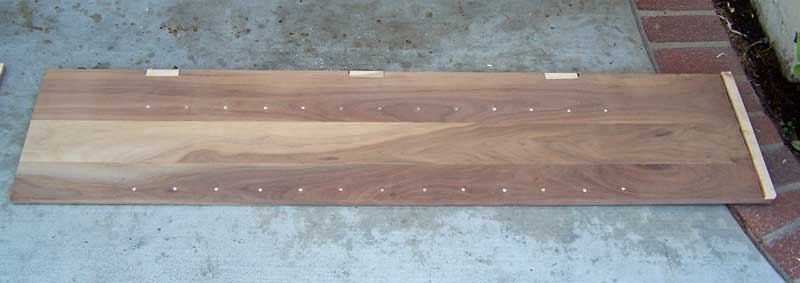
I ordered the veneer and just have to wait for it to come in before I can proceed.
Click here to return to my main page