Avocado Bench
P. Michael Henderson
1/6/2023
More than a year ago, a neighbor cut down an avocado tree. I didn't know he was doing it until later, when he had the pieces stacked up to throw away. He gave me whatever I wanted - it saved him from having to haul it away. But the pieces were short - he had cut things to make it easy to carry the log pieces, not with an idea of using the wood.
I took the pieces and processed them a bit to make them square and to avoid having the center pith in any piece. Then I put them in my attic, stickered, to let them dry.
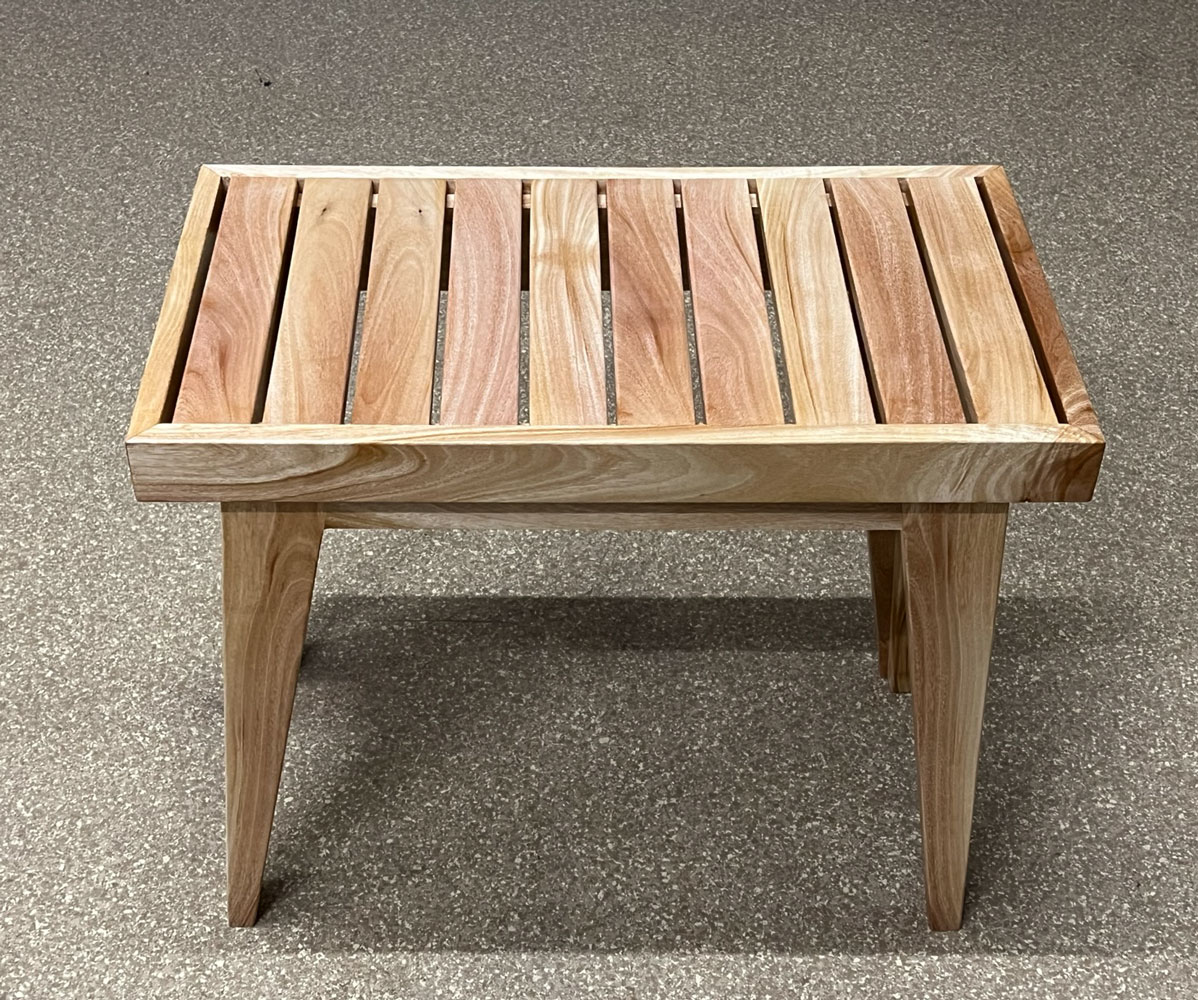
Recently, I took them down and decide to use the wood. I'm going to make a slatted bench, something you might use in a bathroom, or even somewhere else in the house for a seat. Here's what it's going to look like.
Here are the pieces as I took them down from the attic. There were a few pieces that were a bit longer than 24 inches, but most of the pieces were shorter than that.

I'm not going to document every step in the build process - this is a pretty simple project - but I'll try to give enough that you could build your own bench, if you want.
One problem with orchard wood is that it has a lot of imperfections, such as splits and voids. I found that I had a lot of waste in the wood.
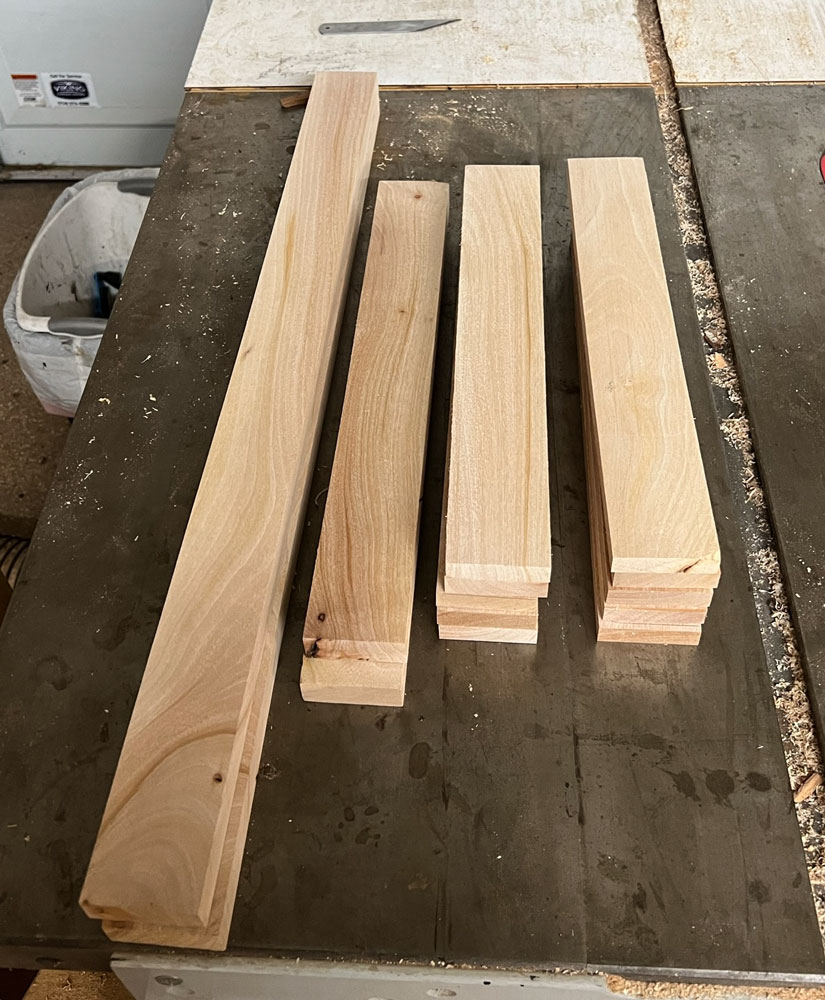
I began by jointing the wood pieces and generally preparing them square and true. Then I cut pieces for the top - the top will have ten slats put into two sides, with two end pieces. The sides and end pieces are 3/4 inch thick, while the slats are 1/2 inch thick. All are two inches wide. Here's a picture of the pieces I produced. I actually made more slats than the ten shown - I wound up with thirteen. Making the slats requires some setup so if I had a problem and needed another one or two, making them after the fact would be a pain. And I did use a couple of the extras - one because a piece was too white, and another because one slat was a bit too short.
I'm going to space the slats 1/4 inch apart. Since there are ten slats, that's 23 3/4 inches, since I'm leaving 1/4 inch between the slats and the end pieces.
I cut the slats to exactly the same length. This is extremely important - it'll never come out right unless they are exactly the same length. I'm going to use the Domino with an 8mm bit to make the mortises, so I have to cut the tenons to fit.
I cut the tenons using a sled on my table saw. I set up a stop block so that the tenon would be 10mm long. I'm going to cut the mortise 12mm deep. The tenon has to be 8mm, of course, and fit into the 30mm wide mortise (the Domino was set on wide mortise).
I adjusted the height of the saw blade to give me an 8mm tenon and cut a piece of scrap. Then I cut a mortise on a piece of scrap and adjusted the position of the mortise so that when the tenon is inserted into the mortise, the slat is flat with the side piece.
It took two settings to cut the mortises - one to cut the 8mm depth, and then to trim the sides of the tenon to fit into a 30mm mortise.
This is what they looked like after cutting the tenons. While I only show 10 here, I made more - and I recommend you do, also.

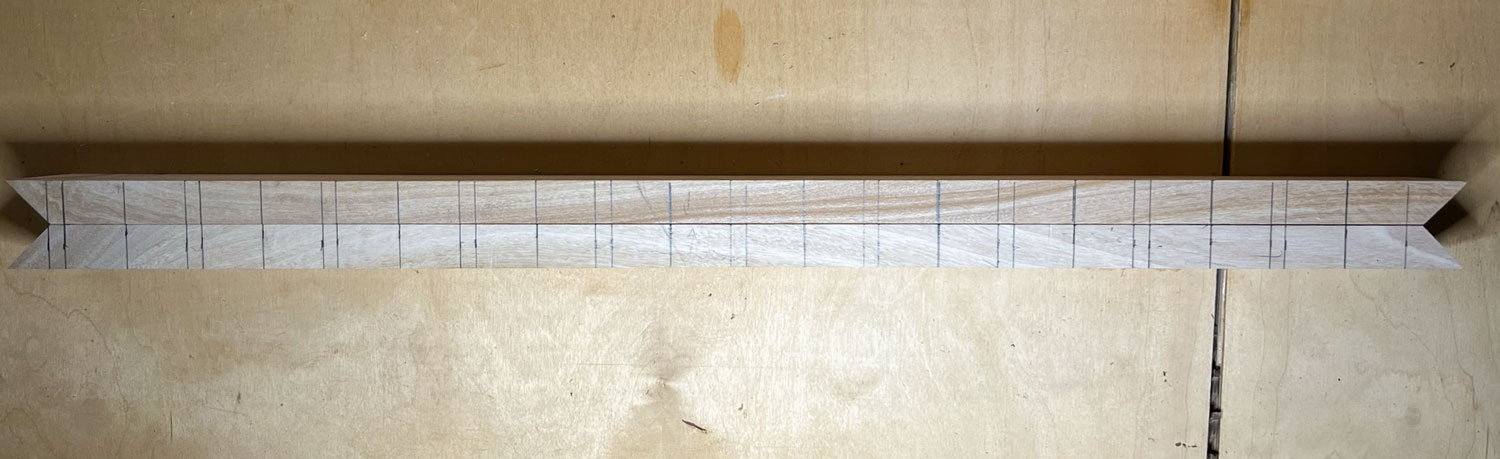
Here are the side pieces marked for the slats. The first one starts 1/4 inch from the miter cut, then there's a 2 inch mark, with a line in the center of the two inches. That goes on for all ten slats.
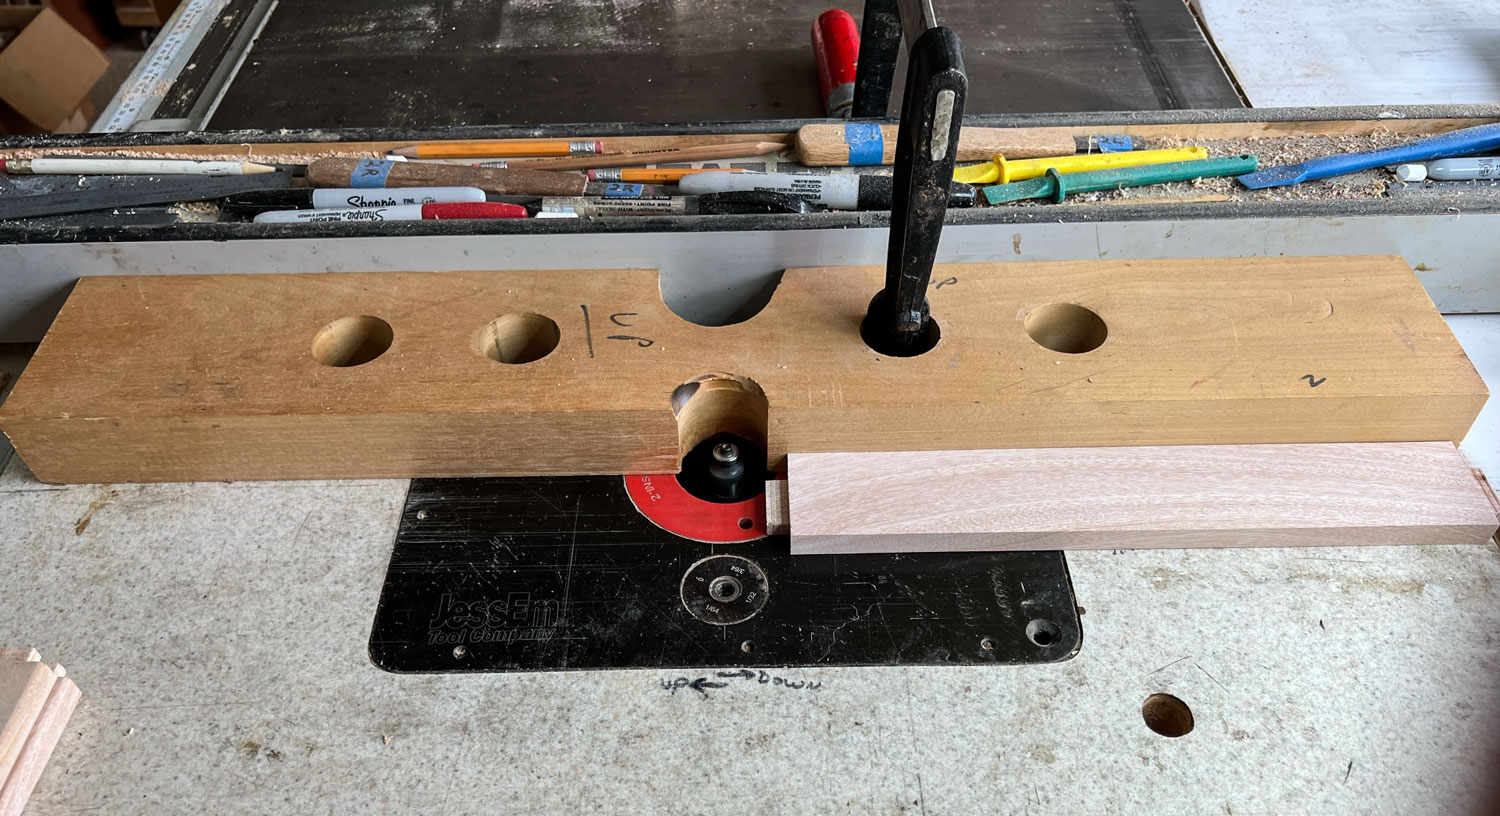
I'm using a Domino with an 8mm cutter to make the mortises. Here are the two side pieces with the mortises cut.

Here's a trial fitting of the slats in the side pieces. The overall size is about 24 inches long and 13 1/2 inches wide. I made it about as large as I could within the limits of the wood that I had.

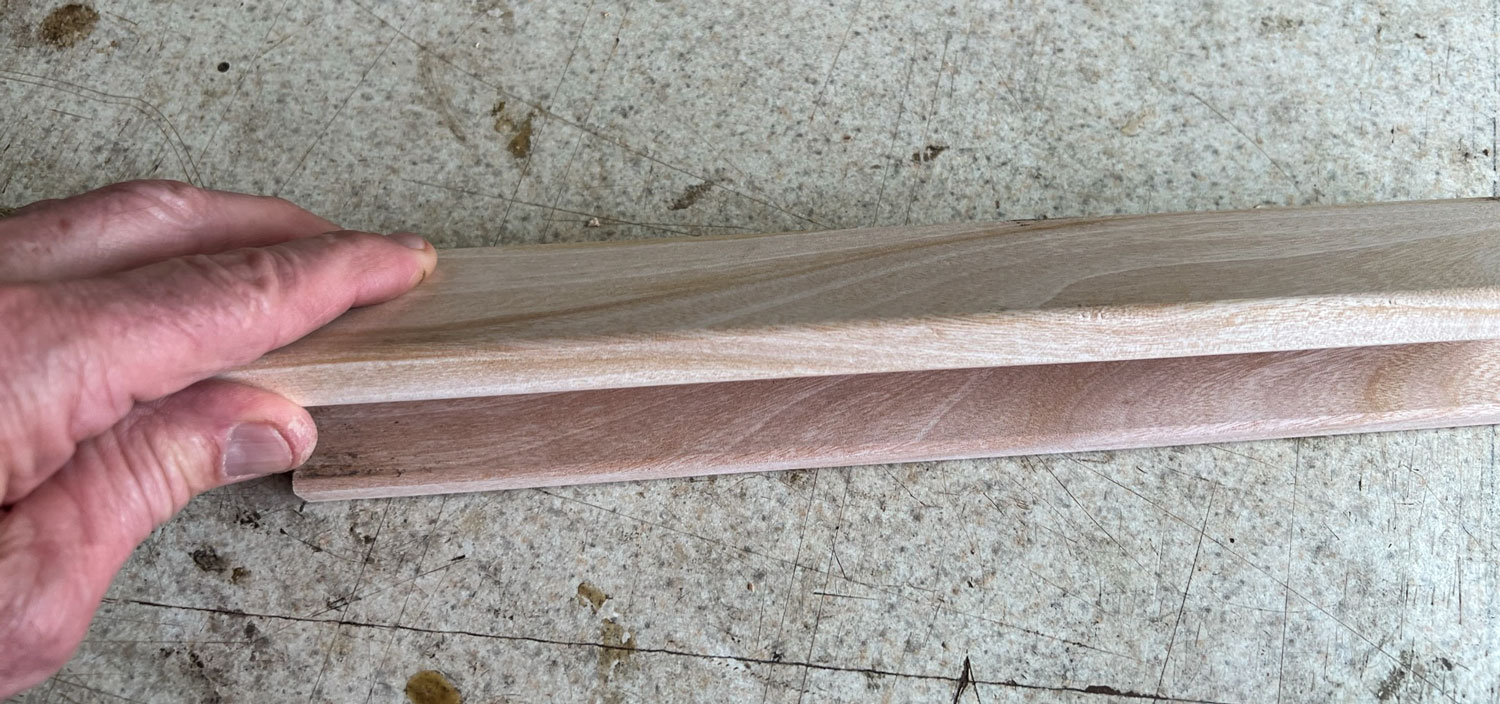
I cut the end pieces to fit the miters of the sides and used a 4mm Domino in each of them. I did a slight roundover on all of the edges except the edge that faced the slats. Also rounded over the edges of the slats.
This next picture is just to show the amount of roundover. That's an end piece, with a slat under it.
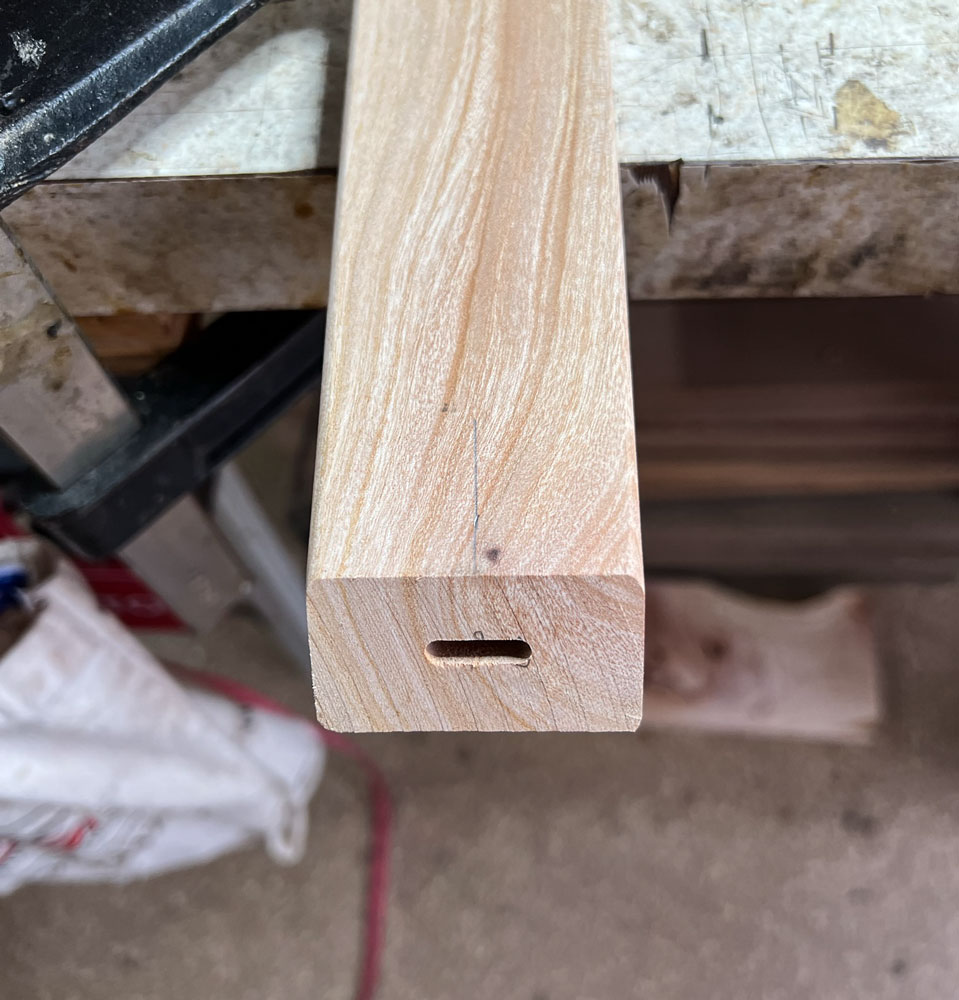
Here's one of the end pieces with the miter cut and the 4mm mortise cut into it.
At glue-up, I used a very slow epoxy so I'd have time to get everything together. I was careful with the glue to not get any squeeze- out in the upper part of the slats. I did have some squeeze-out under the slats and cleaned it up with acetone.
I forgot to take pictures of the top in clamps but I used a bunch of clamps to make sure there were no gaps between the slats and the sides. Here's what the top looked like after sanding and some shellac.
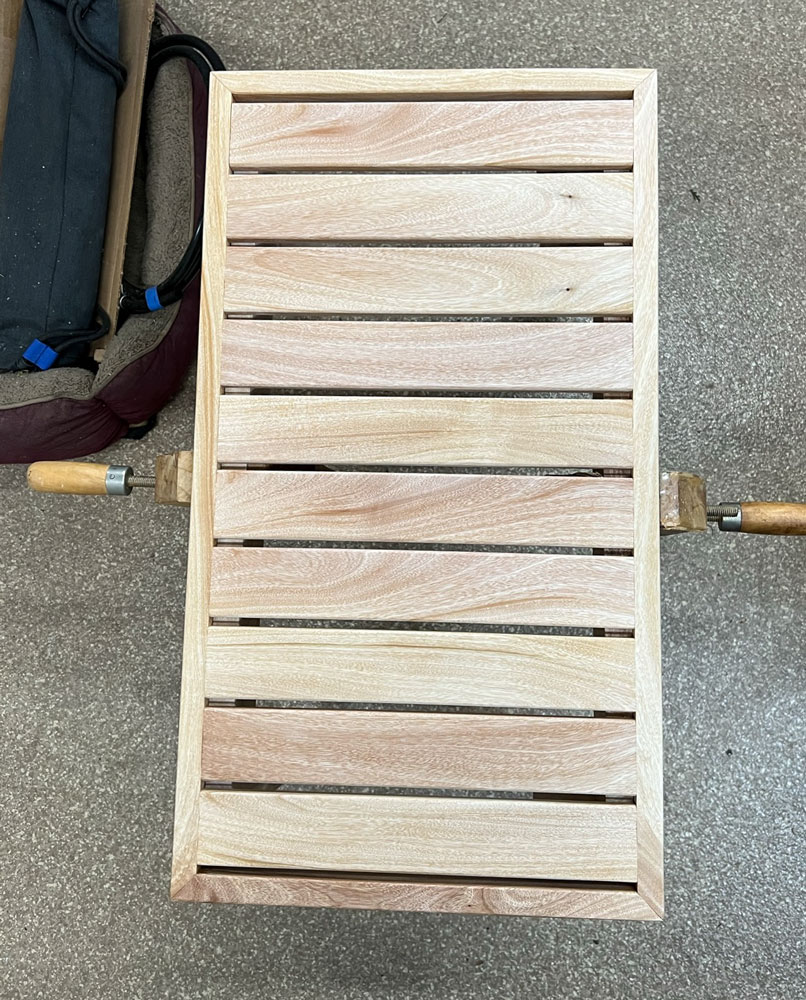
This wood is from a Hass avocado tree and is lighter in color than some avocado wood that I worked with earlier from a Fuerte avocado tree. It will probably darken somewhat over time.
Now to work on the base. The top will fit on to the base. The base will have four sides - I'll call the long side "the sides" and the short sides "the ends". I'll start with the sides first.
On the sides, the legs will be 3/4 inch material, cut tapered from 3 inches at the top to one inch at the bottom, about 20 inches long. You can use a taper jig to cut these on the table saw, but what I did was to lay out the legs and then cut along the line on the band saw, leaving just a small amount past the line. Then I went to the jointer and jointed the tapered side down to the line.
When I put the four legs together, they were very close, but not exactly identical. That's okay for legs - they're far enough apart that a small difference can't really be perceived.
I'm going to splay the side legs out a bit. I'm going to inset the legs by two inches from the outside of the top, and I want the tip of the leg to align with the outside edge of the top. The reason for the 2 inch offset is so that the end apron will be under one of the slats - I don't want the end apron visible through a gap between the slats.
The second reason for the offset, and the splay, is just aesthetics - I think it looks better than legs straight down.
What I did was clamp a piece of wood to the side of the top, then set the leg 2 inches in, and leaned it towards the piece of wood. I have to cut the top of that leg so that it's "flat" to the top, while leaning to the piece of wood. I just do it by trial and error, making a cut less than needed and then sneaking up on the angle. For this situation, the angle was about 5 degrees.

Next, I had to cut the apron to fit to the leg. I put the apron behind the leg and marked it from the leg - then i snuck up on the exact angle so that the apron was flat to the top, while being flush to the leg. The angle was about 10 to 11 degrees.
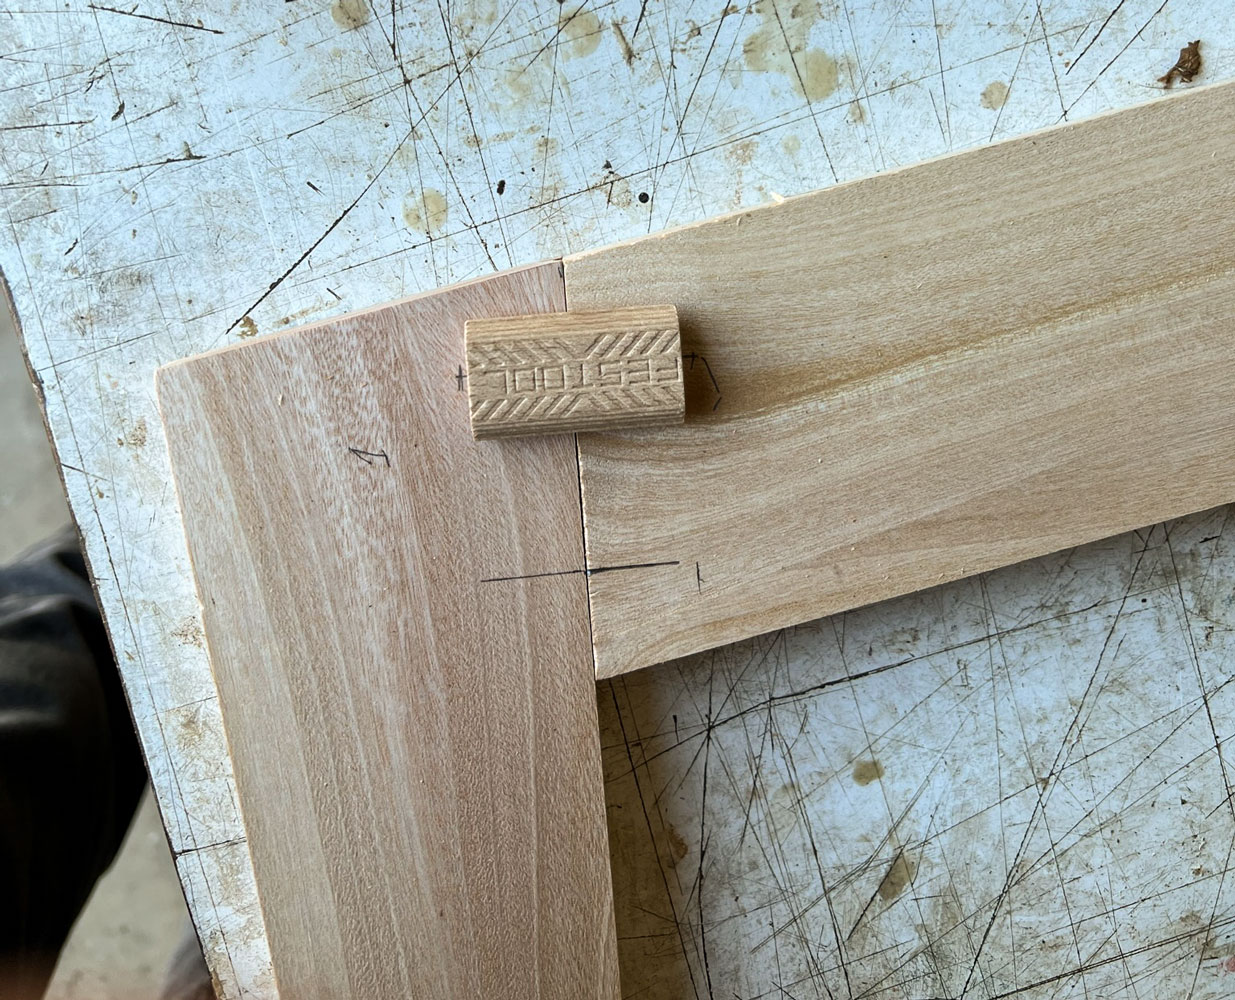
Then I marked the apron and leg and put two 8 by 40 mm dominoes in to join them.
Then I did the other leg the same way.
The legs on the other side were done the same.

The next task is to do the legs and aprons for the end sides. And you need the legs and aprons on the ends. The legs shown above are too rickety - when you sat on the bench, it would rock if all you had for legs is the sides shown above.
Since the end is shorter than the side, I made the legs 2 inches at the top, tapering to 3/4 inch, about 20 inches long.
I glue these to the legs on the side pieces.

Incidentally, one thing I did was put a slight roundover on the legs and aprons. When you're doing that, remember that the apron pieces are going to be connected to the top of the leg, so don't roundover that part of the leg.
Also, these legs are at an angle, since they are glued to the side legs which are at an angle. I had to trim the top of the legs to make them "flat". It was about a 5 degree cut. Same with the apron material - it's going to lean so it has to be trimmed at the same (approximate) 5 degree angle.
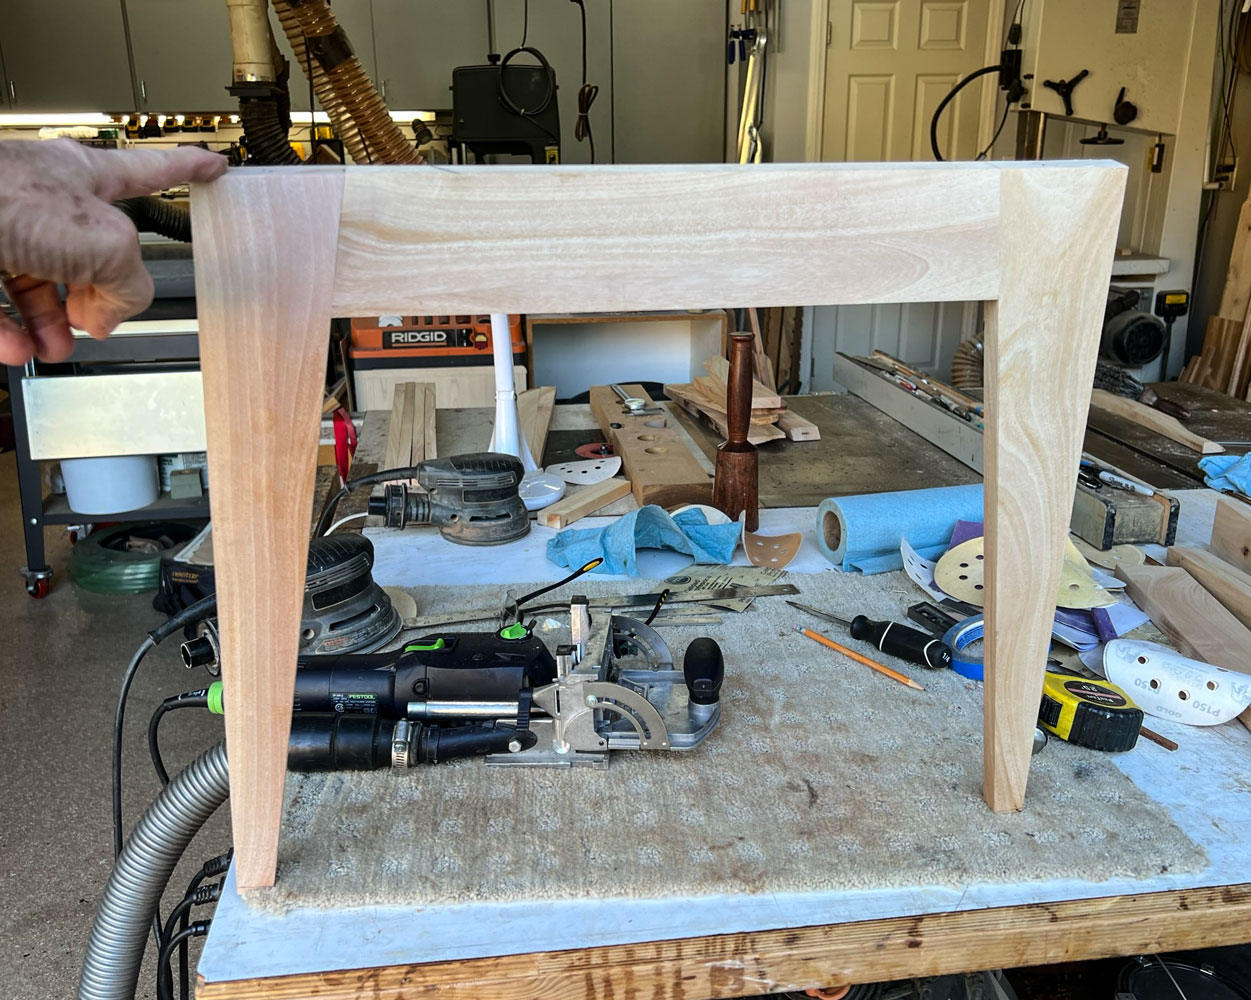
After gluing the end legs to the side legs, I put the assembly into the top. This picture is deceptive - because I took the picture from eye level, it looks like the sides are splayed out. They aren't - they're straight up. If you look to the legs on the other end of the top, you'll see they appear almost straight up, and they are straight up.
Next time I'll be more careful in taking the picture.

In the picture above, you can see that I have the apron material against the end legs. I can mark the angle that I need to cut that way. But even here, I need to sneak up on the exact angle.
This cut is critical. The leg assembly needs to fit close against the sides of the top, because I'm going to screw the leg assembly to the top. If the leg assembly is too wide, it won't fit into the top. If it's too narrow, there will be a gap between the assembly and the side of the top. It's actually not difficult to make it the exact width.
This is what the apron looks like when it's cut to fit.

After cutting the apron, I attach it to the end legs with two 8mm dominoes.
And here's the base put together. I tested it to the top and it's a nice close fit. I also trimmed the legs so that it sits even.

After sanding and finishing, I will attach the top to the leg assembly with four screws.
Here's what the bench looks like now. I still have some finishing to do but you can see what it looks like.
Here's a shot directly from the side so that you can see how the legs are splayed.

You can return to my main page here