End Table
May 27,2020
P. Michael Henderson
Some time back we had to cut down an avocado tree that failed. I saved some of the wood and dried it in our attic. The wood had a lot of defects in it (splits, voids, etc.) but I used it to make several simple things, such as a couple of lazy Susans and cutting boards. I also made a bench for Judy which you can see on my main page.
I still had two large blocks of the wood and decided to make an end table out of it. When I started the project I didn't think of documenting the project so I didn't take pictures. But I'll try to show how I built it.
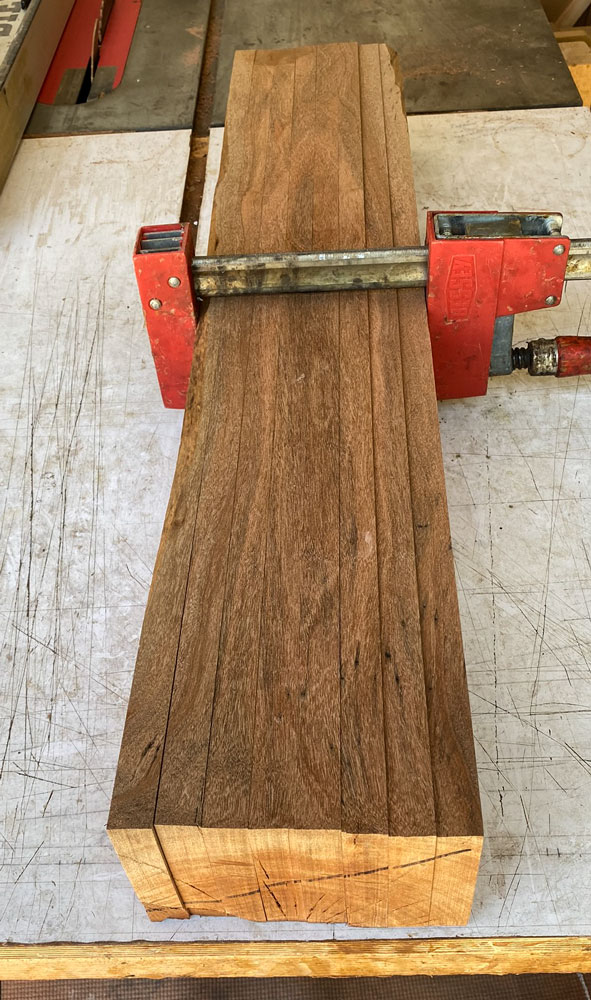
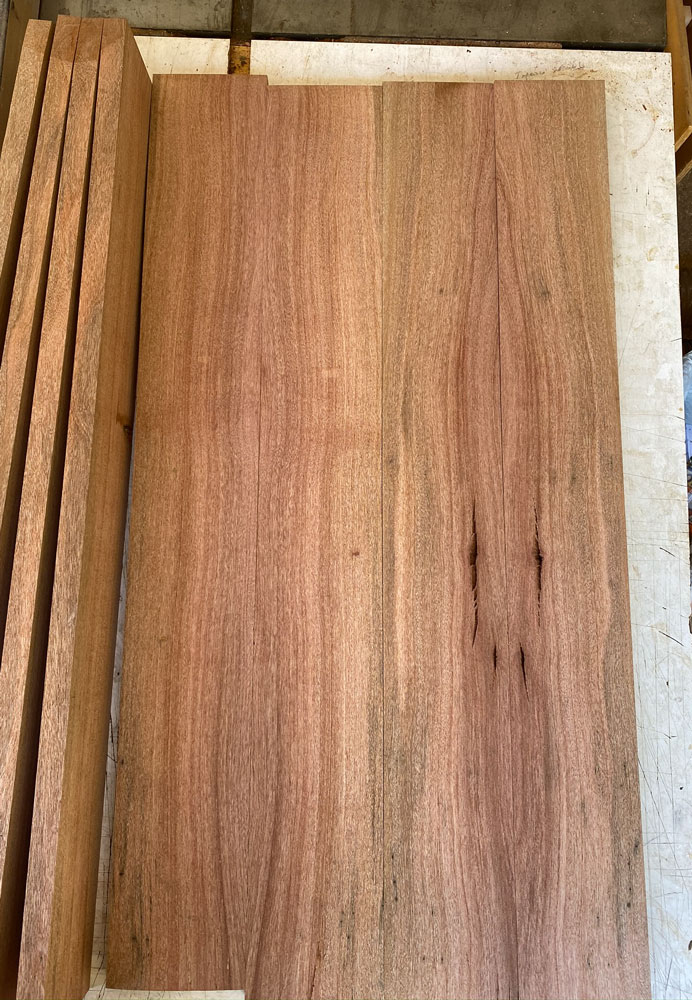
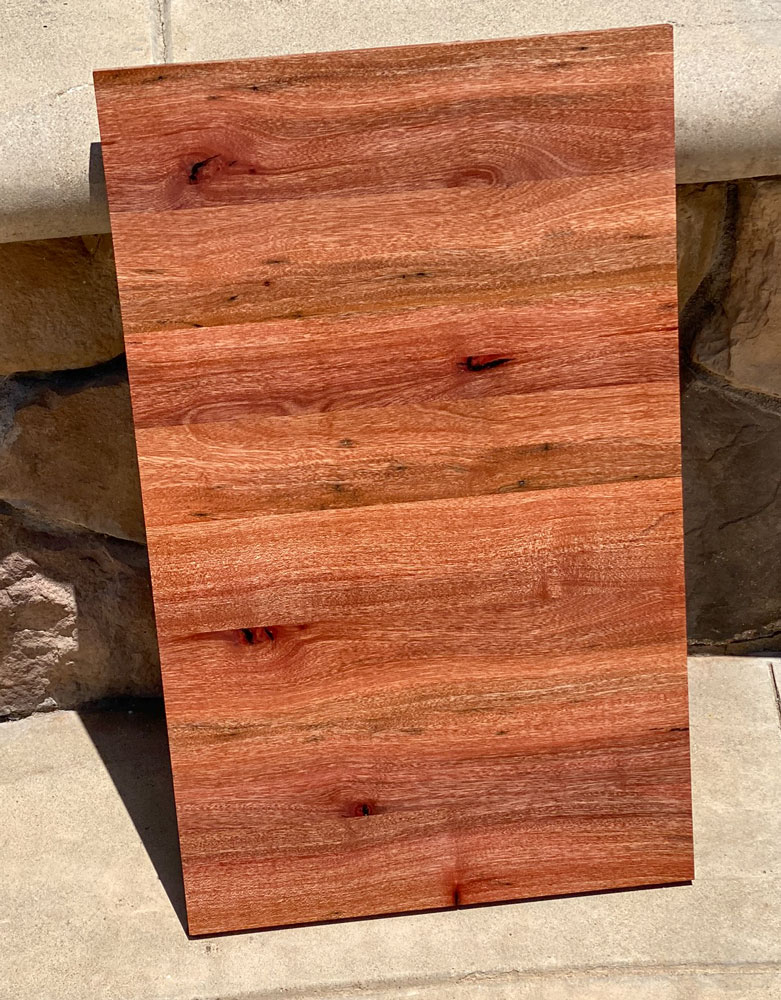
Here's one of the blocks of the avocado wood. I've already cut the block into boards but you can see what it looked like with the boards put together.
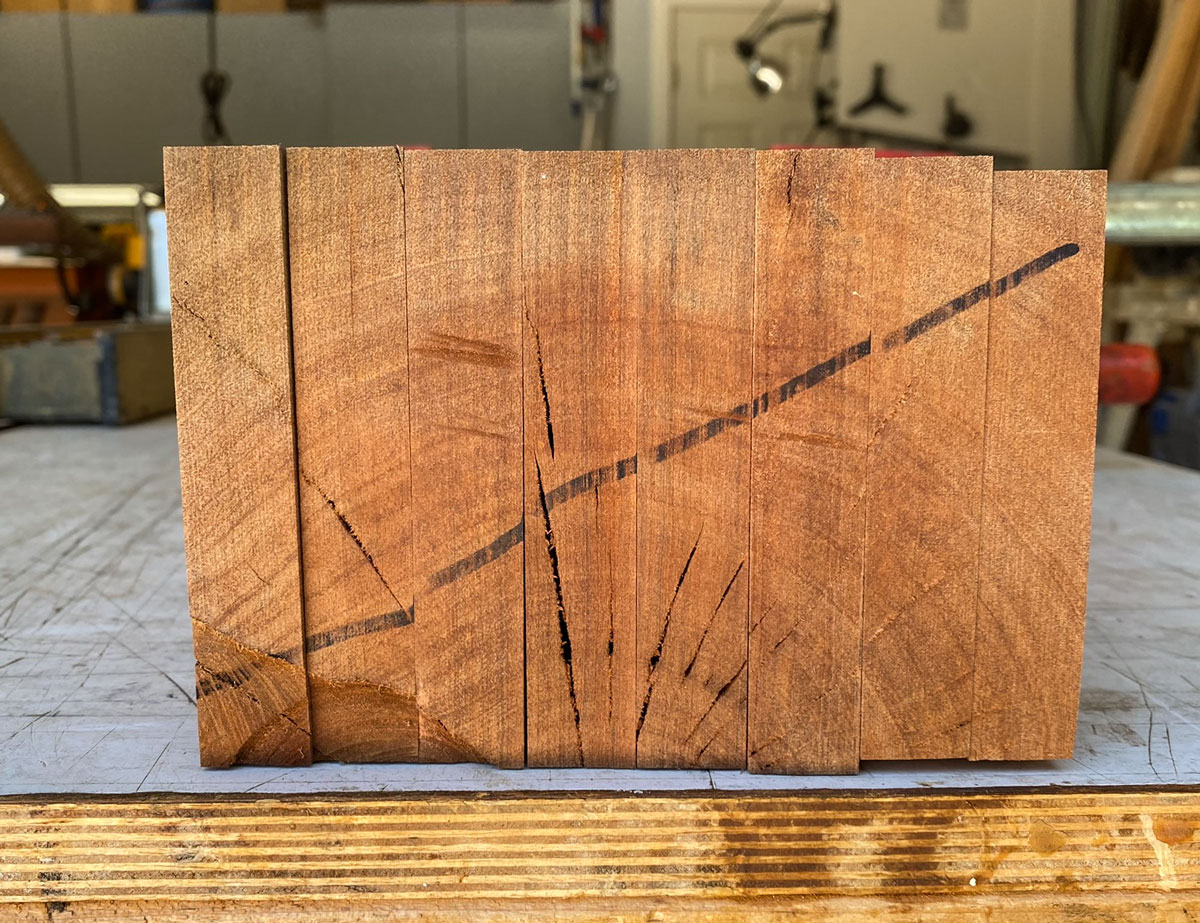
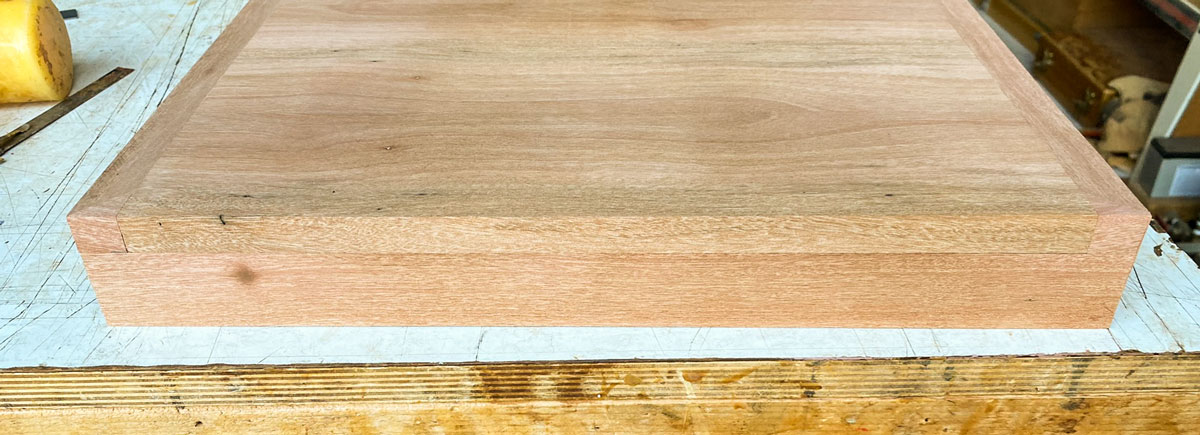
Here's looking at the block from the end. You can see the growth rings and how the wood split as it dried. There were many internal splits and voids, also.
I cut the wood into boards of 7/8" so that I'd have enough excess to take the boards down to 3/4".
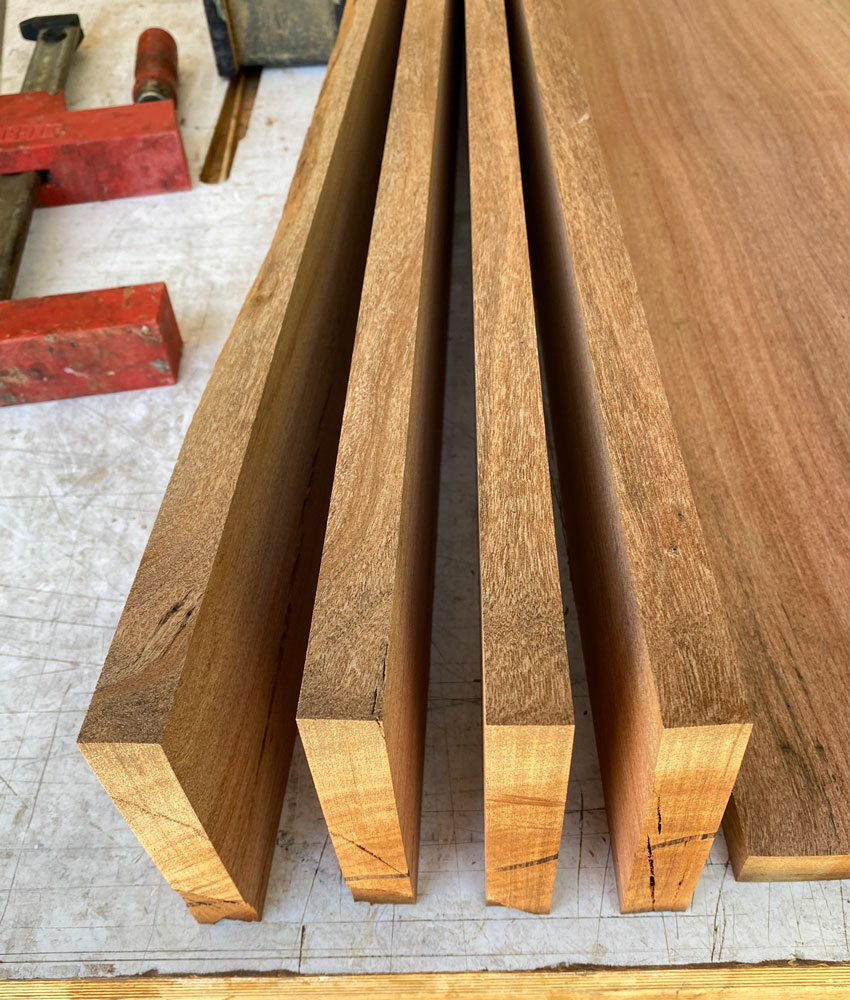
The boards weren't very wide so I "opened up" the boards and glued two boards together. That is, I opened the boards like a book so that the grain would match on one side. In this picture I have four boards. You can see that each set of two have a grain match.
You can see the splits in the two boards on the right. Some of the defects I was able to fill with epoxy but some were too big and the wood had to be discarded.
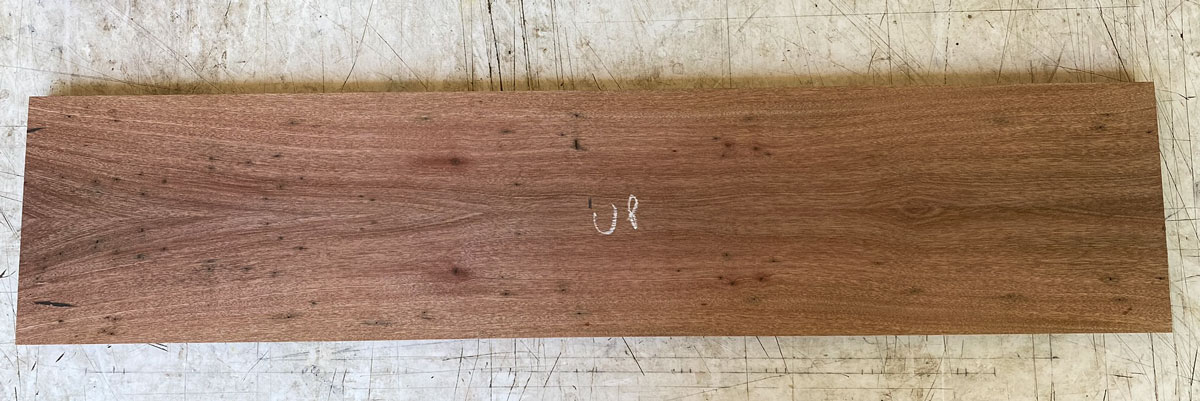
Here's a piece that was glued up from two boards. Note the number of insect holes. The tree had died a while before we cut it down and insects had apparently gotten into the wood. I didn't use this piece for the top because of all the insect holes but you can see how the two boards glued together provide a grain match.
The boards were about 30 inches long and I only needed the table to be about 14 to 15 inches wide so I cut two of the boards in half and glued them together. This gave me a panel about 23 inches long and 14 inches wide. I had to cut the center out of two of the sections to remove defects so if you look closely at the panel you'll see more than the 7 glue joints that would exist if the wood had been perfect.
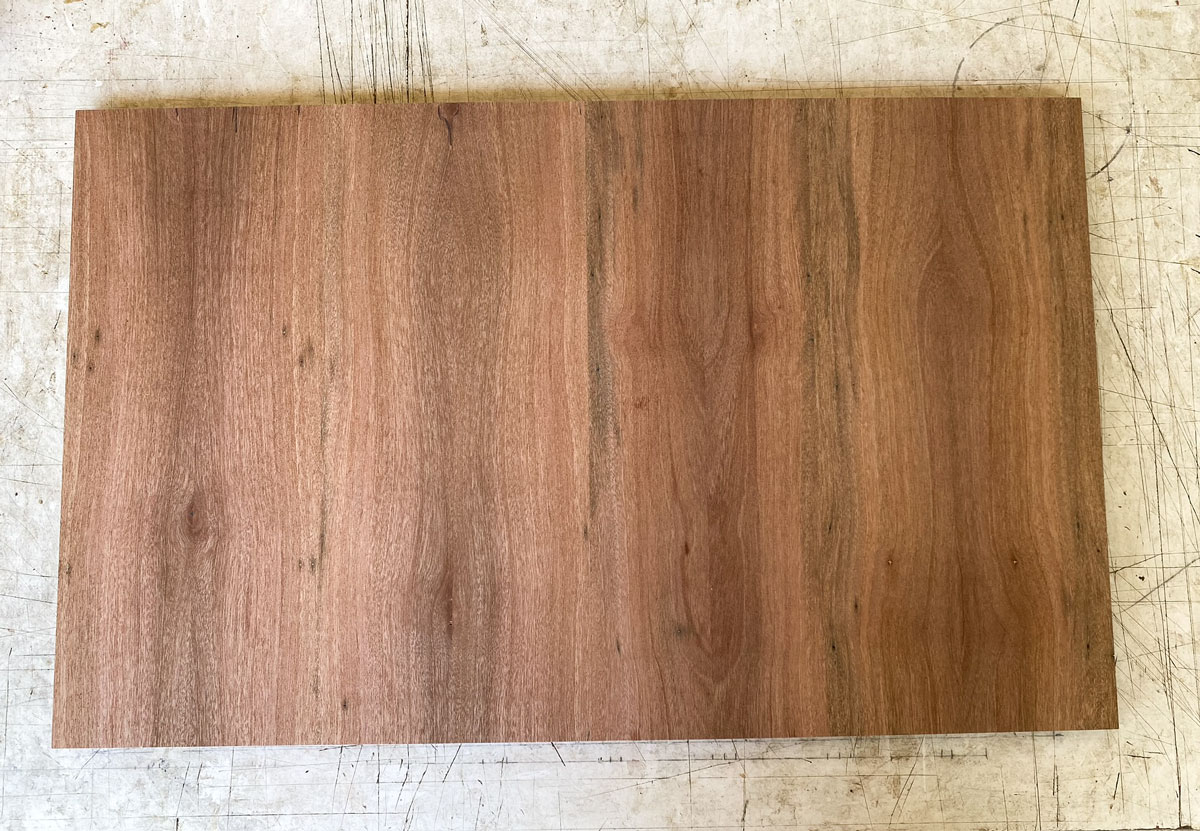
I could have made the panel with the wood running long-ways instead of across the length. I discussed the options with Judy and we decided that it would look better with the grain running from side-to-side. I plan to put a border on the outside of the table (along the long edge) so I have to allow for wood movement.
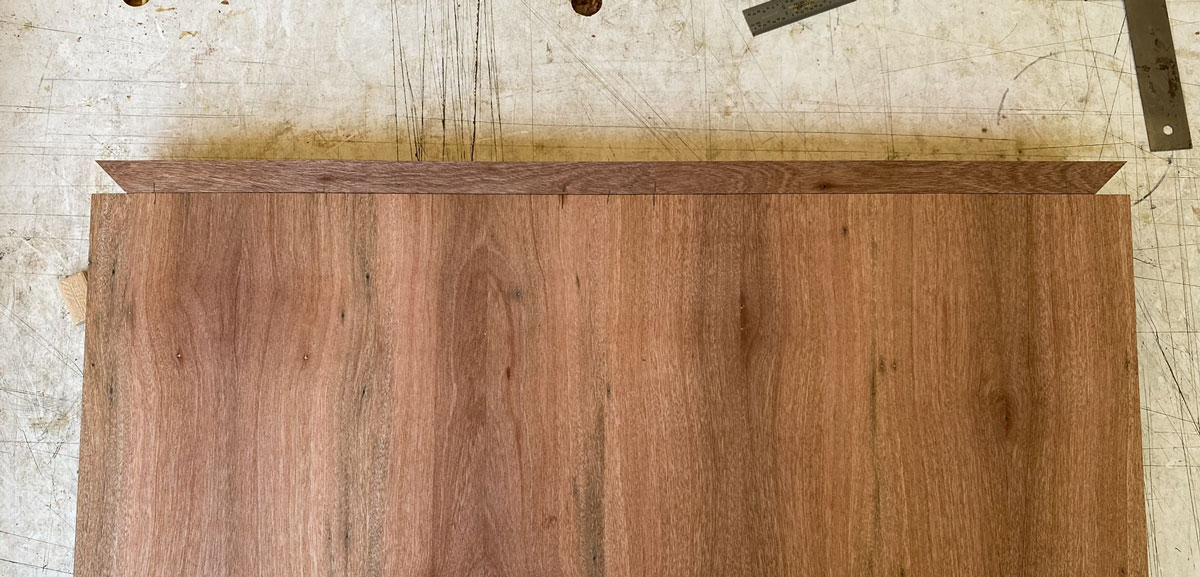
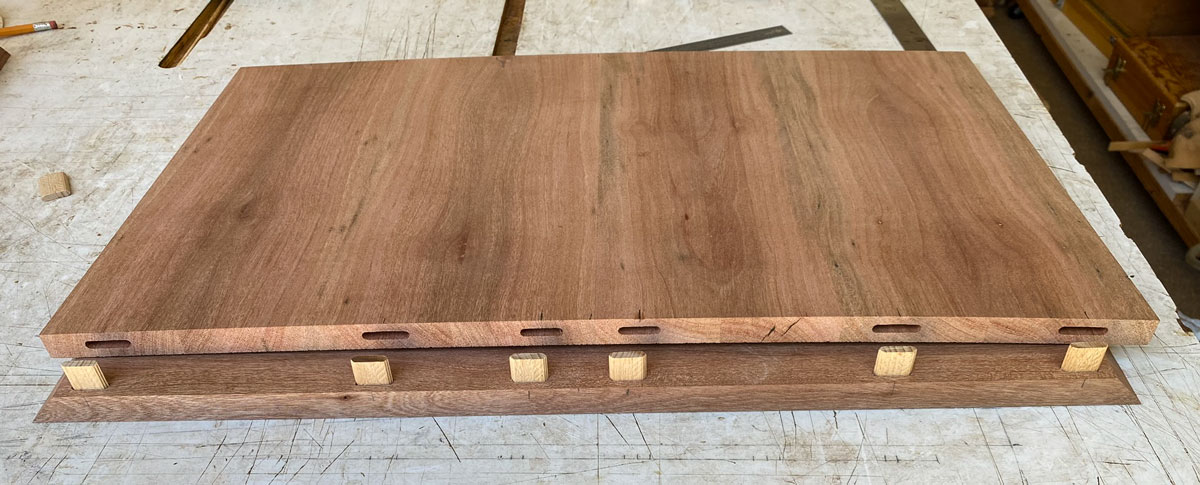
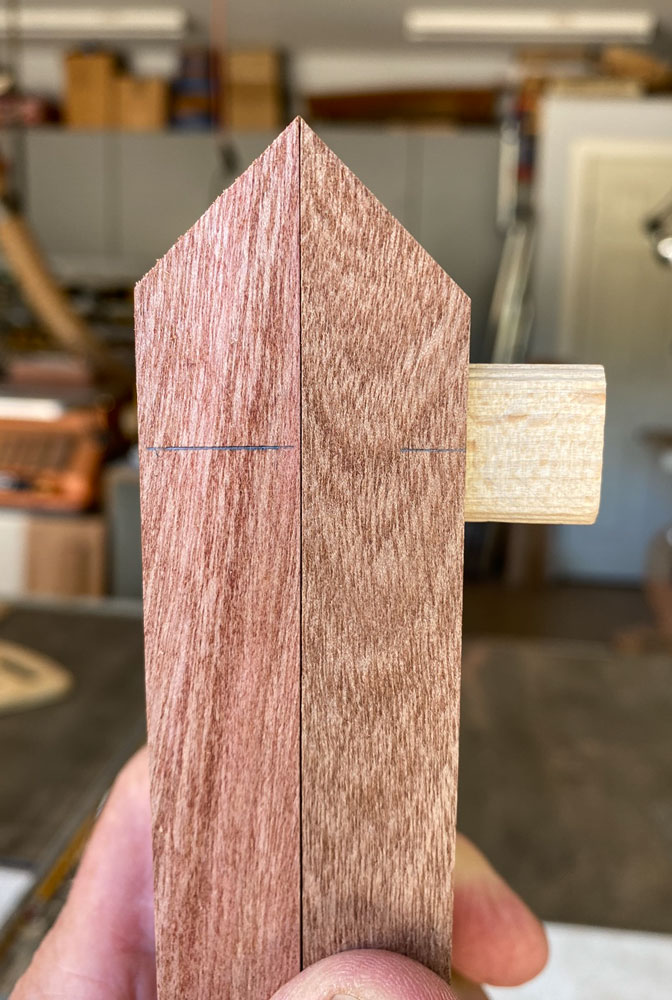
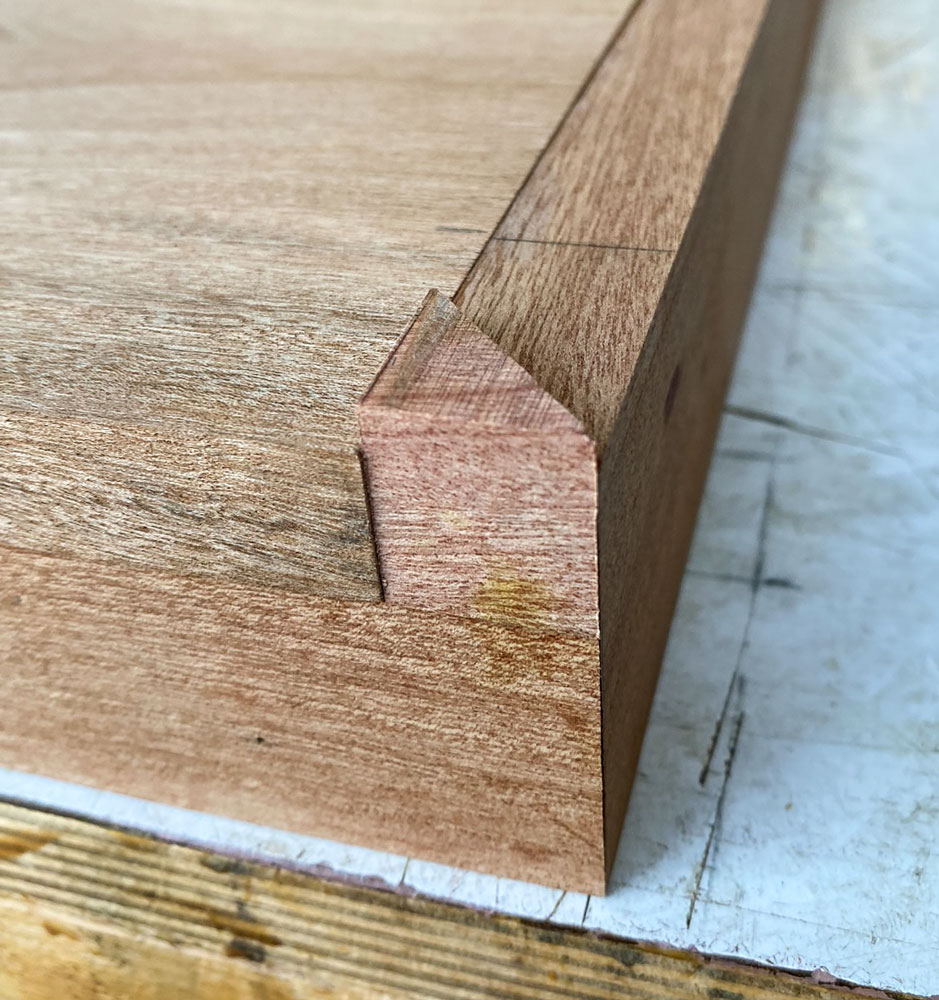
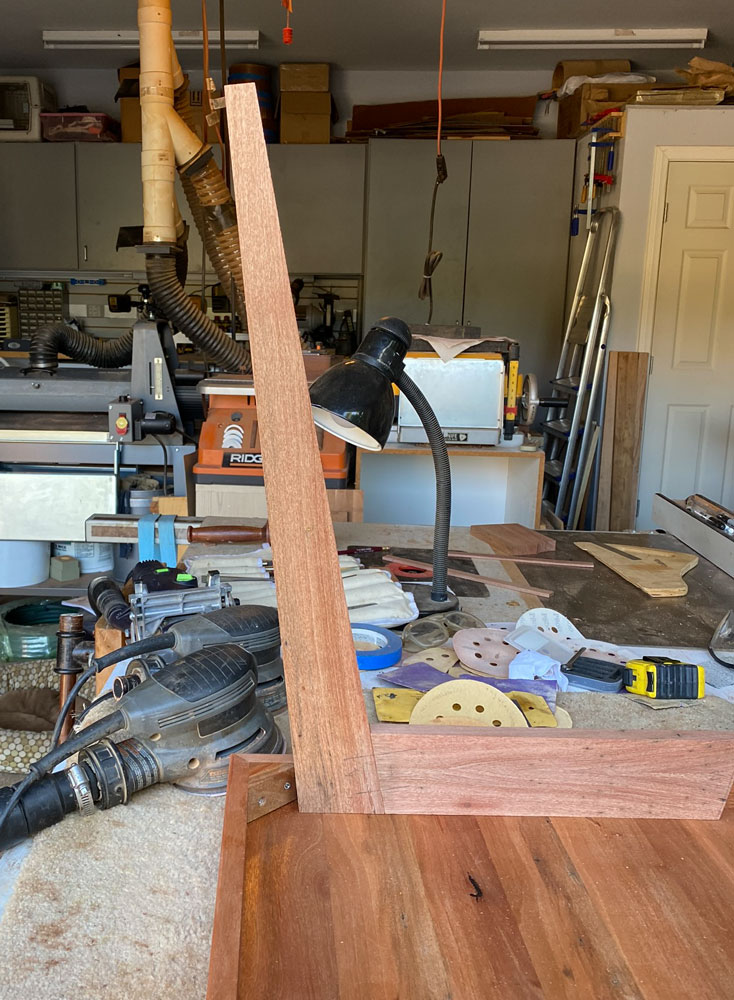
It's a bit hard to describe how I'm going to make this border so bear with me and follow along. Since the border will be cross grain to the panel, I can't glue it all along the panel. I have to treat it like a breadboard end and only glue it in the middle, allowing it to float on the ends. But I want the ends section to be tight to the panel (no gaps) so I have to do something at the ends to pull then tight to the panel without attaching them to the panel. Anyway, here's one of the border pieces against the panel. Note the mitered ends. The length of the border is just a touch shorter than the panel.
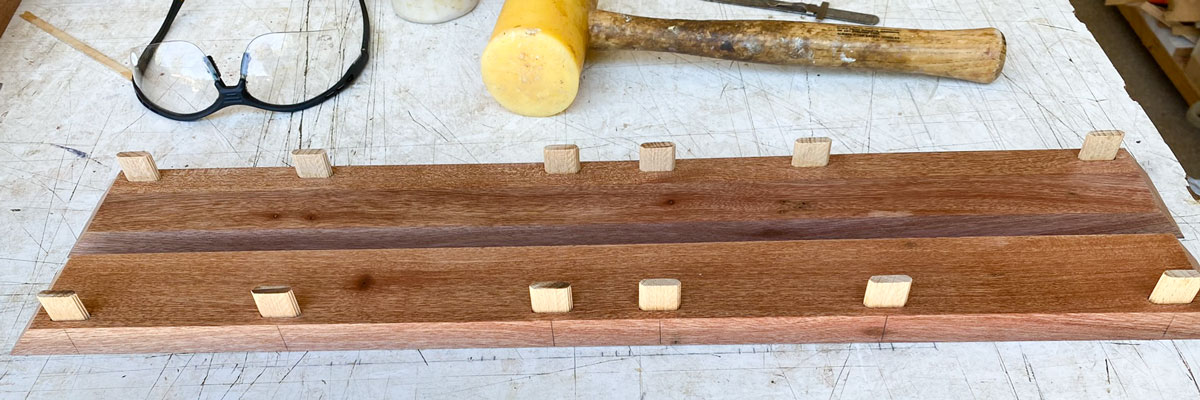
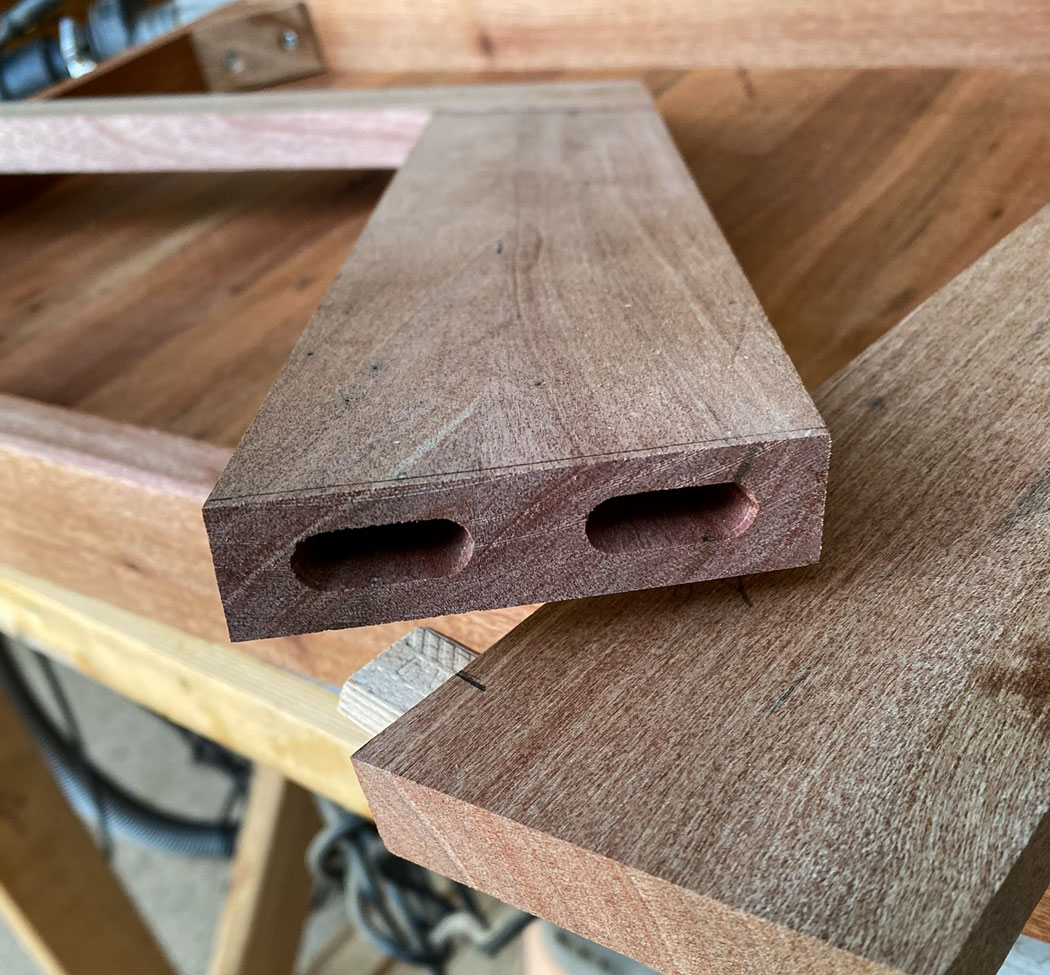
I'm using dominoes to attach the border to the panel. The two middle dominoes will be glued to the panel. The other dominoes are only glued to the border - they float in the panel. Note that the mortises are wide for those dominoes which allows the panel to expand and contract. These dominoes are 6mm by 30mm. I put them 12mm into the border piece and a bit more than 15mm in the panel - enough to accommodate the 30mm length.
I cut a border piece for the other side. It's important that the two pieces are exactly the same length. I put dominoes in it, similar to what I did with the first piece.
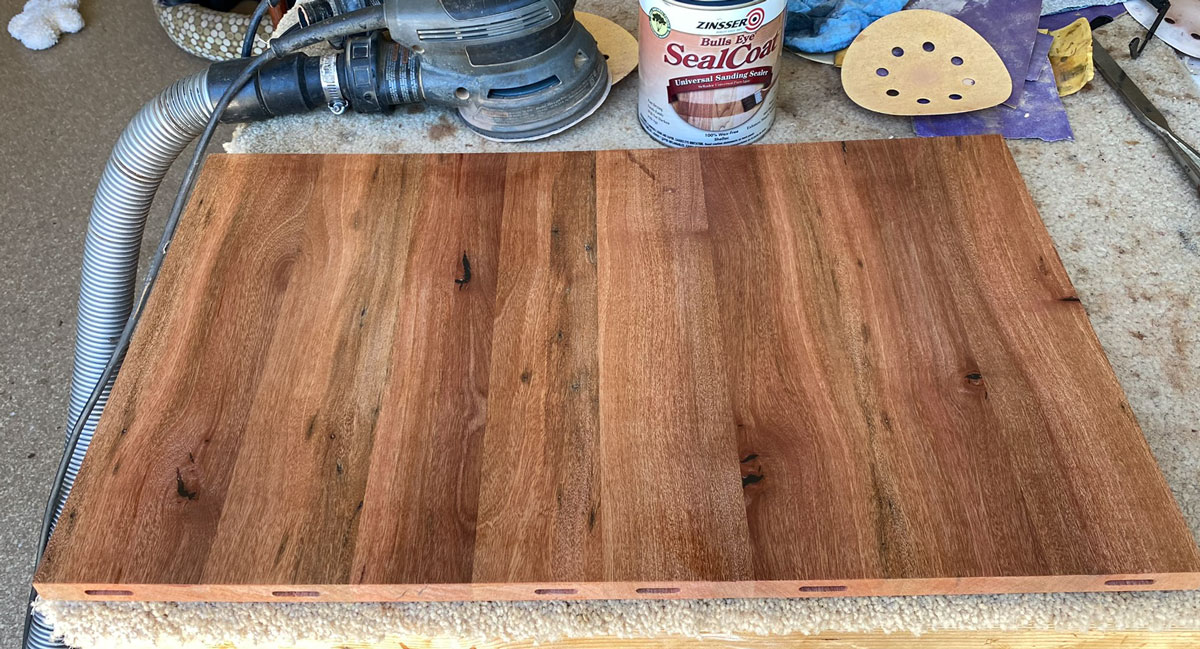
I sanded the panel to 220 grit and then wet it to raise the grain. This picture is of the panel wet. When it dried, I sanded it again with 220 grit sandpaper. Sanding was most important for the underside of the top. Once the side border pieces are put on it would be hard to get the corners sanded. This is the bottom of the panel showing - you can see the defects in the wood, filled with black epoxy.
After I sanded it, I applied a coat of dewaxed shellac. Again, the bottom of the panel is showing.
I also applied the shellac to the border pieces.
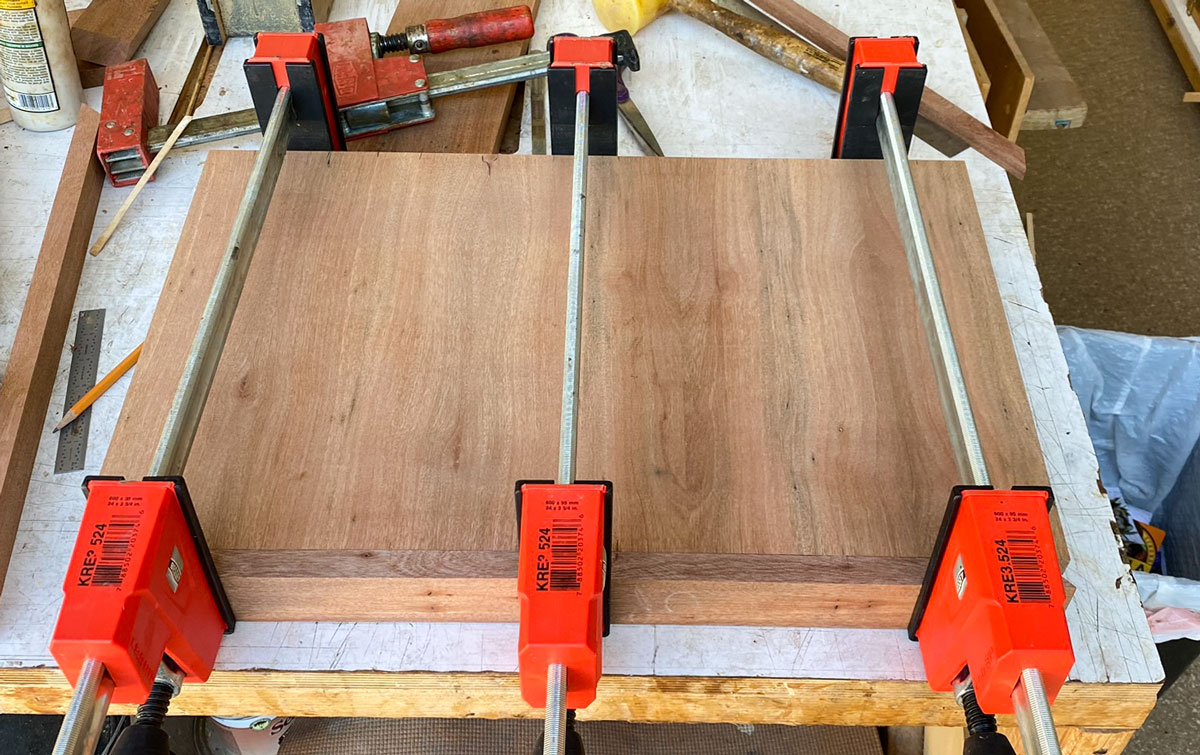
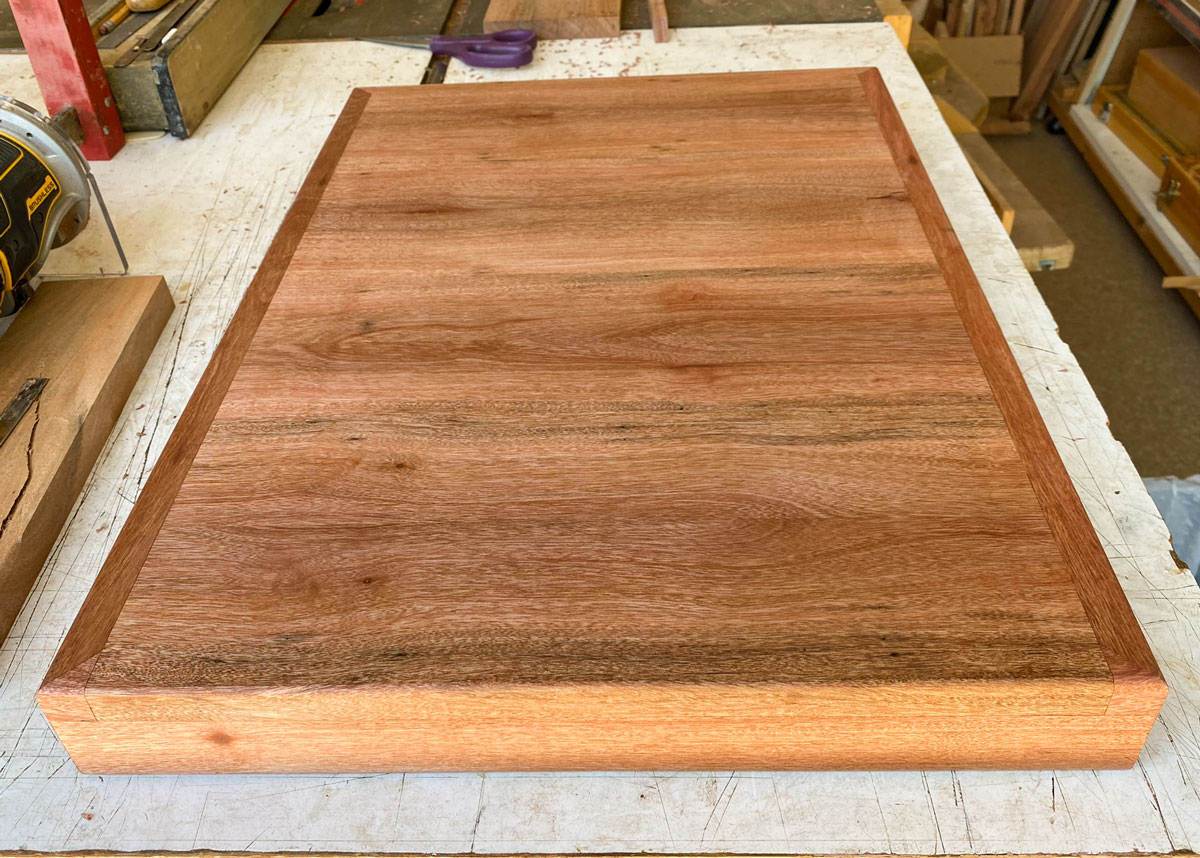
Then it was time to glue the borders to the panel. I only applied glue to the two inside dominoes and I glued one side at a time. Now you can see the top of the panel.
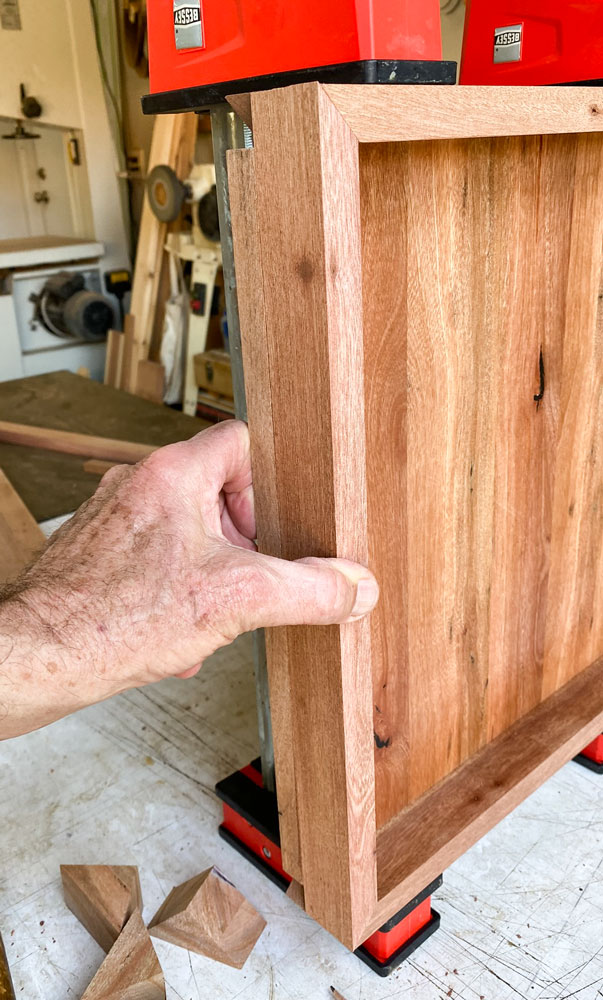
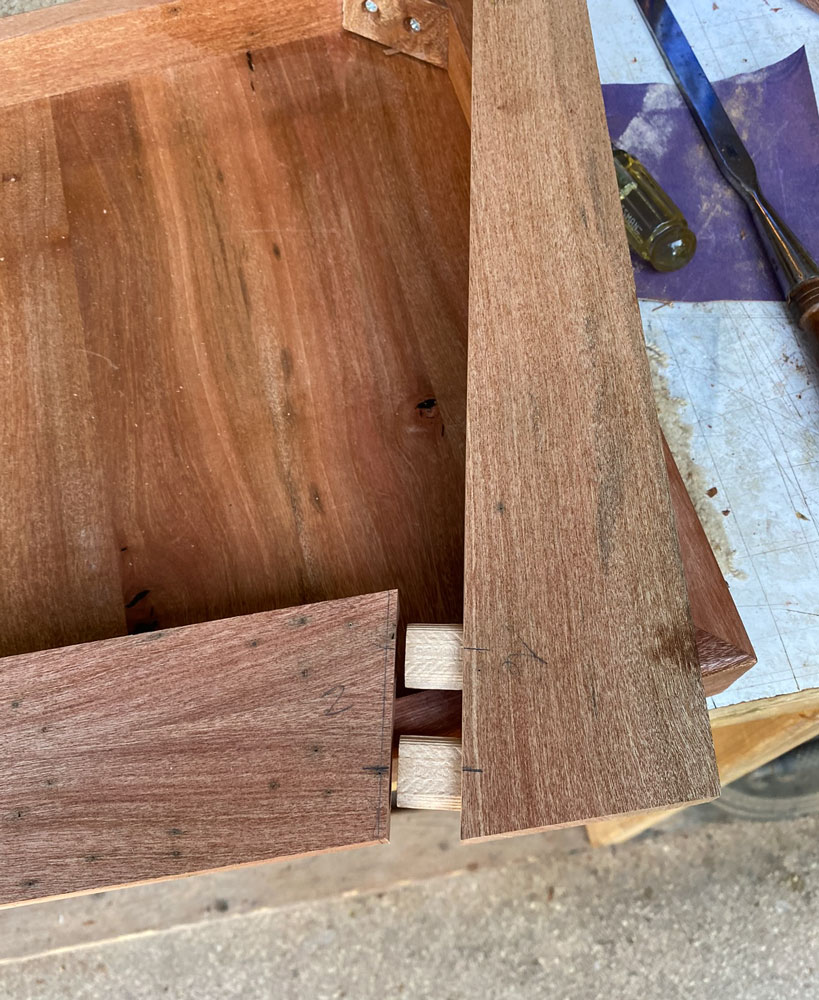
I have to be careful with the position of the border piece. I want it just short of the end of the panel. Here, I'm checking the position of the first border piece.
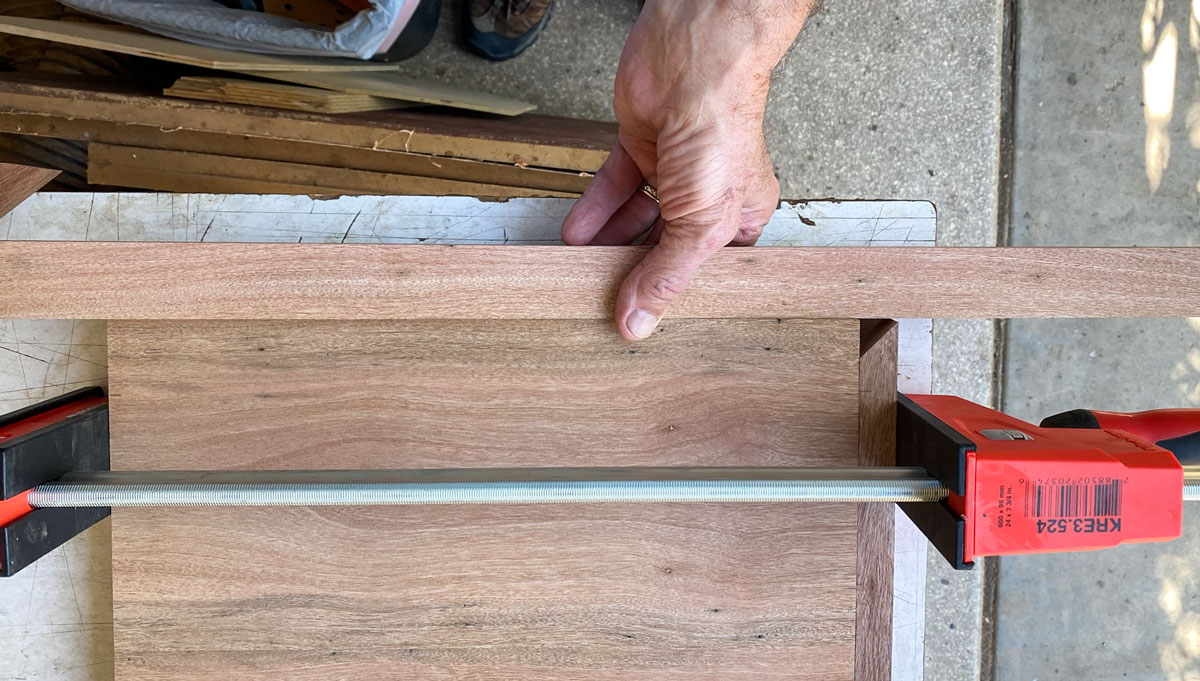
You can see in this picture that the border piece is just short of the length of the panel.
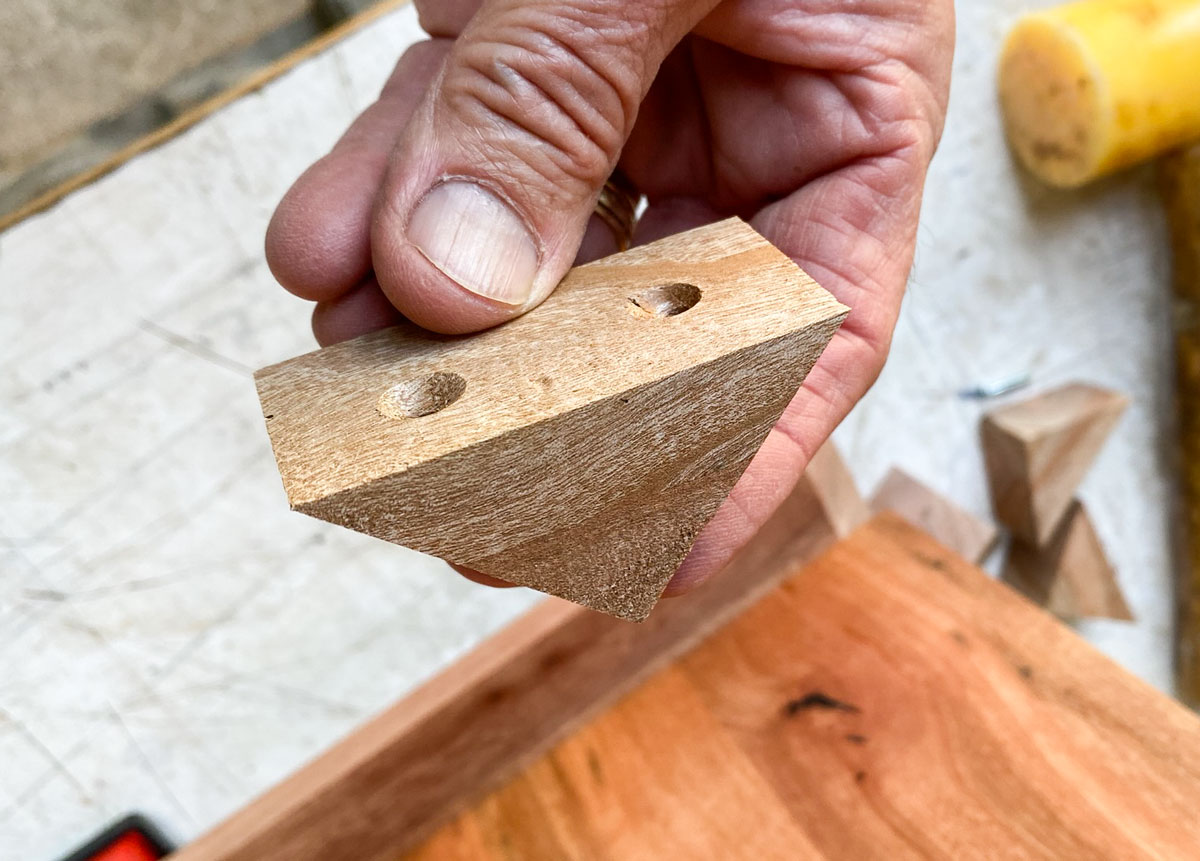
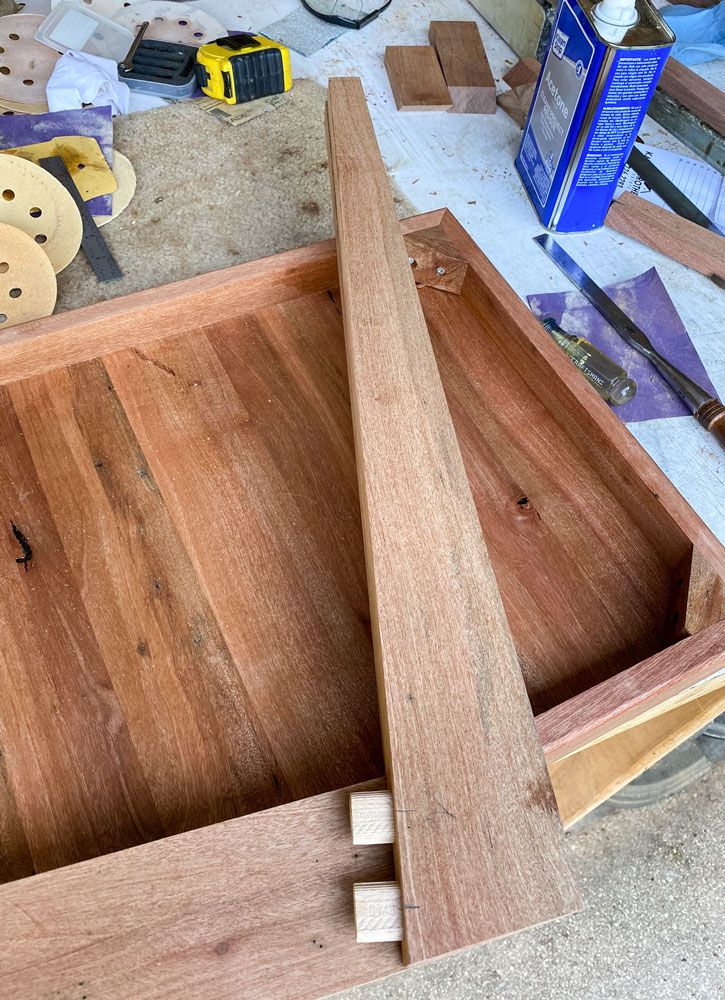
Then I glue the other side border piece on, making sure that it's in the same relative position as the first one - just short of the length of the panel. As that one is being glued, I prepare the pieces for the ends. The purpose of these end pieces (other than decorative) is to hold the side border pieces together - so they don't bend outwards. Here's one piece cut.

Holding it in position.
This piece needs to be attached firmly to the side border pieces to keep them in position. How to do that? I thought of several possibilities but the easiest was corner blocks.
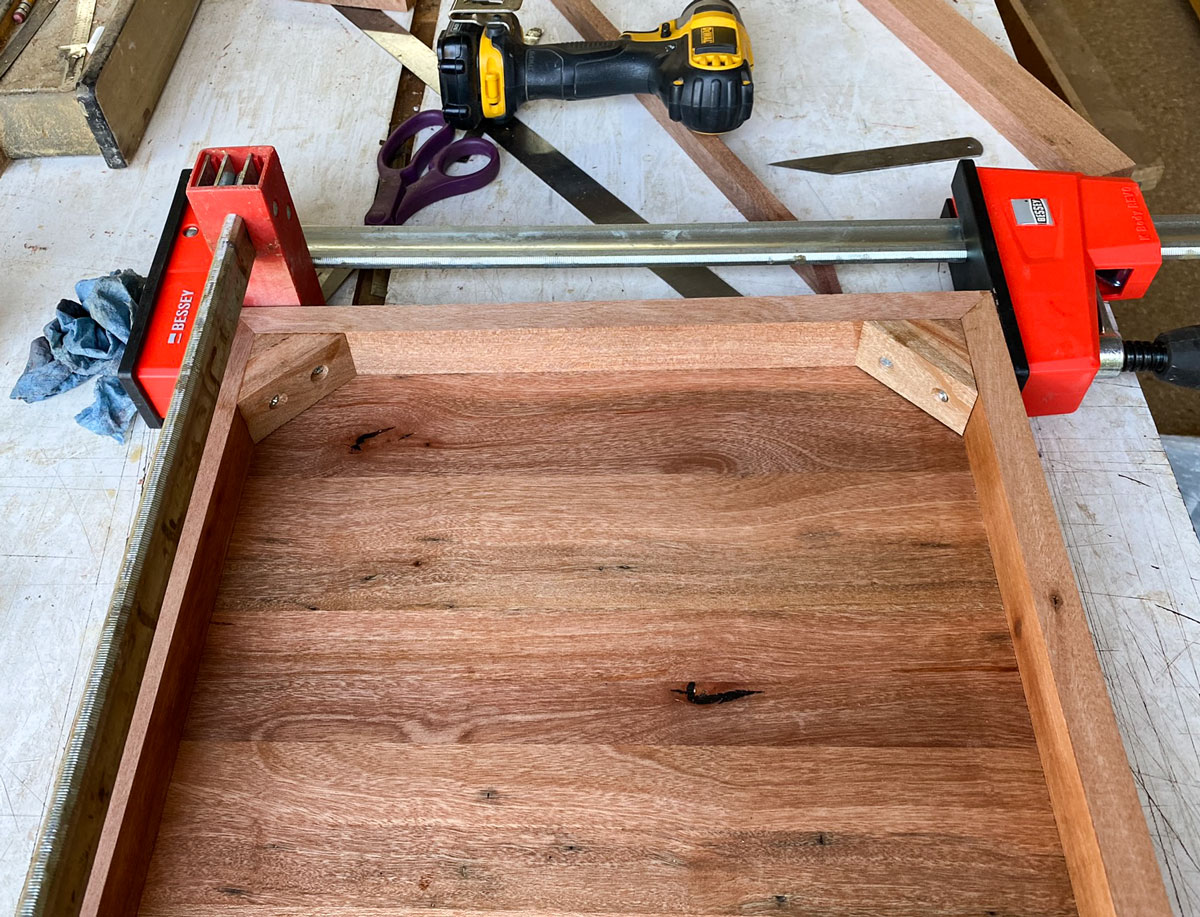
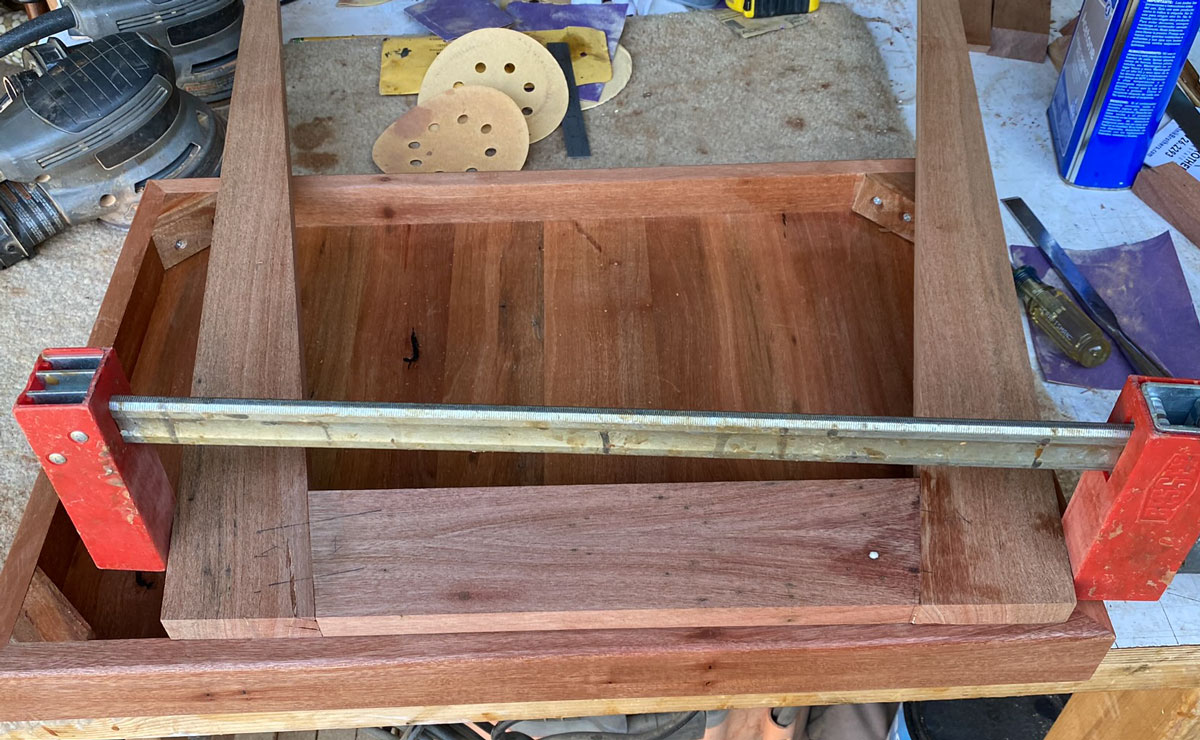
Here's a picture of the two corner blocks installed. Note the small amount of space between the corner blocks and the panel. This is to make sure that any glue seepage when the corner blocks are installed does not glue the panel to the corner block. I want the panel to be able to move with environmental changes. I had put shellac on the side borders so I had to sand the area where the corner block was to be glued to it.
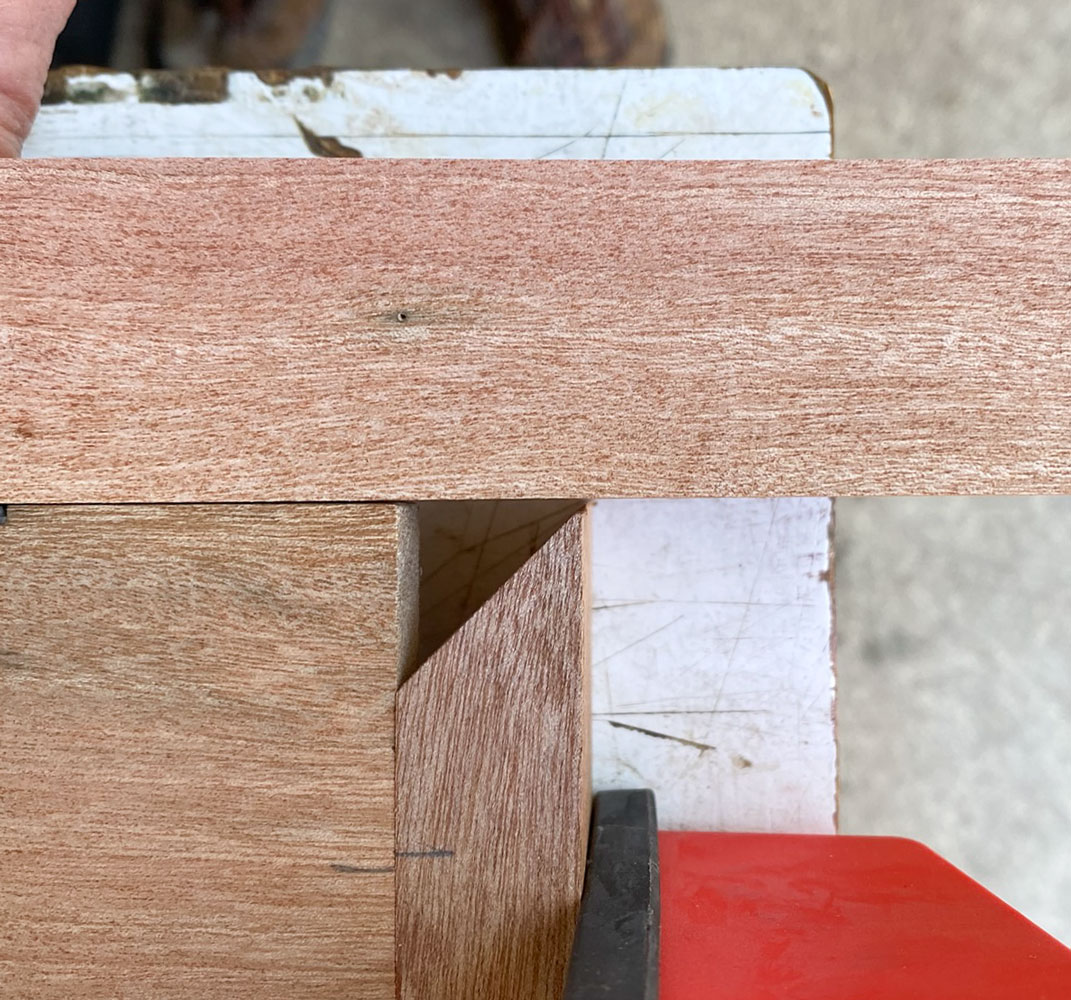
But now, I have a gap on the miter joint at the top of the panel. I'll fill that gap with a piece cut to fit.
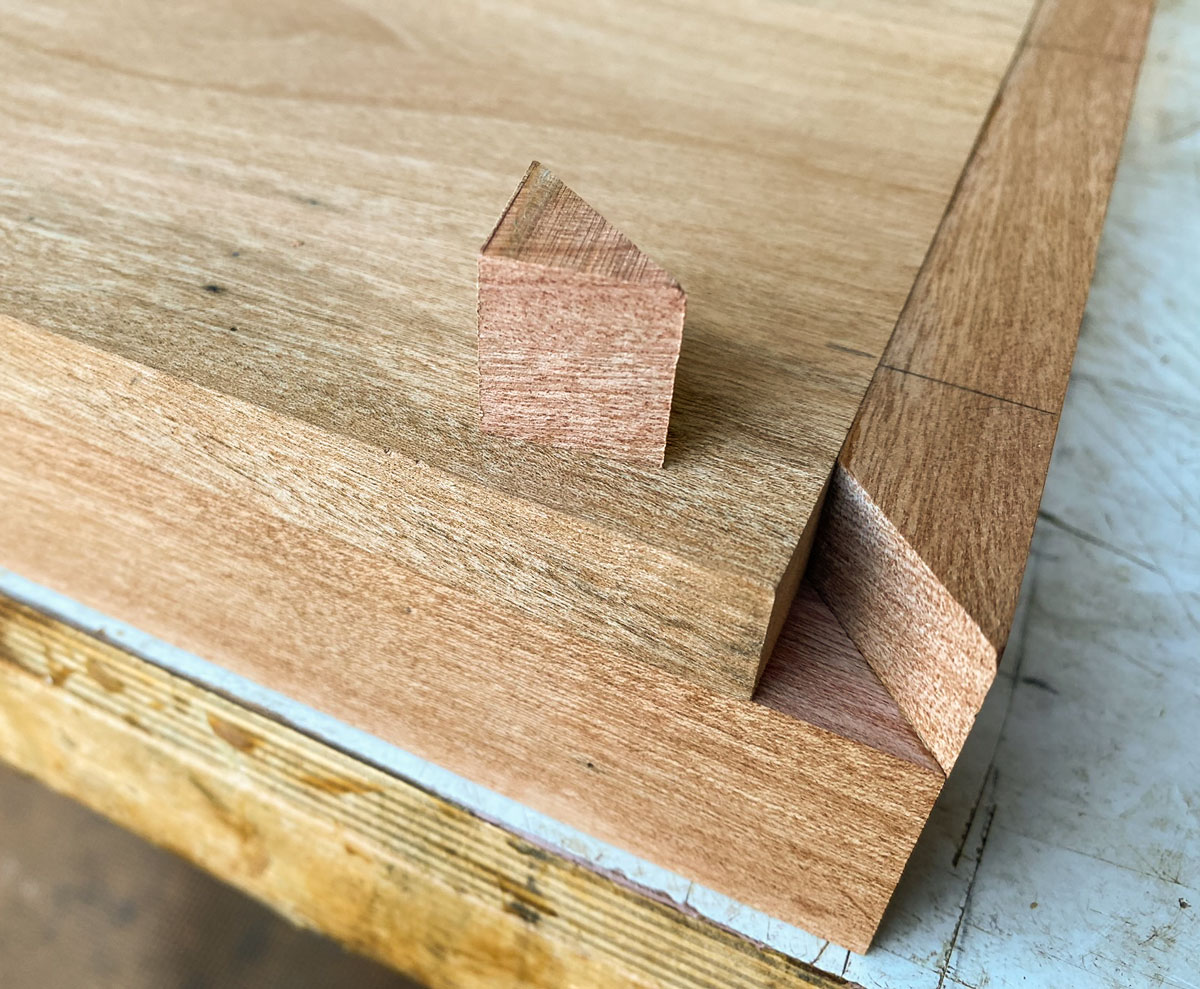
Here's the piece glued in position. It is glued to the miter and at its bottom - not to the panel.
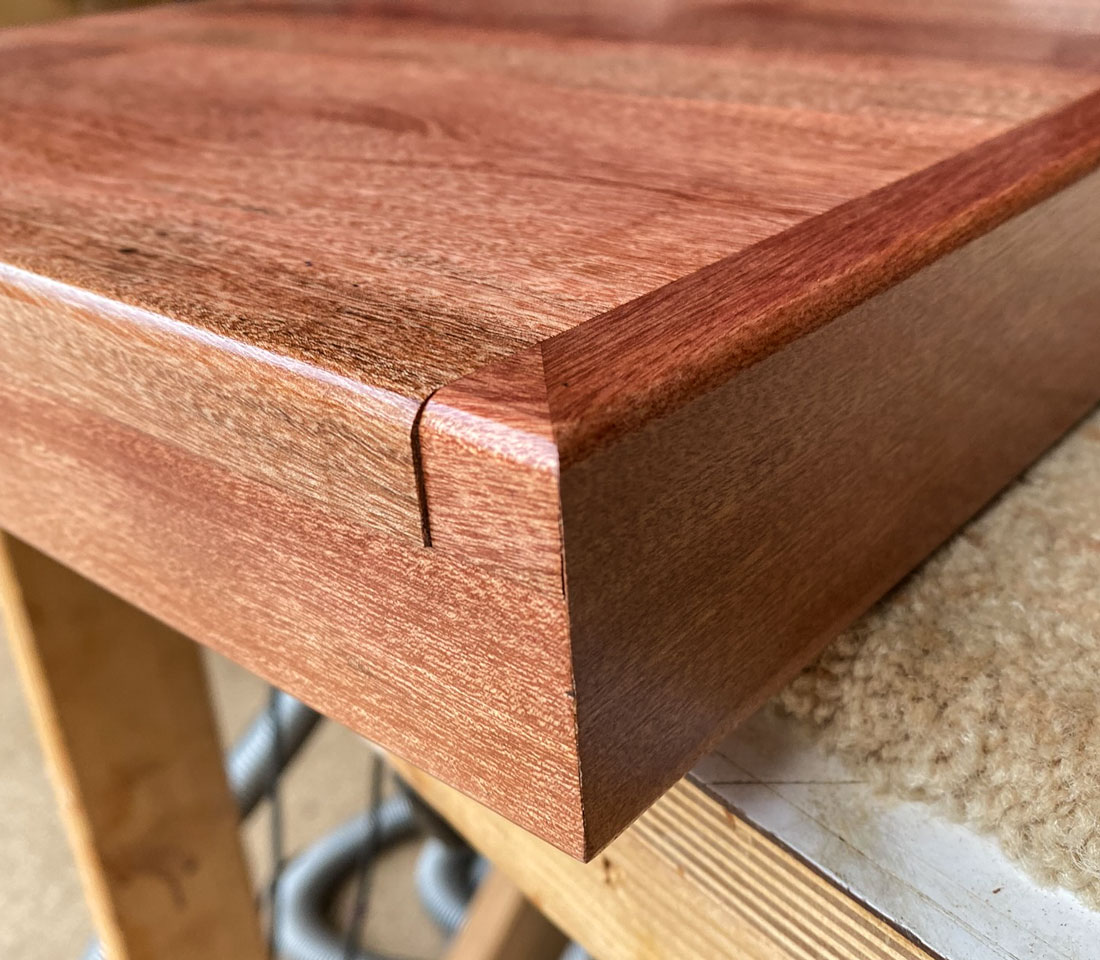
The other gaps are filled and the top is sanded smooth. I used a small router and put a small round over on the edges.
I then put a coat of dewaxed shellac on the top.
The top is now finished and ready for finishing. But before we can do that, we need to build the base.
I making the legs out of tapered pieces of wood. For the sides of the base, I'll use legs that are about 24 inches long and tapered from 3 inches at the top to 1 inch at the bottom. I'll make four pieces. I got ahead of my pictures here and have already cut the mortises for the dominoes.
The leg will be connected to an apron piece cut at an angle so that the leg is angled outwards. I wanted end of the leg to extend about directly under the end of the top. It came out just a bit past that. The apron piece is cut at an angle of about 12 degrees. The leg has to be cut to have a straight line with the apron. That was about 6 degrees from the front face of the leg. The reason for the difference is that the leg is tapered. The apron is 3 inches wide.
I used two 8mm by 40mm dominoes to attach each leg to the apron.
Here you can see how the leg and apron go together.
Here, I'm gluing one side, consisting of two legs and one apron. Note the small white bubble of glue on the apron. The wood had been invaded by bugs and one channel went from the surface to the mortise - so when I put the leg together with the apron it forced some glue out of the insect hole.
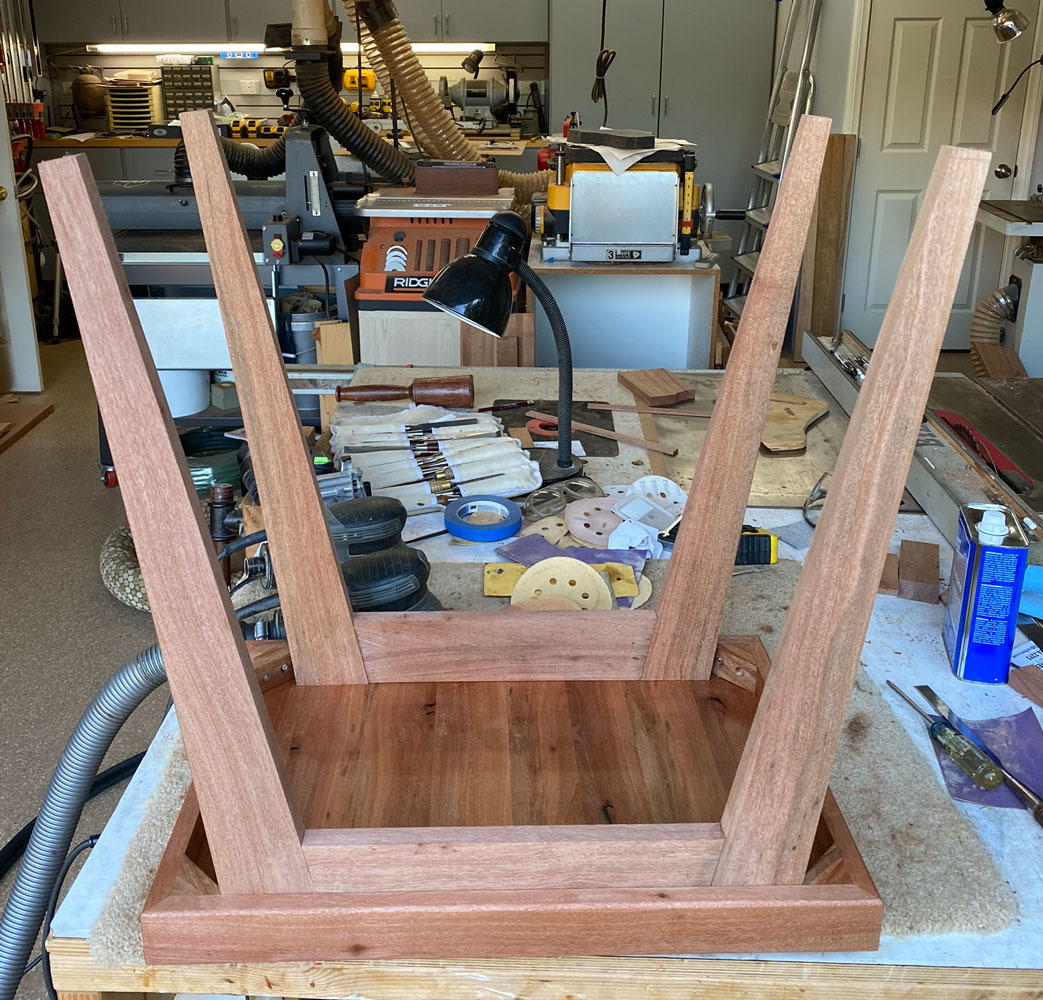
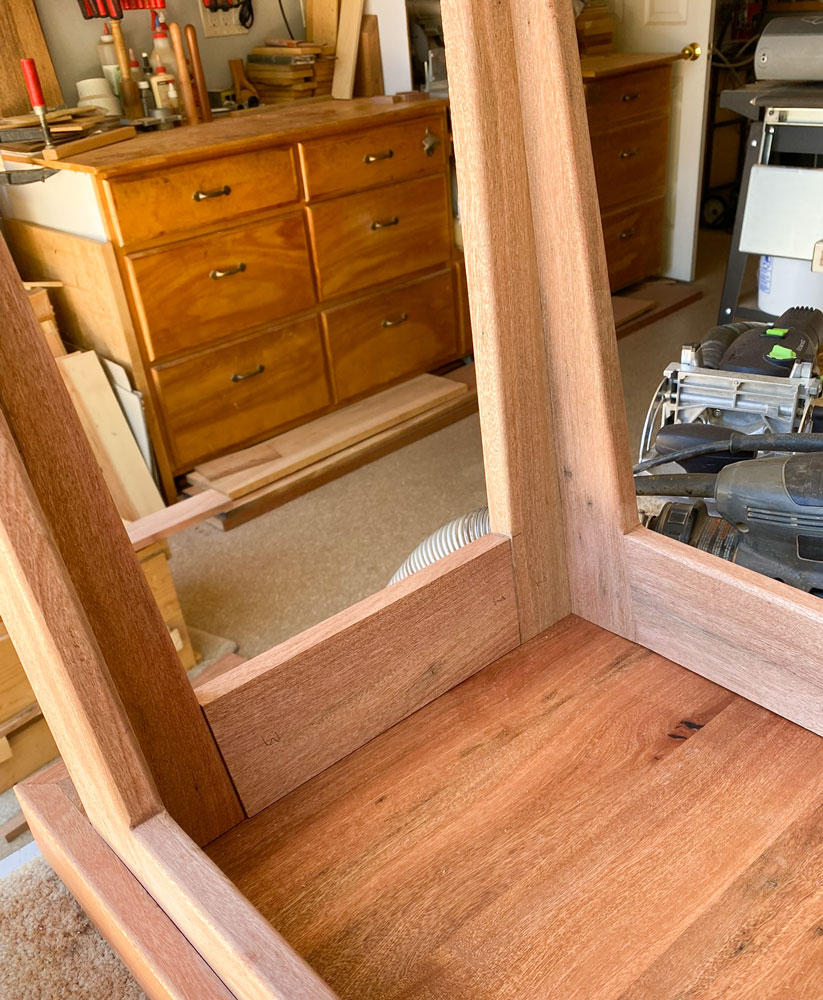
Here are the two sides of the platform fitted into the top.
Now I have to make the other two sides of the platform. I start with tapered legs, but this time the legs taper from 2 inches to 1/2 inch. Here are the four legs, three are standing on end and one is laying down to show the taper.

I'm going to build the end pieces of the platform differently than I did the sides. I'm going to glue the tapers to the other legs and then fit the apron piece between them. Here I'm gluing the smaller legs to the sides.
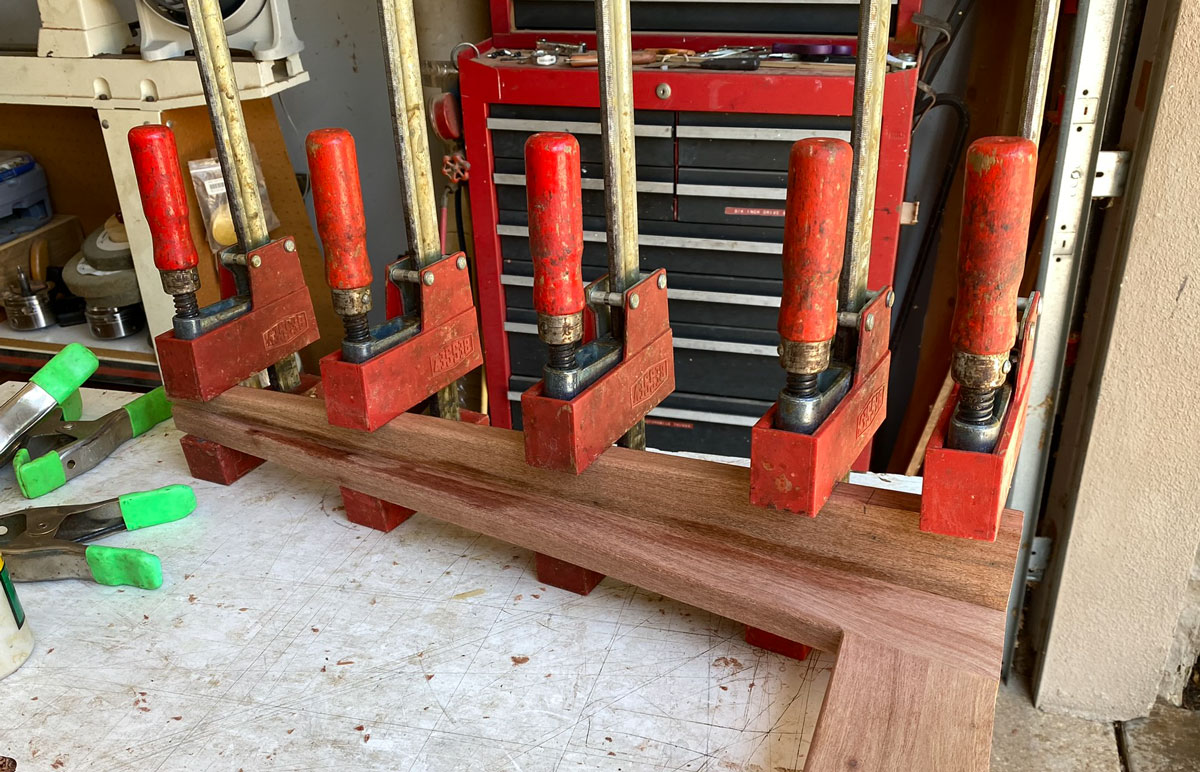
This is what the side pieces look like with the smaller legs glued to them.
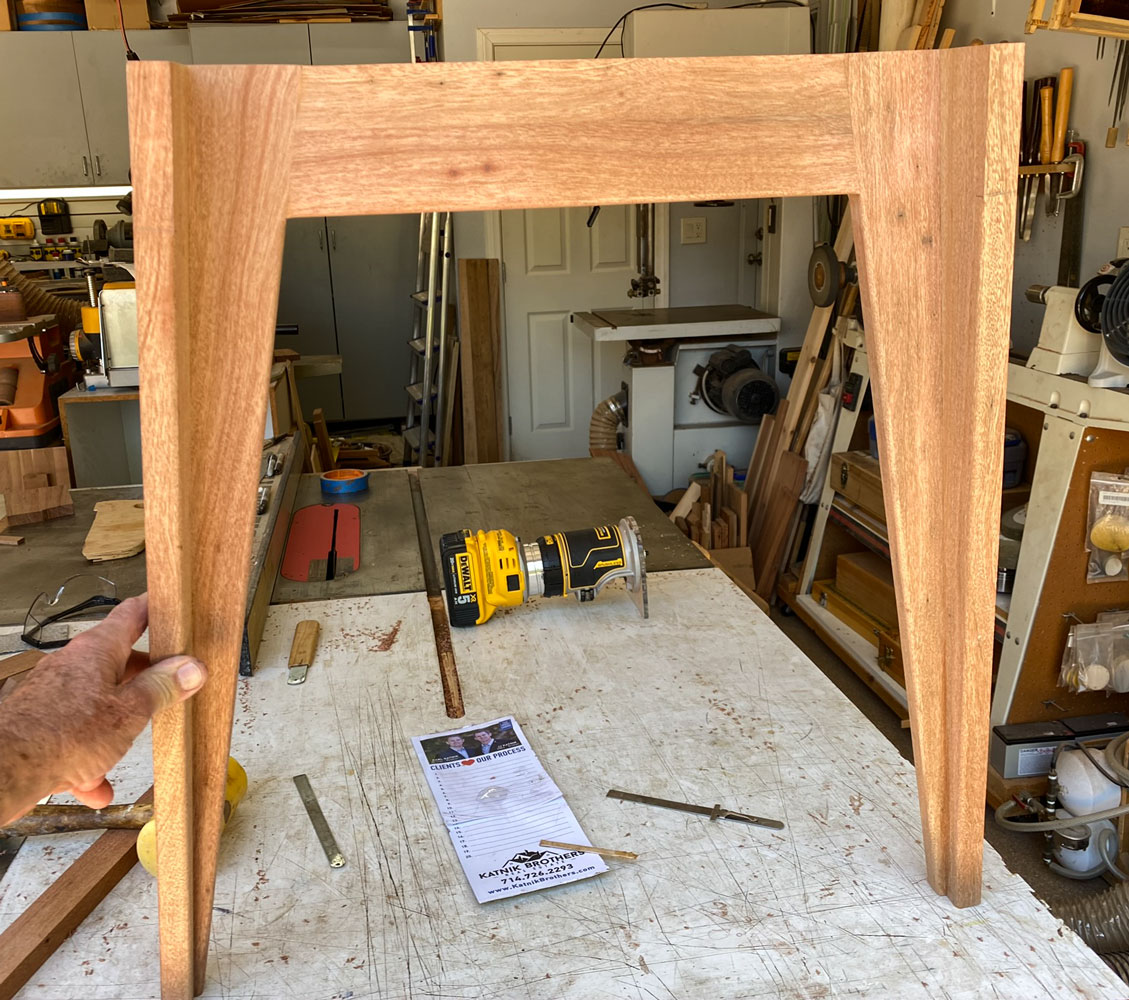
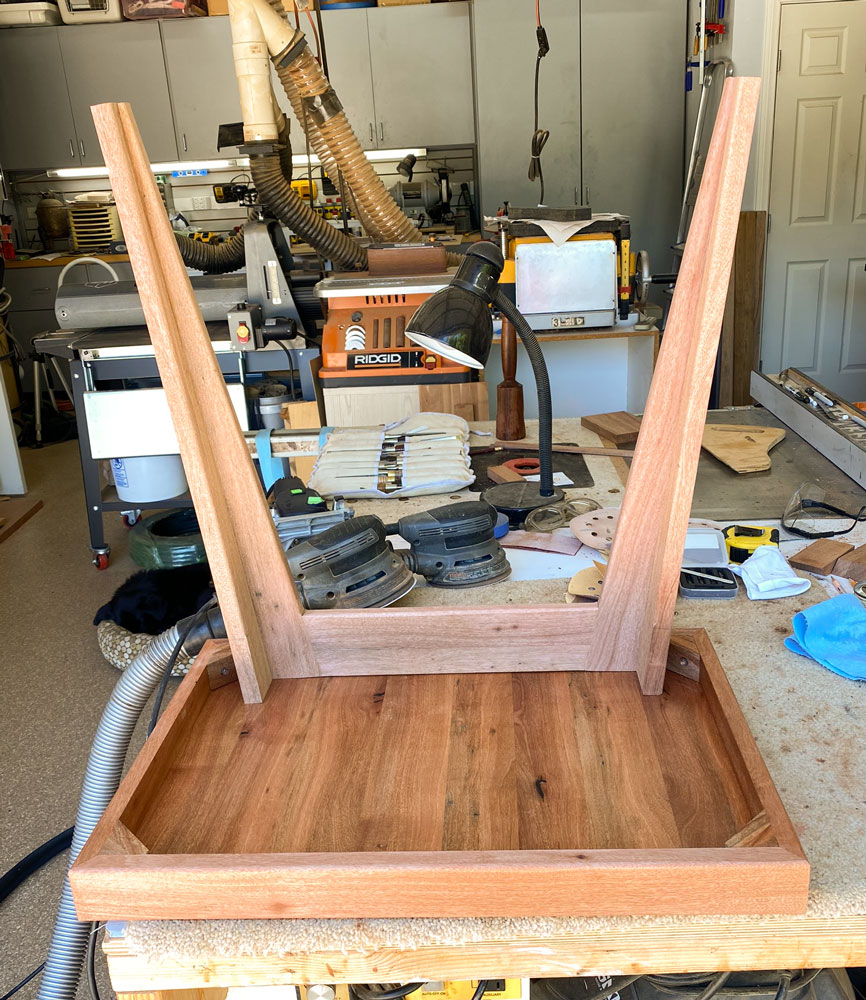
And what they look like inside the top.
I cut the apron pieces to fit between the sides. I want the sides tight against the borders of the top. Side note: It looks like there's a gap on the left side of this apron. What happened is that I rounded off the legs before assembling and went too far. I should have stopped at the place where the leg met the apron. I filled in the gap with a filler after I had everything assembled. Since it's inside it's not noticeable.
I cut the 8mm mortises in the apron and legs with the Domino - same as for the other legs - and glued things up. I glued one side at a time just because it takes time to put glue in the mortises and coat the sides and dominoes properly.
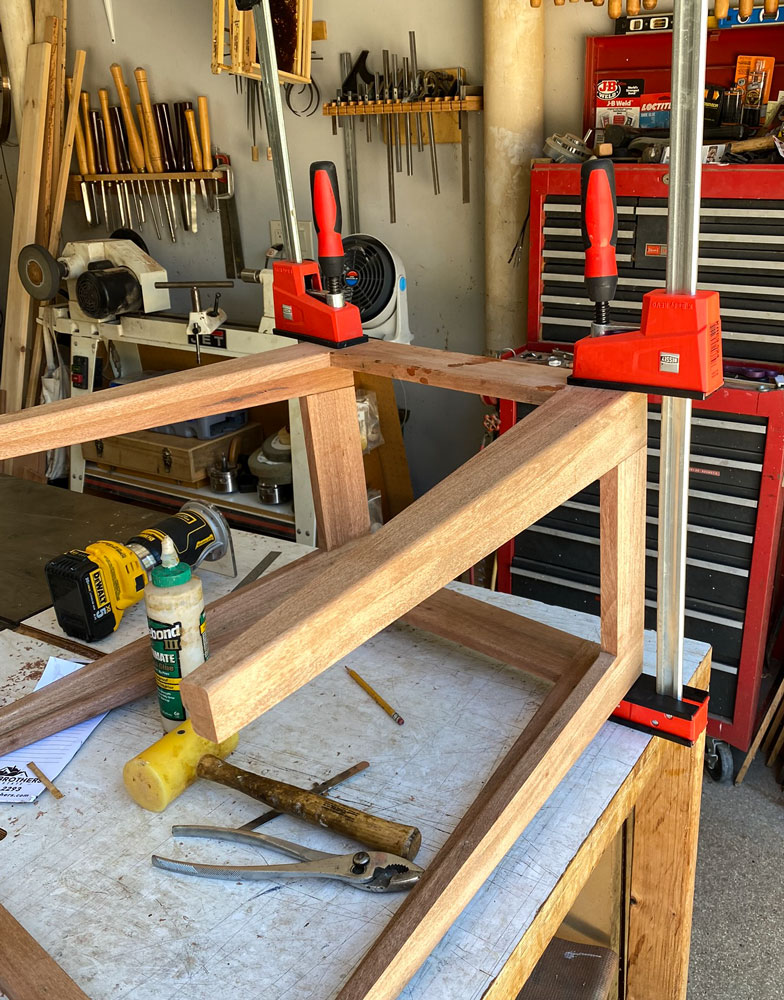
When it was all glued up, this is what it looks like with the top on.
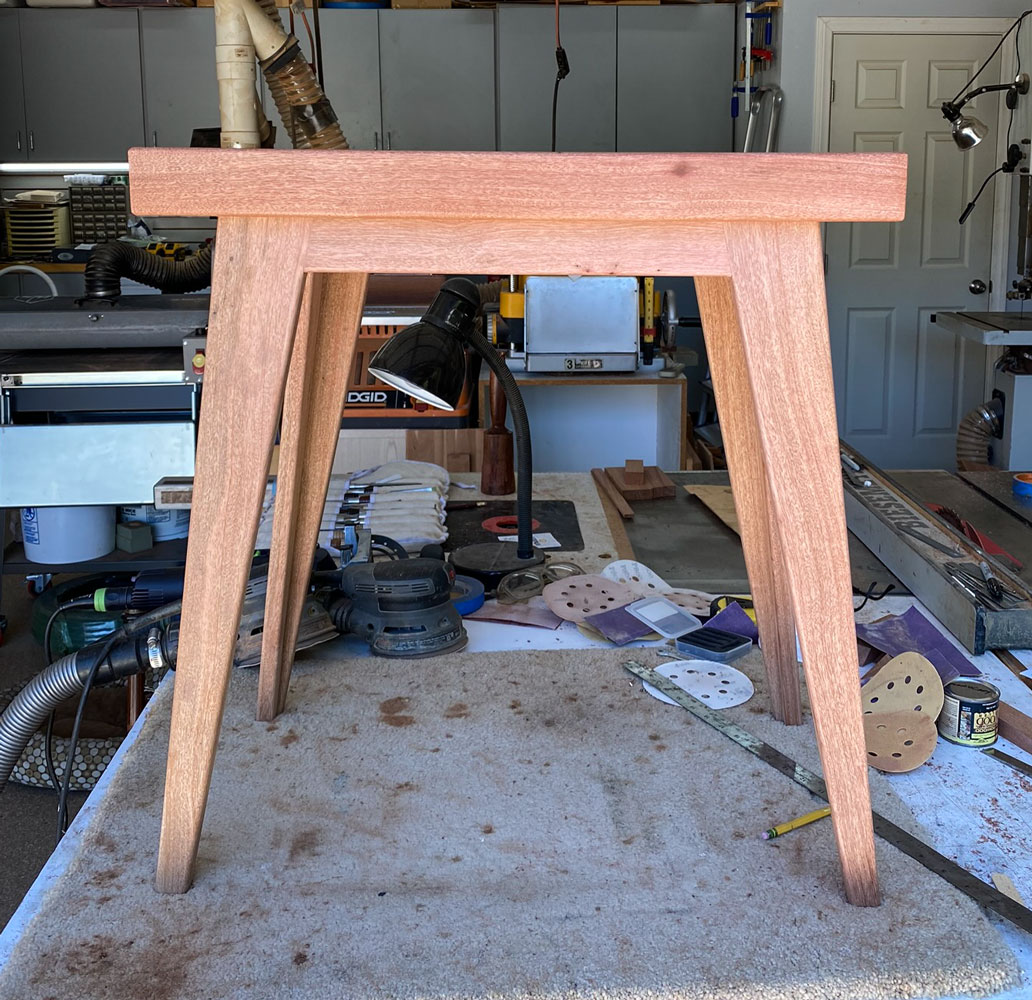
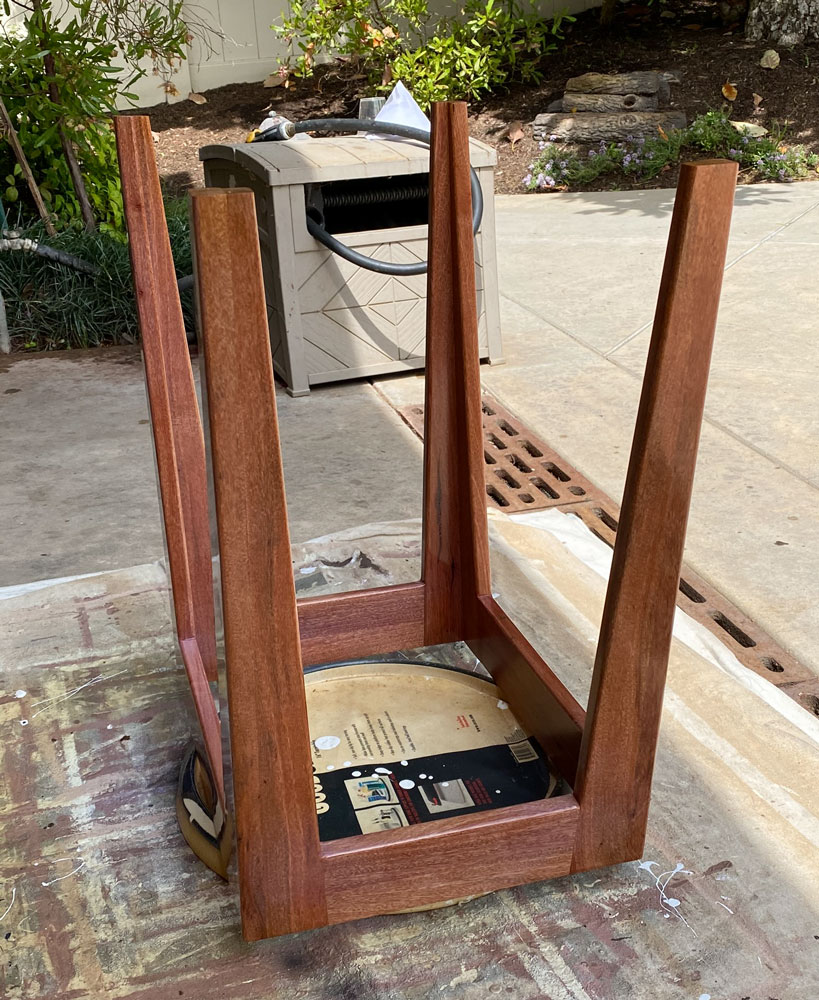
The next step is to sand it well to 220 grit and then do the finishing. Here's the base getting a coat of finish.
I'm using a water based finish, which will put moisture into the wood and cause it to expand. Here's a picture of the top showing how the panel has expanded. This is exactly what it was supposed to do, rather than break glue joints or split.
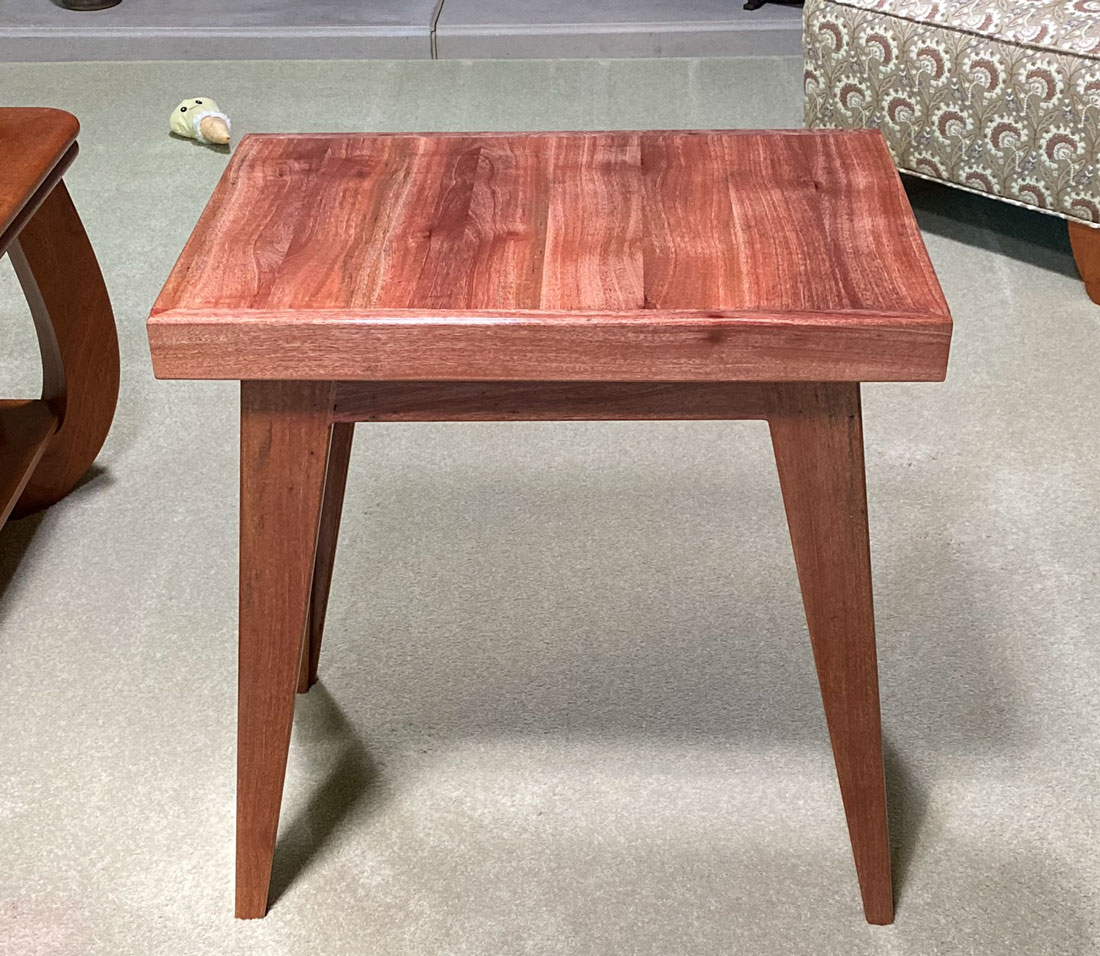
And the final table, ready to be used. the wood is really red, which you can see by comparing it to the mahogany table at the left of the picture. I expect the wood will darken over time but it will probably retain the reddish color.
You can return to my main page here.