Carving a Simple Flower
(Continued)
P. Michael Henderson
November 8, 2008
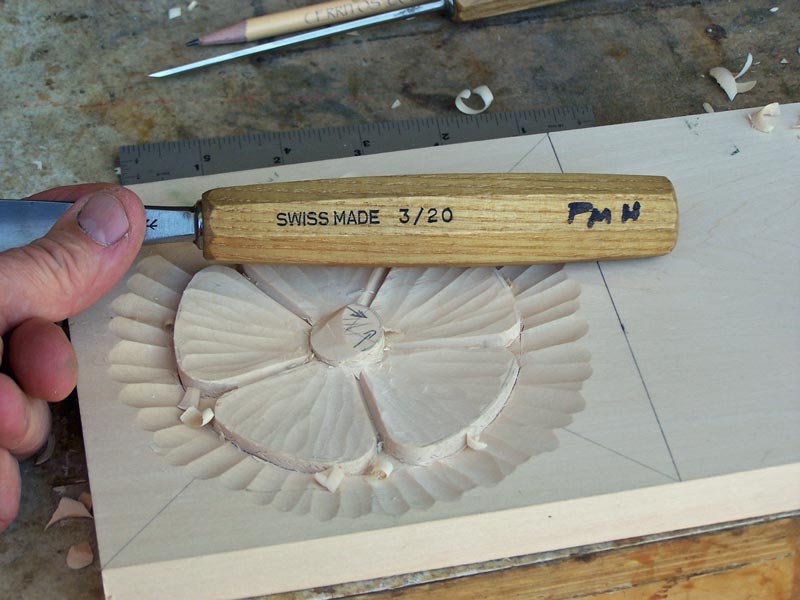
Use your #3/20 to make the cuts. I use the gouge reversed, with the curve of the gouge downward. This picture shows half the dome cut.
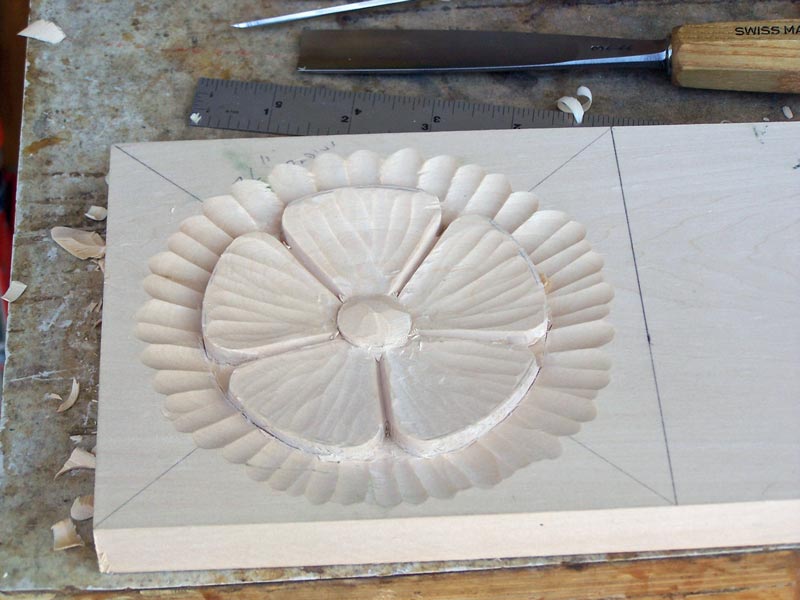
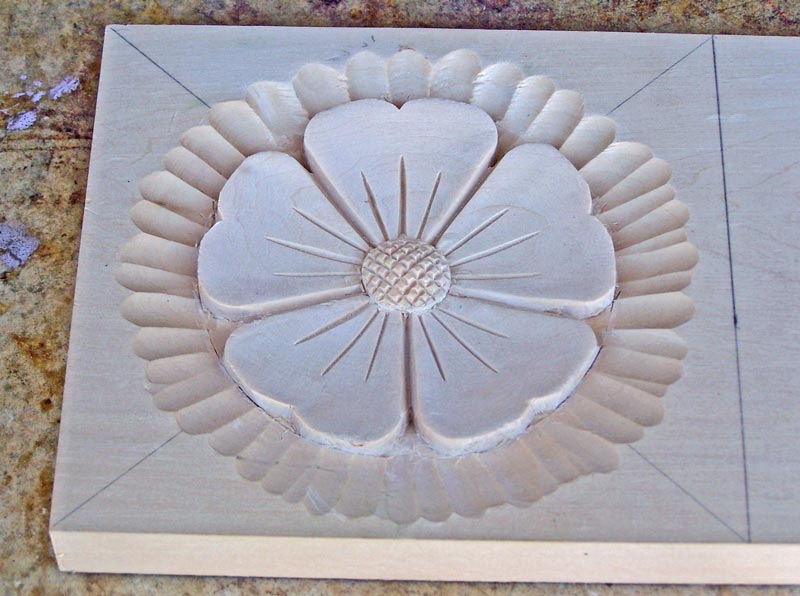
When you finish doming the center, it should look something like this.
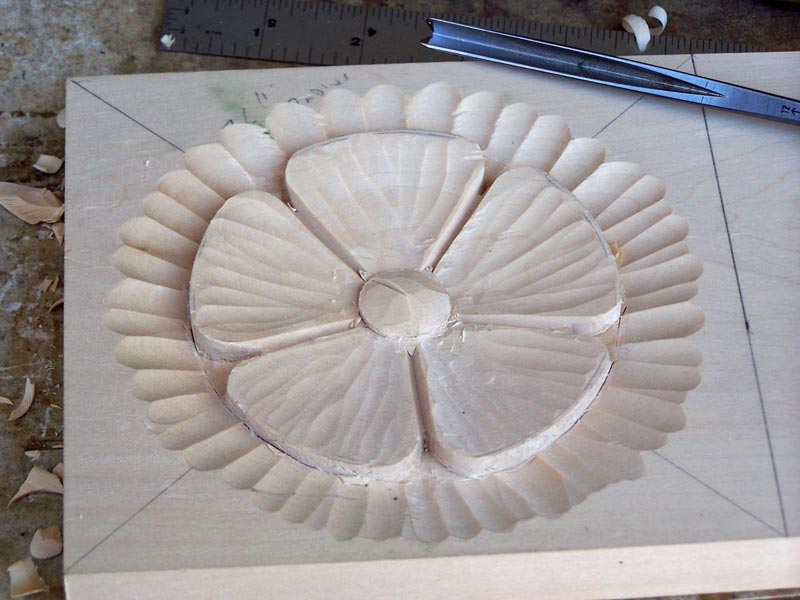
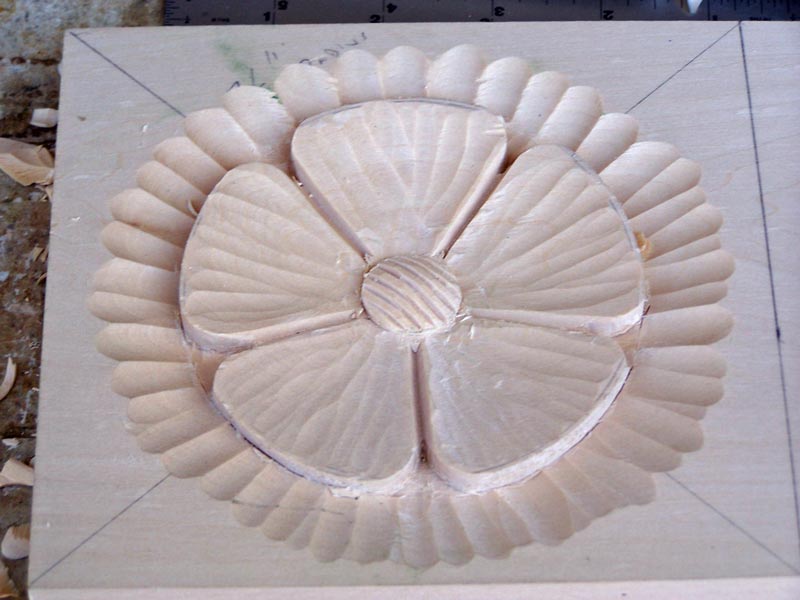
Next we're going to crosshatch the center dome. You can do it in any direction
but I find that it's easier if all the cuts are about the same referenced to the
grain. So I make the cuts at 45* to the grain direction.
Also, it's hard to make the cut all the way across the dome in one cut, so I
start in the center and cut downwards to one side, as shown in the picture.
To complete the cut, go back to the center and cut down the other side.
Do the same with cuts spaced evenly across the dome.
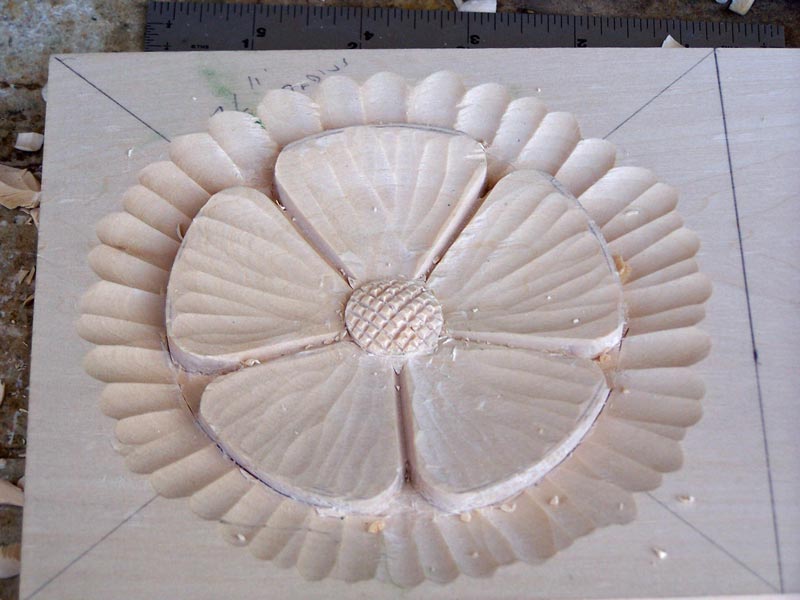
Then do exactly the same cuts perpendicular to the first set of cuts. This gives
you the crosshatching in the center.
I don't have a picture of the next step but what you want to do is slightly
"hollow" each petal just a little bit. I actually did that earlier, before I
domed the center, but it's better to do it here. If you slip while doming the
center and mark a petal, you get a chance to remove that mark with this step.
Even though I have pretty good tool control, it would have been safer for me to
do the "hollowing" step here than where I did it.
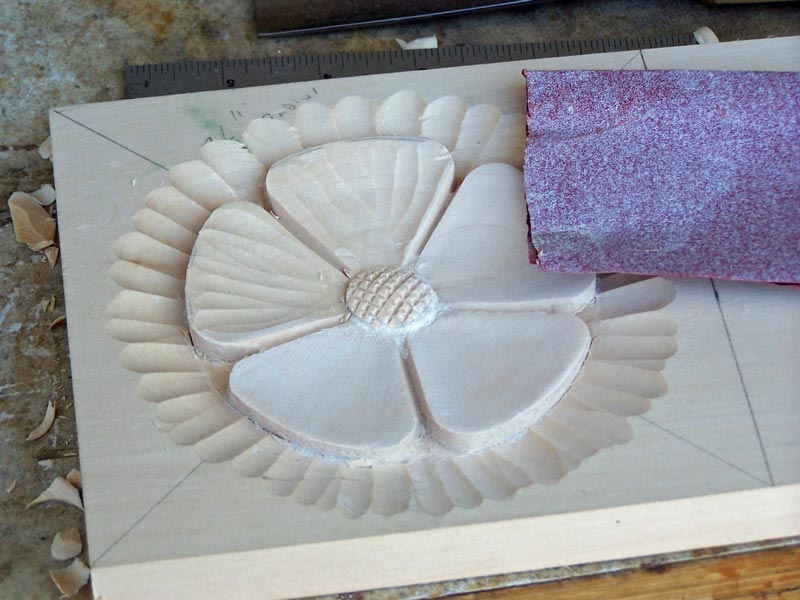
Once you have the petals hollow a bit, you can sand them - I use P150 grit sandpaper. If you like tool marks, you can skip this step, but for beginners I always recommend sanding because it removes some of the roughness that always creeps in. Try it both ways and see what you like.
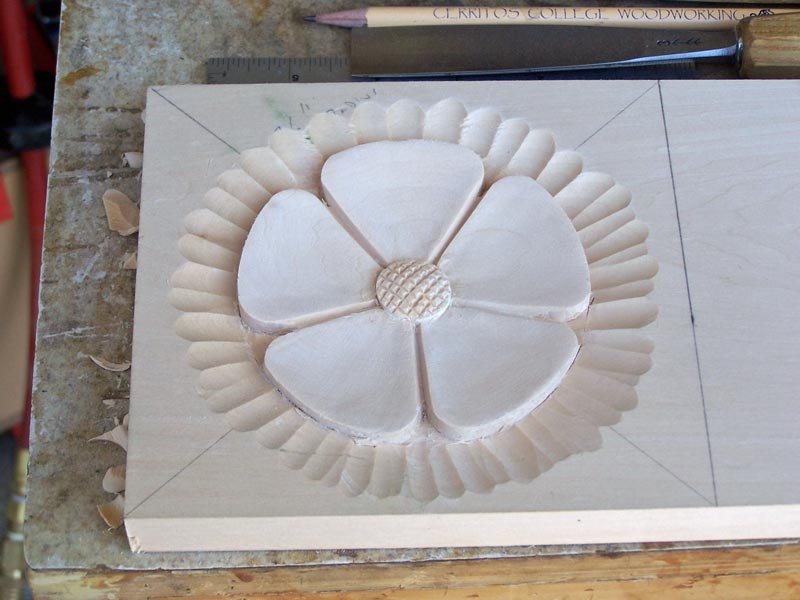
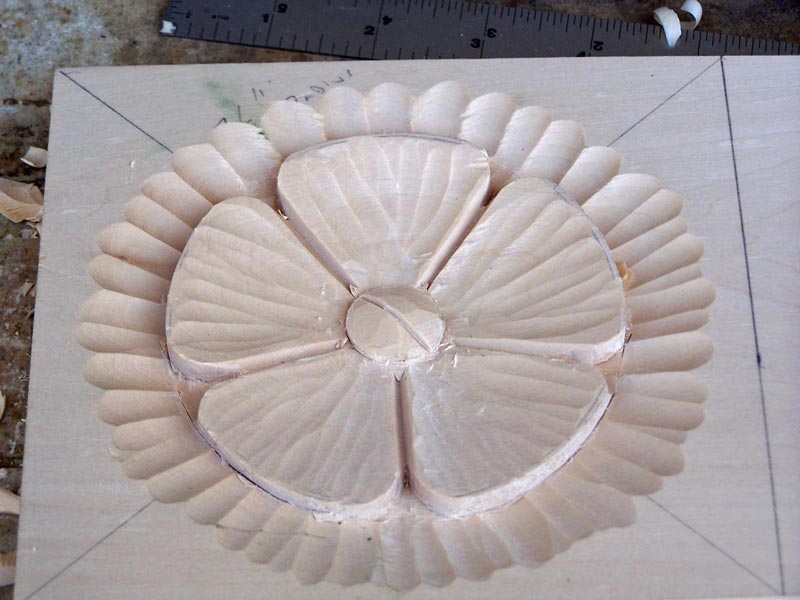
After sanding this is what it should look like.
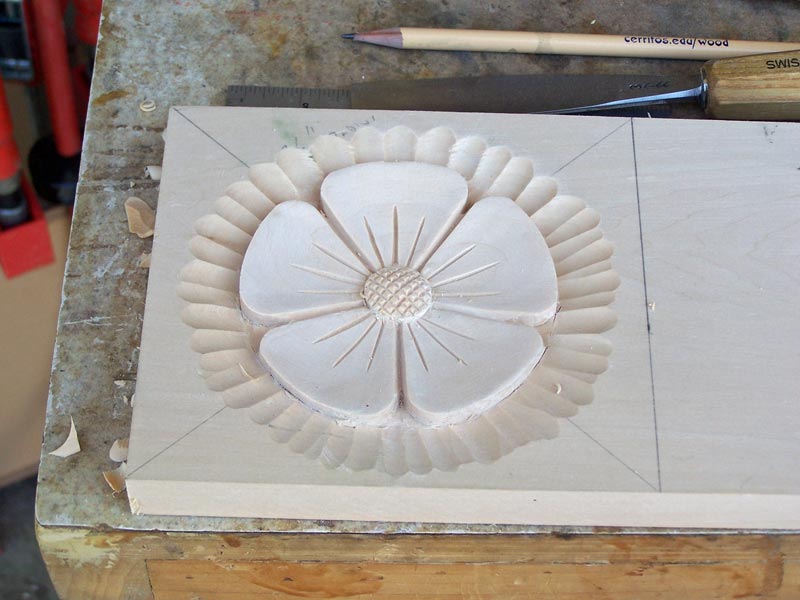
The final step is to put the decorative lines on the petals with the V-tool. Try to do them in one cut - that is, don't restart your cut because it'll show. Also, try to space the ends of the cuts evenly as they meet the center circle. You do not want them to all come together in a point.
If you want to try one more thing, you can add a detail at the end of the petals, as shown in the picture above. I made a cut downward with my V-tool then cleaned up the curve with a fairly flat gouge, like a #2/12 (if I remember correctly).
I hope this was of help to you. If you carve this flower, please send me a picture at mike@mikes-woodwork.com
You can return to my main page by clicking here.