Making a Rectangular Serving Tray
P. Michael Henderson
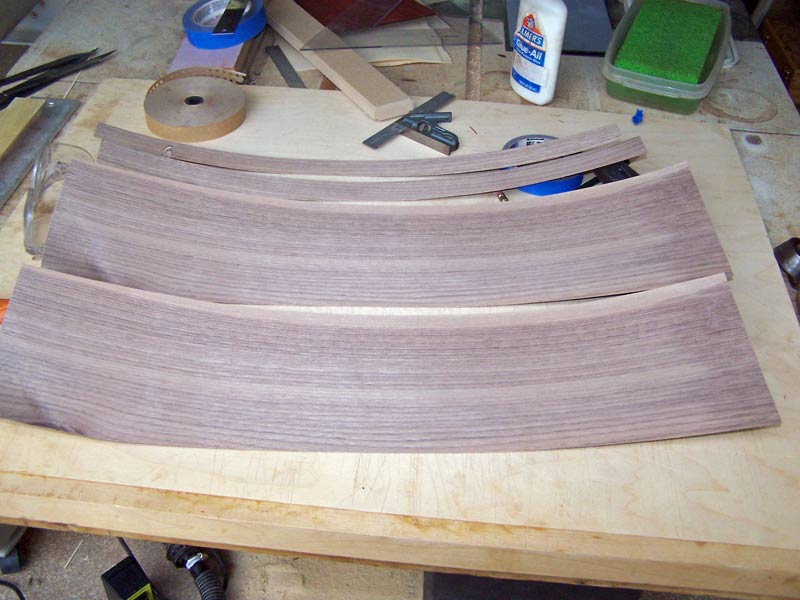
Now we have to make the veneer for the back of the panel. I have some scrap walnut which I'm going to use, plus two pieces I cut off when making the border. That's enough to cover the back.
I sand the edges and tape the veneer together with blue tape.

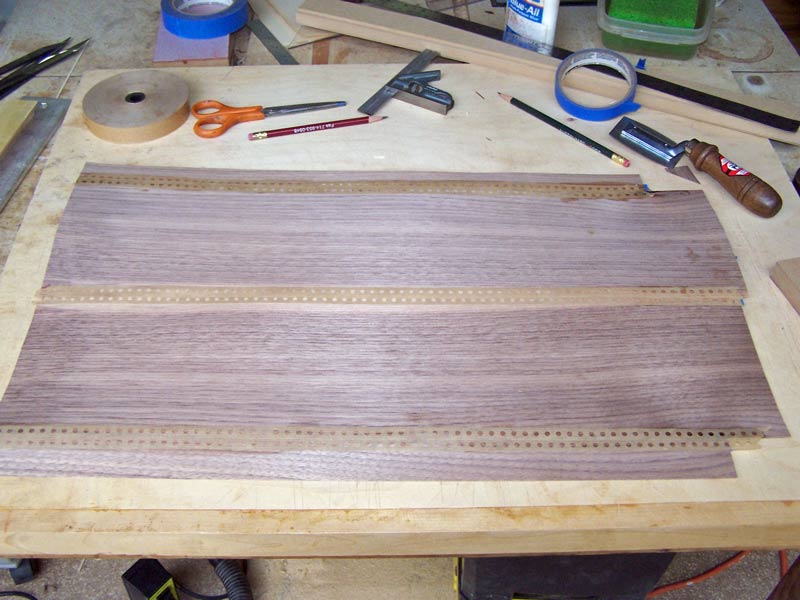
Then turn the veneer over and apply veneer tape. Place it under the bench protector to keep it flat while the veneer tape is drying.
Take the veneer for the front of the panel out from under the bench protector, if it's dry, and remove the blue tape from the back of the veneer.

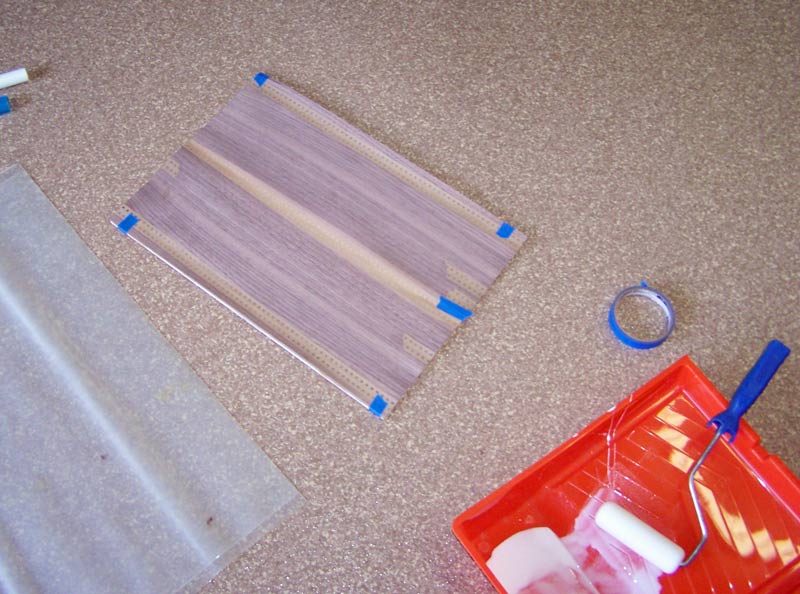
This is what the glue side should look like before you glue it up. There's no blue tape and no veneer tape - just plain wood.
Do the same with the veneer for the back, once the veneer tape is dry. You see some blue tape on the veneer - I found some splits when I took the veneer out and had to patch them.

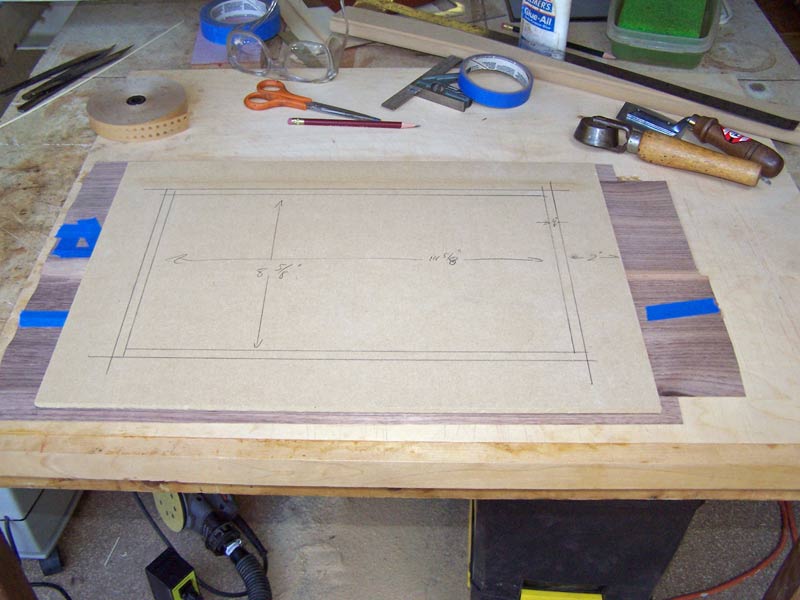
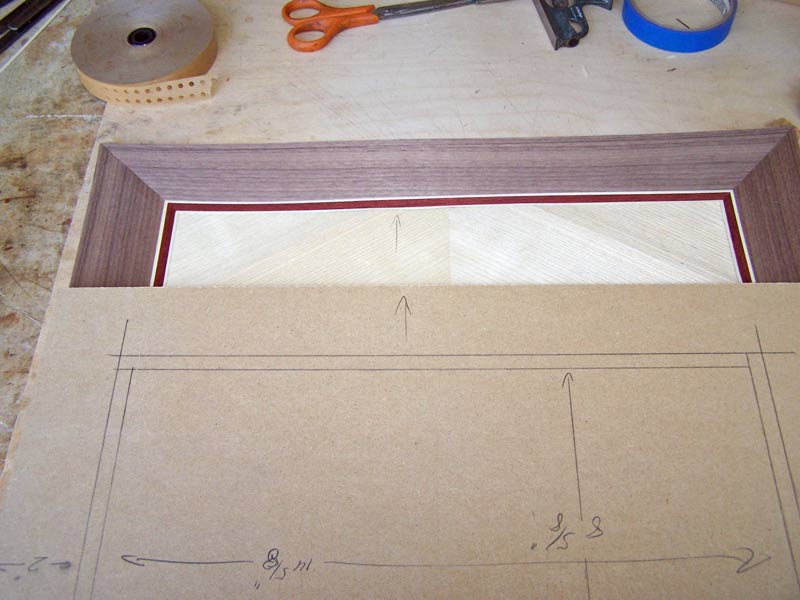
Now lay your substrate on the veneer for the back. Using a pencil, draw a line along each side to mark the size of the substrate. Cut the veneer just a bit larger than the size marked by the line. The reason for cutting the veneer a bit large is that the veneer sometime slips when you put it into the press. A little extra size can accommodate this.
Then do the same thing with the veneer for the front.

Make sure you line the corners up with the miter cuts.
I also mark the substrate and the glue face of the veneer so that I put them together the same way they were when I cut the veneer to size. You can see an arrow on the substrate and the veneer.
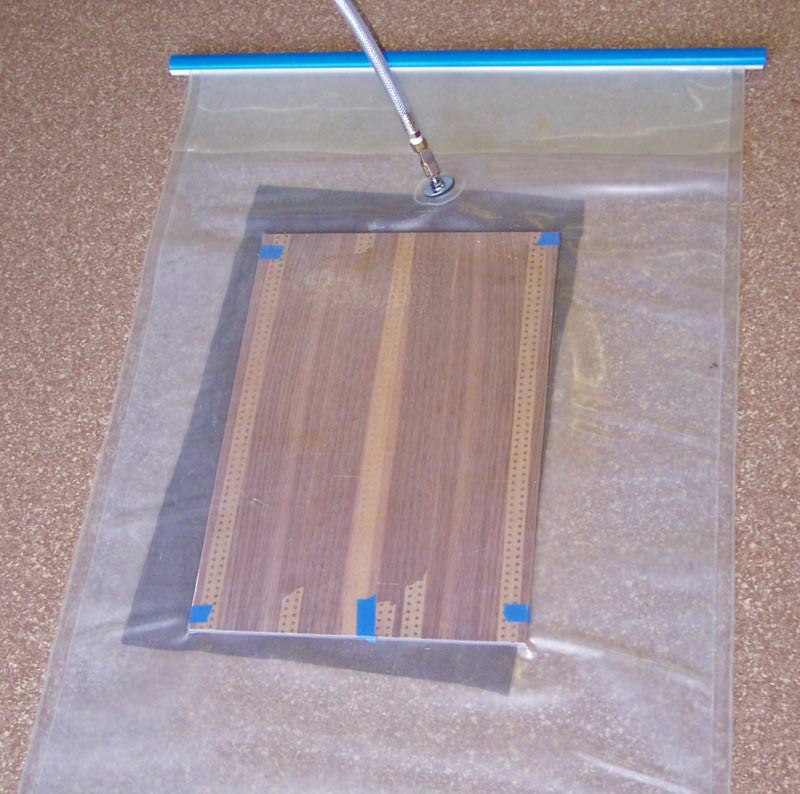
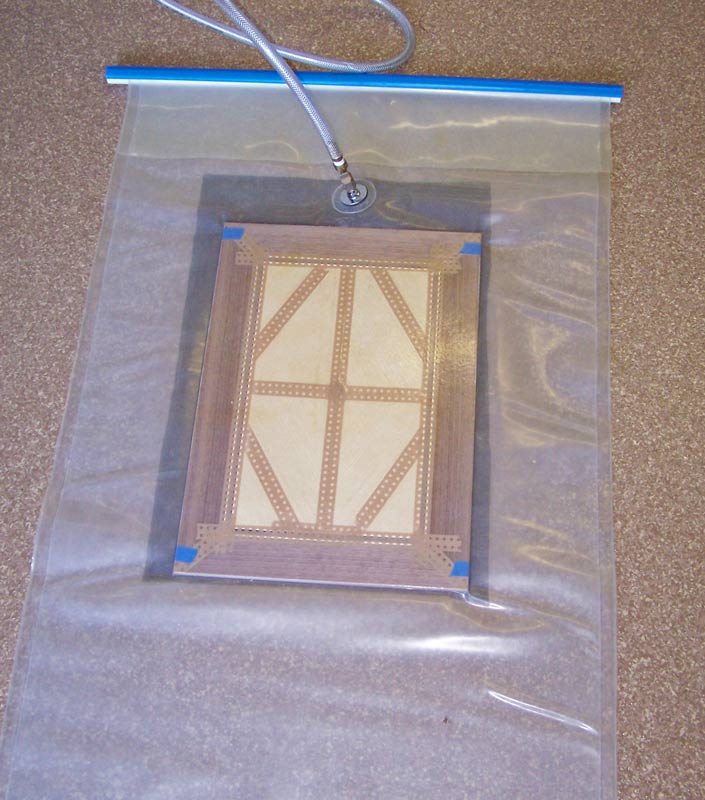
Our package is now complete and ready for pressing.

Here's my vacuum pressing outfit. The dark square you see in the bag is plain old window screen, used as breather mesh, to allow the air in the bag to be evacuated.

I spread glue on the substrate and then place the veneer for the back on the substrate. I'd normally do the back and front in one pressing but because of having to take pictures, I did the front and back separately.

And here it is ready to go into press, with some blue tape holding the four corners down. You don't want the veneer flopping around while you're trying to get the package into the veneer bag.
The panel is now in press.
Once the back is glued on, I go through the same process with the veneer for the front.
This is as far as we take the project in class. The students take home a panel that has veneer on both sides, and still has the veneer tape on each face. They're instructed on how to remove the tape but to wait until the next day to allow the glue to set firm. The rest of the tutorial covers what the student has to do to complete the tray.
I realize that completing the tray could be a problem for some students who don't have all the tools called for in the rest of the tutorial, especially the spray gun to apply finish. I'm debating about whether to offer a service to complete the tray for those students - for a fee, of course. I'll have to see if any of the students are interested. But now, back to the tutorial...
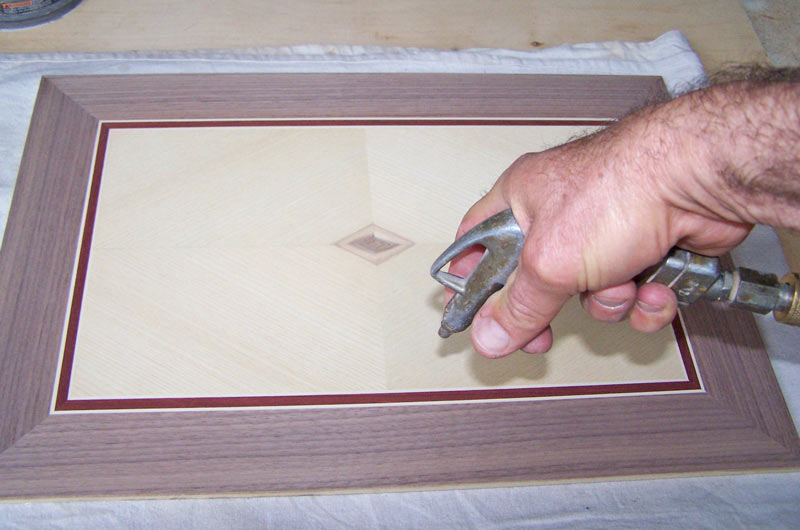
When the pressing is done and the glue is well set, take the panel out of press and spray water on the veneer tape.
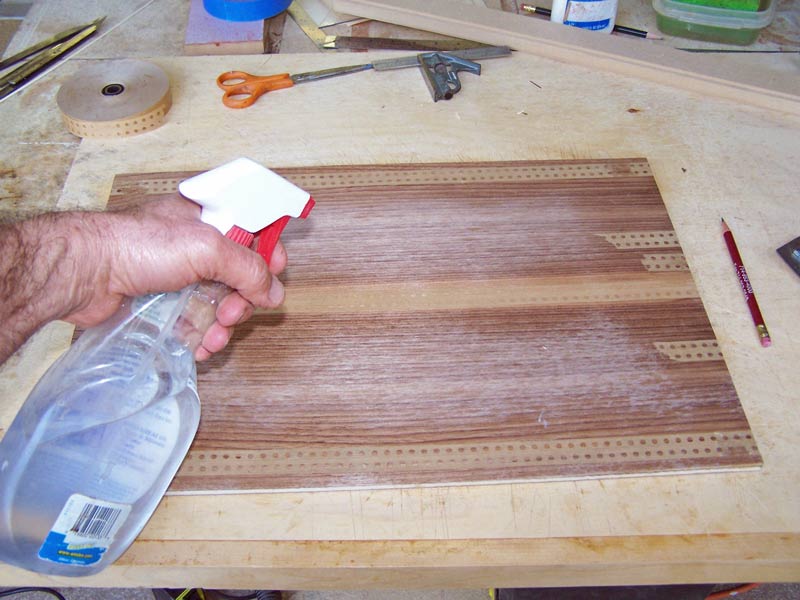
This will allow you to remove the veneer tape quickly, cleanly, and easily.

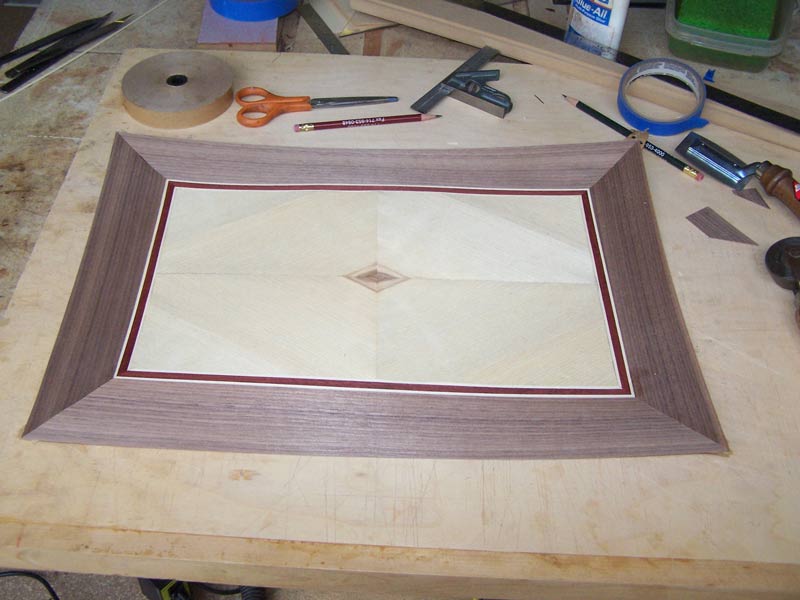
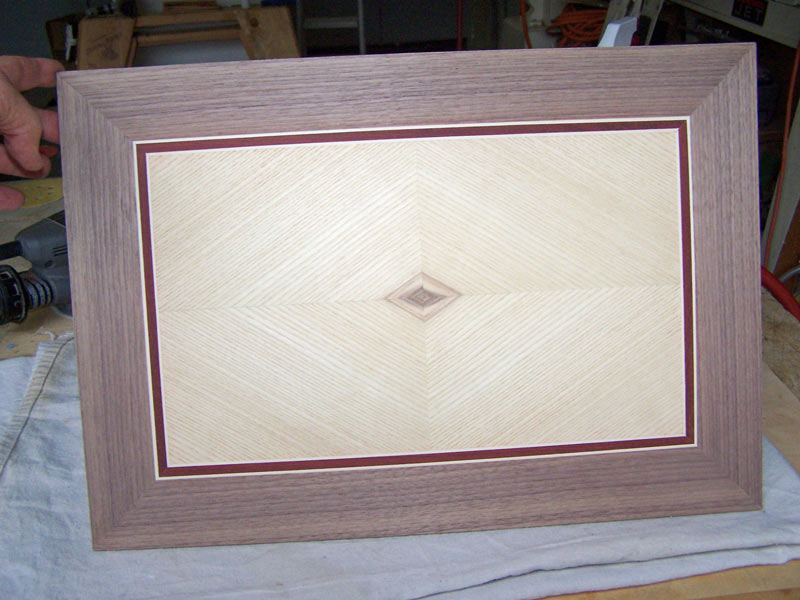
Once you get all the veneer tape off, this is what the panel will look like. First, the back:

And here's the front, still wet. The overall grain match is good but the dark wood in the center did not match as well as I'd have preferred. What I should have done was examine the two sides early in the process and picked the side that gave the best match. The reason I didn't is that I essentially chose which side was to be the show face when I put the two pieces of veneer together right at the beginning of this project. Converting to the other side would have required me to move the veneer tape from one side to the other. But I should have done that. The work on the project is just a few hours, while the life of the project will be years.

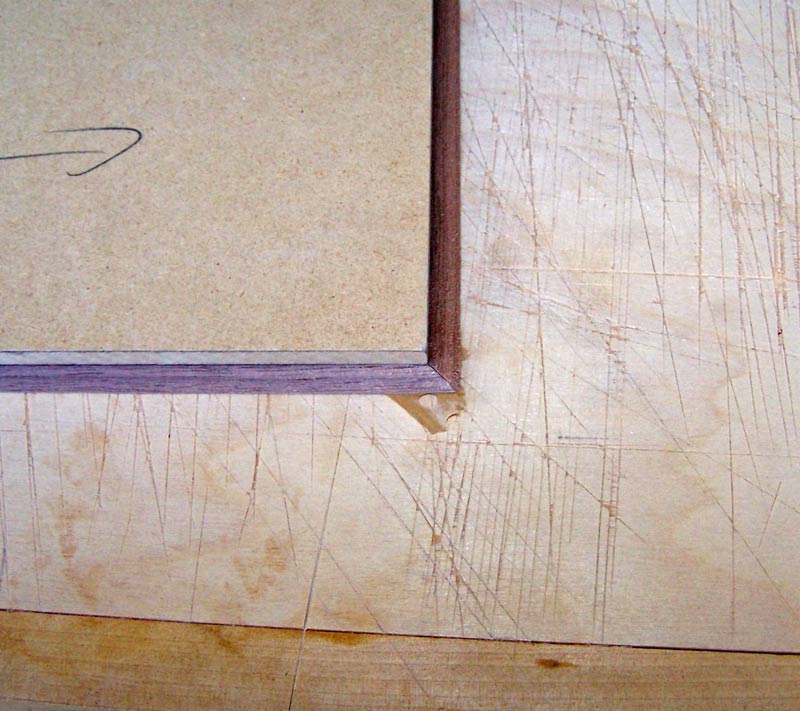
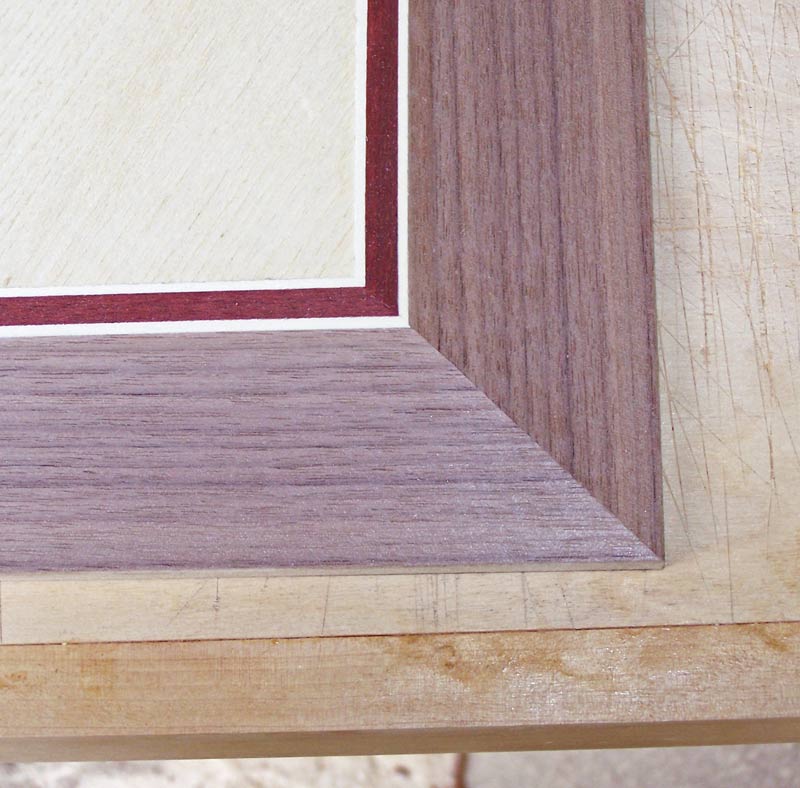
Once the panels are good and dry, I use a block plane to trim the excess veneer - the veneer that extends beyond the substrate.

If you did everything right and your measurements were exact, the miters should be exactly on the corner of the substrate.
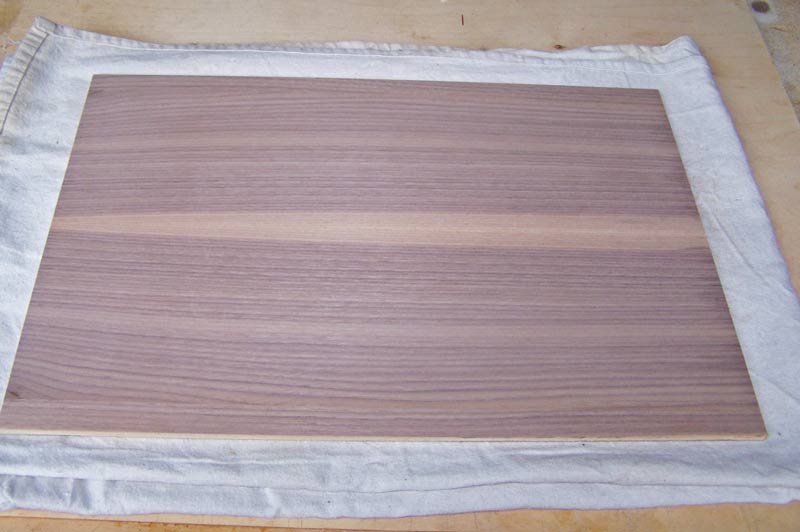
Next, I'll sand the veneer. I use my ROS set at the lowest speed. I start with P150 grit sandpaper and finish with P220. Sanding the back is straightforward. Sanding the face is more difficult because of the bloodwood - the red sanding dust will get all over your project, if you're not careful, and it's hard to get off. Use a sander with good dust collection.
Note that I have the panel on a drop cloth. You need something like this when sanding the panel or the vibration from the sander can cause the opposite side to get scratched from roughness in the workbench.

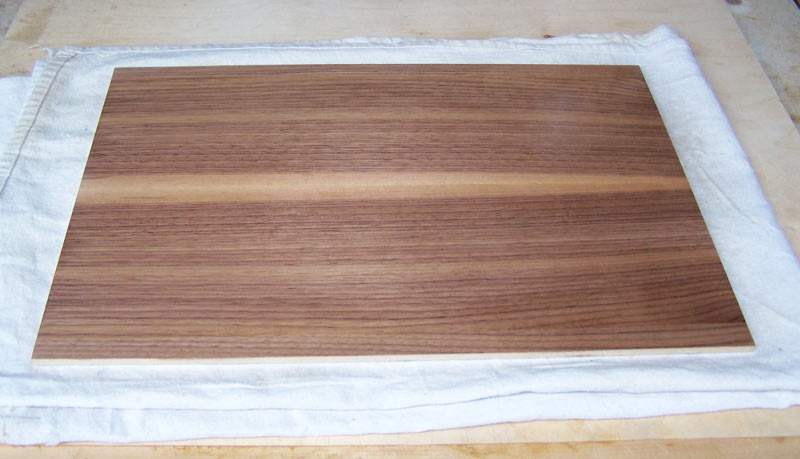
This is what the back will look like after sanding:
And this is what the front looks like. Even with my dust extraction, I got some red dust in the grain of the ash. You can see it on the ash, close to the banding.
I use compressed air to blow the sanding dust out of the grain of the ash.
Now we're going to start the finishing process. I use dewaxed shellac as a base coat and water based lacquer as a finish coat. Water based lacquer is very clear and gives a "white" look to the finished surface. The older oil based finishes gave a somewhat "orange" look to the finished surface, and that's the look people expect in their furniture and wood. To get that look, I use dewaxed orange shellac as a sanding sealer.
The other reason for using a sanding sealer - of any type - is that I use water based lacquer. If a sanding sealer is not used, the water in the water based lacquer will raise the grain. Then the surface has to be sanded again to smooth out the nibs raised by the water. Dewaxed shellac addresses both of these issues - it imparts an orange base and prevents the grain from being raised by the water based finish.

I shoot the shellac with an HVLP gun. When shooting the face side, don't spray a heavy coat of shellac. You want it to dry very quickly. If you put a heavy coat on the face side, the shellac will pick up the bloodwood color and could run onto the ash. Then you'd have a mess to clean up. This is what the two faces will look like with the shellac on them.
BTW, you don't want to use shellac as a finish coat on a tray. If you get water on a shellac surface the finish will become white. Additionally, shellac can be dissolved with alcohol so if you serve drinks and spill any of the drink(s) it may leave a mark on the finish. Lacquer is much tougher.

Next, we'll spray the lacquer and then start making the sides.
The tutorial continues here.